• Simple and effective Folded Dipole Antenna

    I wanted to share a simple yet effective antenna design that you can easily build at home with minimal tools—along with tips on how to optimize it for your specific location. My previous antenna worked great, it just was a little big and bulky for the living room. This new design is generally smaller and works just as good.

    While UHF channels are generally easy to pick up with almost any antenna, VHF channels (2-13) can be much more challenging to receive. In my area, Channels 7 and 9 were still being broadcast in the VHF spectrum, so I needed an antenna that could reliably capture those signals. If you’re in a similar situation, this design might be the perfect solution for you!

    I found this website that does the calculations for you: http://pencho.my.contact.bg/start/comp/anteni/dipole_folded.htm

    First figure out what frequencies are broadcasted in your area. Note: Don’t assume if your stations is channel 2, its actually broadcasted on channel 2, use a website like https://www.tvfool.com/ to verify.

    If you are targeting two different channels ones, I would suggest using the frequency number. Anything less then channel 6 will require a larger antenna.

    Channel NumberFrequency in MHz
    Channel 2 54-60
    Channel 360-66
    Channel 466-72
    Channel 576-82
    Channel 682-88
    Channel 7174-180
    Channel 8180-186
    Channel 9186-192
    Channel 10192-198
    Channel 11198-204
    Channel 12204-210
    Channel 13210-216

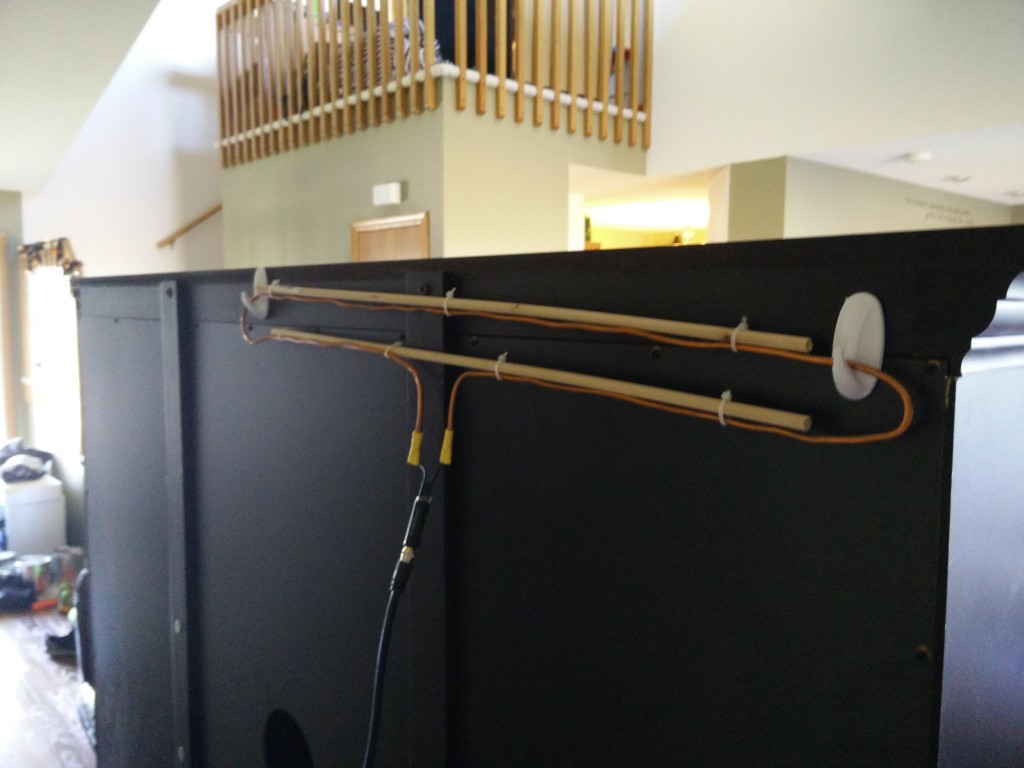
    Now I bought low gauge copper wire from my local hardware store for about $10 and shaped it to match the dimensions. As you can see the total length is about 26.75″, I was targeting channel 7, and used 176 MHz, which give you a Length C of 23, and the radius R, 1.83 for each end, and add those up and you get 23+1.83+1.83 =26.66

    Here I bought some large electrical connectors to attach to the wire and use some bolts to attach those to the antenna balun.

    Congratulations, you now have a TV antenna to go try out. Overall the cost was around $15 when I made the last one in 2020.

    The bottom antenna is my newer one and the top one is an older one. As you can tell the copper wire isn’t as thick and needed some wood dowel to give it strength, the newer one holds it own shape.

    With a little effort you can hide this antenna is various locations. Luckily when we build our new house I put it in the attic and then ran a wire to the basement, which then I can split to all the rooms.
    IMG_20151025_160613
  • A Journey Through Tasmania’s Natural Wonders

    Tasmania, or “Tassie” as the locals call it, was the final major destination of our Australian adventure. This island, located off the southeastern coast of the mainland, is renowned for its stunning natural landscapes and thriving agricultural scene.

    There are two main cities to fly into: Hobart in the south and Launceston in the north. Since we were eager to explore Tasmania’s outdoor beauty, we opted to fly and stay in Launceston for our adventure. When we started planning our two major attractions to see were Cradle Mountain and the Bridestowe Lavendar Farm, then we discovered Freycinet National Park which rounded out our itinerary.

    Two hour drive from Launceston we stopped at the iconic Cradle Mountain, a must-visit destination in Tasmania. Recommend stopping into the visitor center to purchase a park pass. Check the transportation rules, but we had to ride the bus throughout the park and Dove Lake was our first stop, however its actually at the end of the bus route. Just a short walk in you can get to the historic boat shed that sits on Dove Lake, perfectly framed by the breathtaking backdrop of Cradle Mountain.
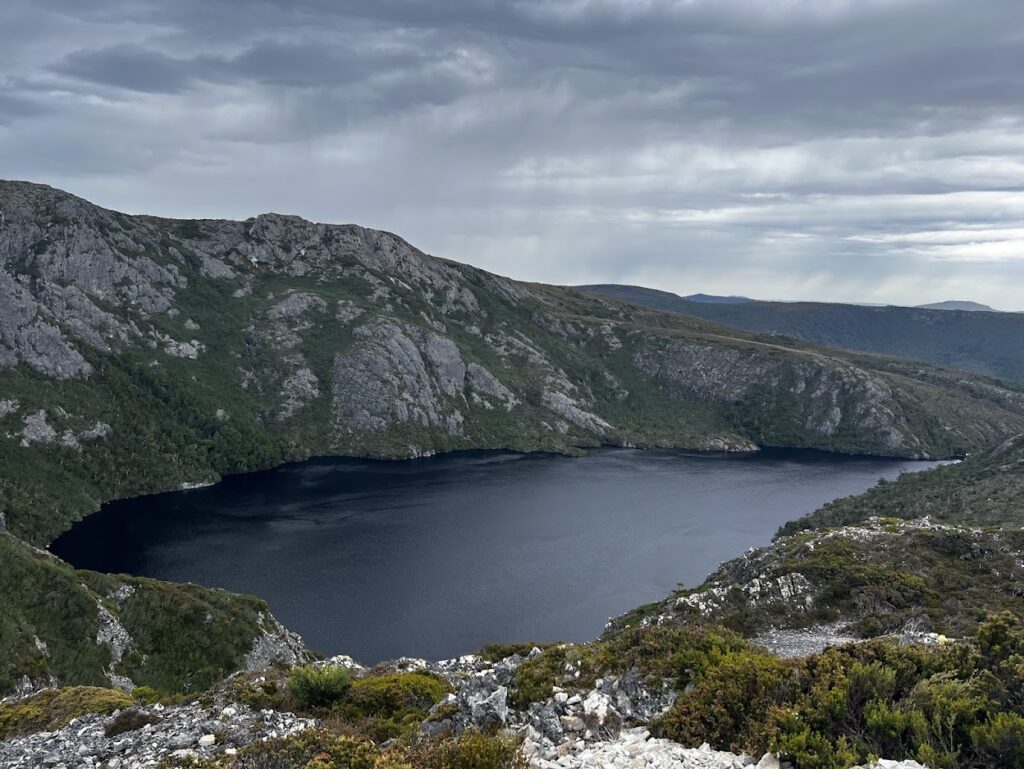
    As we were hiking the weather was starting to change from a nice sunny day to overcast. When we reached Marions lookout, we got hit with some mist and light rain as you can see in the photos. Here is the trail that we ended up taking to get to Marions lookout: https://www.alltrails.com/trail/australia/tasmania/marions-lookout-loop-via-wombat-pool-lookout

    When we arrived back at the visitor center, I found this billboard, and luckily we didn’t experience extreme weather, its important to be prepared for all weather when hiking!

    This trail is pretty difficult. I hiked Angels Landing in Zion National Park and I would say this trail is more difficult. Luckily there is a portion of the trail that contains these chains that help you get up and down the steep sections.

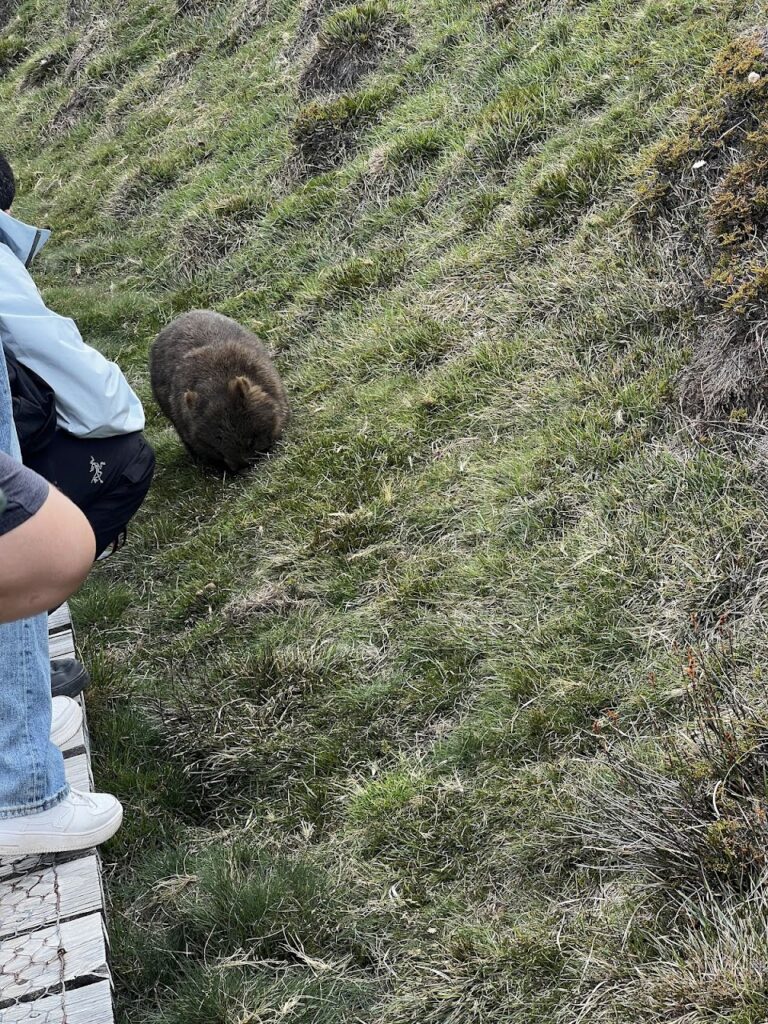
    On the way back to the trail head stopped to see the Wombat Pool, unfortunately we didn’t see any wombats there.

    You can walk or take a bus to the next locations we stopped at, which is Ronny Creek. Here you have a good chance of seeing Wombat’s and Echidna’s.

    That wraps up our trip to Cradle Mountain.

    The next day, we headed southeast from Launceston, driving two hours to Freycinet National Park. The weather was cloudy, with intermittent rain throughout the day, but that didn’t stop us from visiting the Wineglass Bay overlook.

    Even through the mist, I could tell the beach was absolutely stunning—though my rainy-day photos don’t quite capture its true beauty. If you haven’t seen it before, I highly recommend looking up pictures to appreciate just how breathtaking it really is!

    We found a wallaby!

    On the way out, we didn’t really get to see enough of the park, so we stopped at a small parking lot and visited Honeymoon Bay. The weather was starting to clear up and we were able enjoy the views.

    On the final day of our Tasmanian adventure, we visited Bridestowe Lavender Estate, located about 45 minutes from Launceston. The lavender fields bloom in January and February, transforming the landscape into a breathtaking sea of purple.

    As the largest lavender farm in the world, spanning 260 acres, it’s a popular spot for visitors looking to capture stunning photos—and it was certainly bustling during our visit. In addition to wandering through the fields, we explored the gift shop and café, which offered a variety of lavender-inspired treats and souvenirs, making for a perfect way to wrap up our trip.

    That concludes our journey through Tasmania, but it’s easy to see why many travelers spend one to two weeks exploring the island—there’s just so much to experience.

    During my research, I came across countless must-see destinations and activities that we didn’t have time for but would be well worth a visit. Some of the most popular highlights include:

    • Exploring Tasmania’s renowned wineries and indulging in its fine dining scene
    • Visiting Hobart, home to the world-famous MONA (Museum of Old and New Art)
    • Marveling at the Bay of Fires, known for its striking orange-hued boulders and pristine beaches
    • Watching little penguins return to shore at dusk—a unique and unforgettable wildlife experience
    • Hiking Mount Wellington, which offers panoramic views over Hobart and beyond
    • Taking a trip to Bruny Island, famous for its rugged coastlines, fresh oysters, and breathtaking scenery

    With its unspoiled natural beauty, rich history, and diverse attractions, Tasmania is truly a hidden gem that deserves more time to fully appreciate. If you ever get the chance to visit, I highly recommend soaking in as much of the island as possible!

  • Exploring the best of Sydney Australia

    As we continued on our Australia adventure, our next stop is Sydney. We arrived 2 days before new years days which allowed us to get settled a little bit, buy some food at the local grocery store.

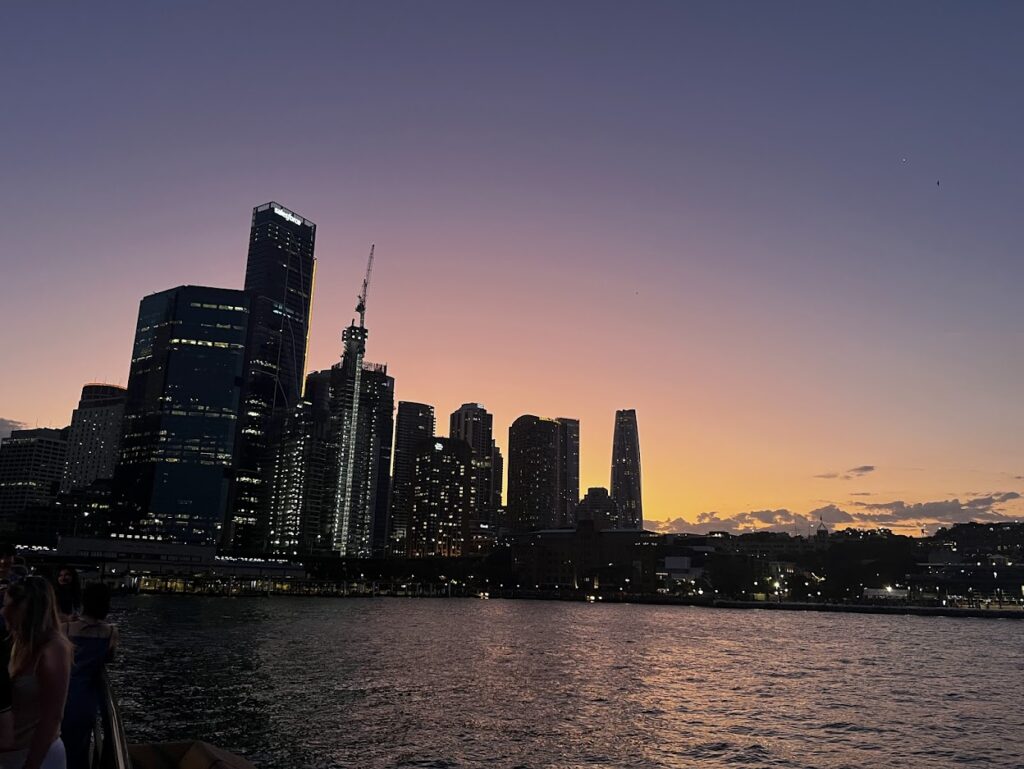
    New Years is a huge celebration in Sydney and requires planning ahead. We luckily got tickets to watch fireworks that gave us a pretty good view from Clarke Island which is located in the Sydney Harbuor. We departed on a ferry at around 5:30, packed a picnic for dinner and ate on the island and watched the sunset on the city as seen in the photo below.

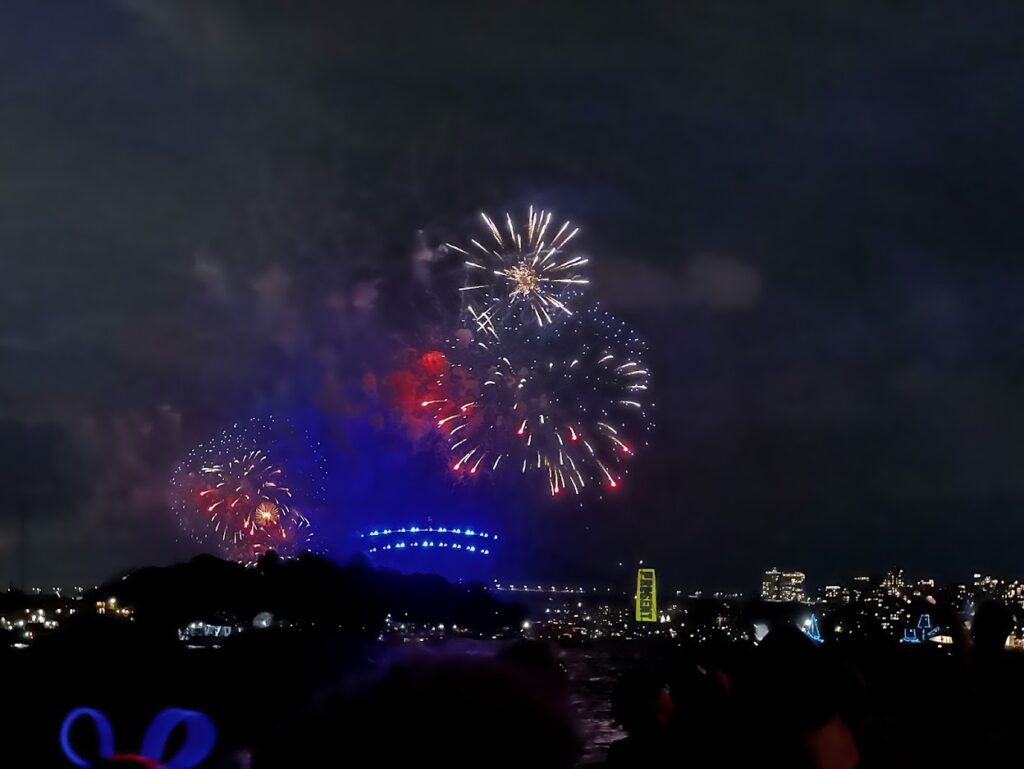
    Sydney’s New Year’s Eve celebration featured two breathtaking fireworks displays—one at 9:00 PM and the grand finale at midnight. The iconic Sydney Harbour Bridge was illuminated throughout the night, shifting colors in a dazzling spectacle.

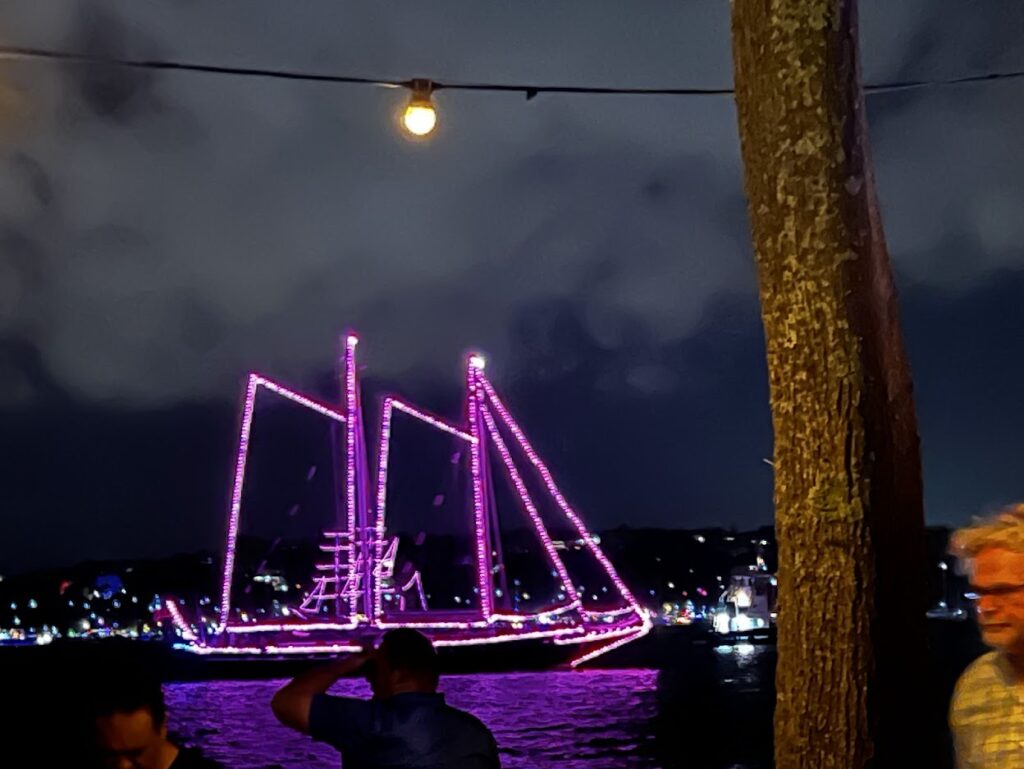
    While the 9 PM show was shorter than the midnight finale, it was still an incredible display of light and energy, setting the stage for an unforgettable night. Adding to the magic, the harbuor was filled with boats, ships, and yachts, all adorned with synchronized lights, creating a mesmerizing sight on the water.

    In the photo below, you can see the ship glowing in a striking purple hue, just one of the many color transformations throughout the night.

    After the fireworks, we rode ferry back, just be prepared as its very busy public transportation.

    On New Year’s Day, we couldn’t pass up the chance to visit the world-famous Sydney Opera House. The landmark was even more impressive in person—much larger than I had expected and bustling with visitors. While we weren’t able to go inside (it was actually blocked off), just seeing it up close in all its architectural glory was an unforgettable experience.

    I took a few more photos the following day under an overcast sky. While they may not be as bright, the Opera House still looked breathtaking—its beauty undiminished, no matter the lighting.

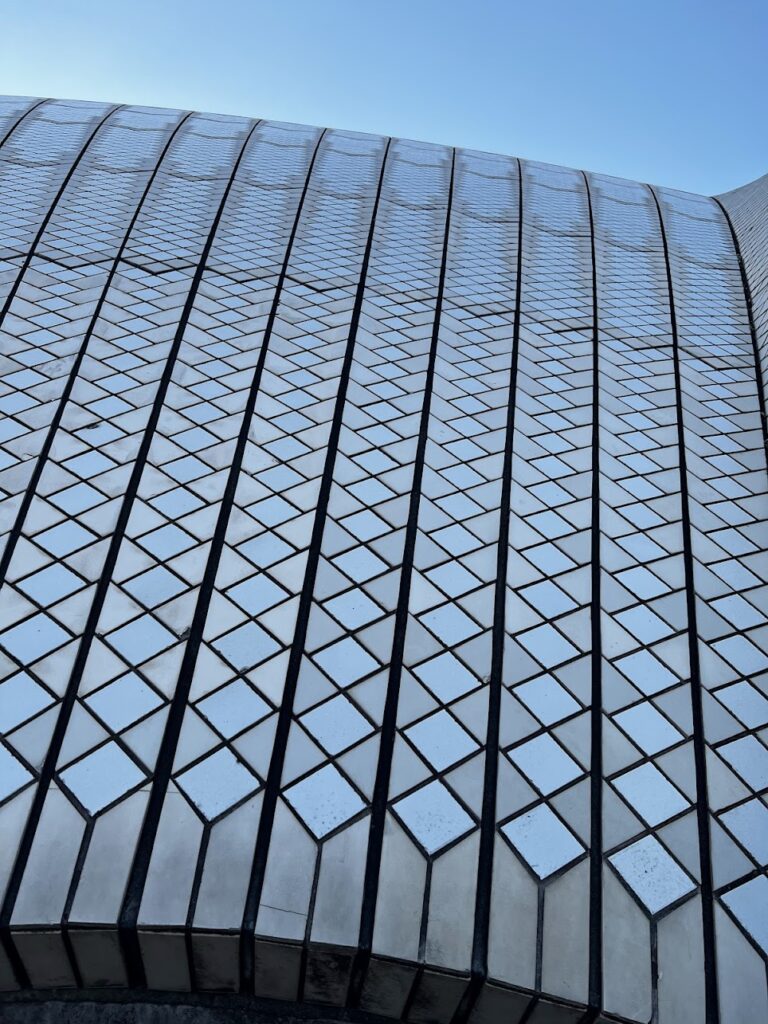
    The iconic sails of the Sydney Opera House are actually composed of thousands of intricately arranged tiles, as seen in the photo below. Up close, this detail offers a completely new perspective, revealing the craftsmanship behind its striking design.

    While the Sydney Opera House is often the first landmark that comes to mind, the Sydney Harbour Bridge is just as iconic. Visitors can either take a leisurely walk across it or sign up for the exhilarating BridgeClimb to scale its towering arches. We opted for the scenic walkway, which still offered incredible views of the harbuor and city skyline.

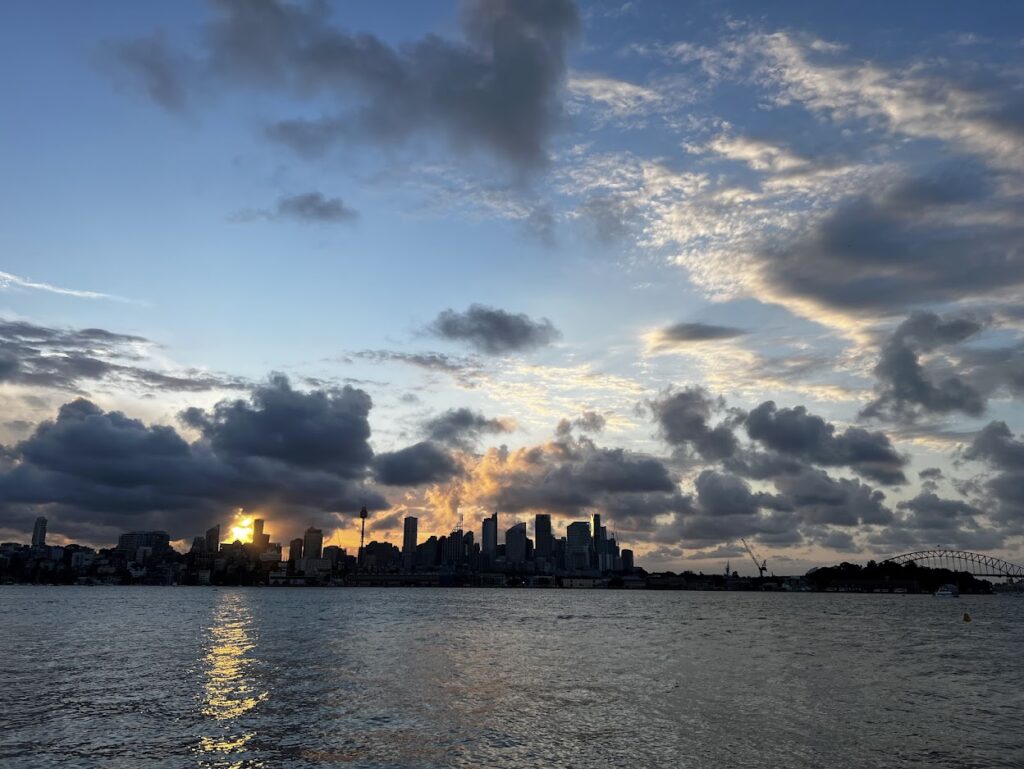
    Managed to catch a beautiful photo of the sunset of the city skyline.

    Another must visit place in Sydney is Bondi Beach. One of the popular coastal walks is from Bondi to Coogee Beach, approx 3 miles or 5 km. After a long walking the day before we opted for the shorter but still scenic route that started at Bronte Beach then headed north toward Bondi beach, which was still 2.1 miles or 3.4 km. Along the way, there were countless picturesque spots to pause, take in the breathtaking views, and capture some incredible photos.

    On the north part of Bondi beach you can visit the flat rock area of Bondi Beach and depending on tide, get some fun photos of the water slashing up.

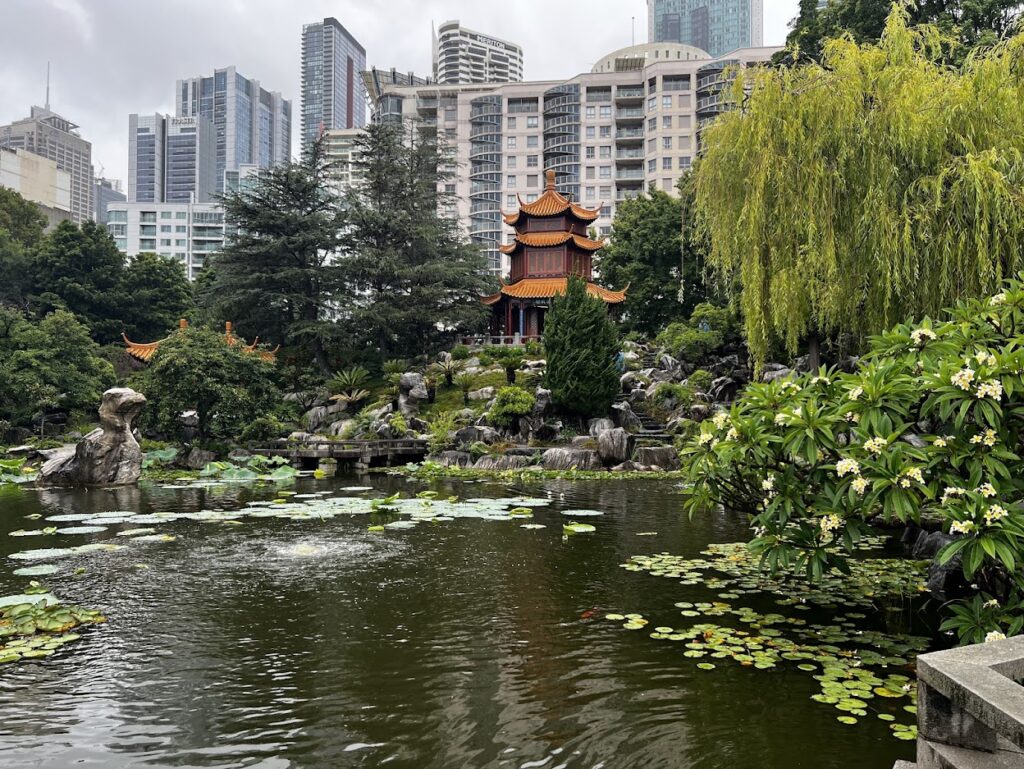
    We also visited the Chinese Garden of Friendship, a serene and beautiful spot despite the overcast weather. While the lighting wasn’t ideal for photos, the garden itself was stunning. Strolling through its peaceful pathways and exploring the various structures made for a truly relaxing experience. We also took some time to read about its history, which was both fascinating and enriching.

    With Sydney’s vast size and endless attractions, you could easily spend weeks exploring every corner of the city. We managed to cover a lot in just five days, packing in a mix of iconic landmarks, hidden gems, and incredible food.

    Some of the other notable stops included a visit to the nostalgic Luna Park, a stop at Sticky—a unique candy shop in The Rocks, and souvenir shopping at Paddy’s Markets in Haymarket. We also indulged in some fantastic meals at restaurants in Circular Quay, Chinatown, and Darling Harbour, each offering a diverse taste of the city’s vibrant food scene.

    From my research, I’d also highly recommend a trip to the Blue Mountains for breathtaking landscapes and hiking trails. However, since our next stop is Tasmania, we decided to save more sightseeing for the next leg of our journey!

    Whatever you decide to do I hope you get to enjoy this city as much as we did.

  • Lady Elliot Island located in the Southern Great Barrier Reef

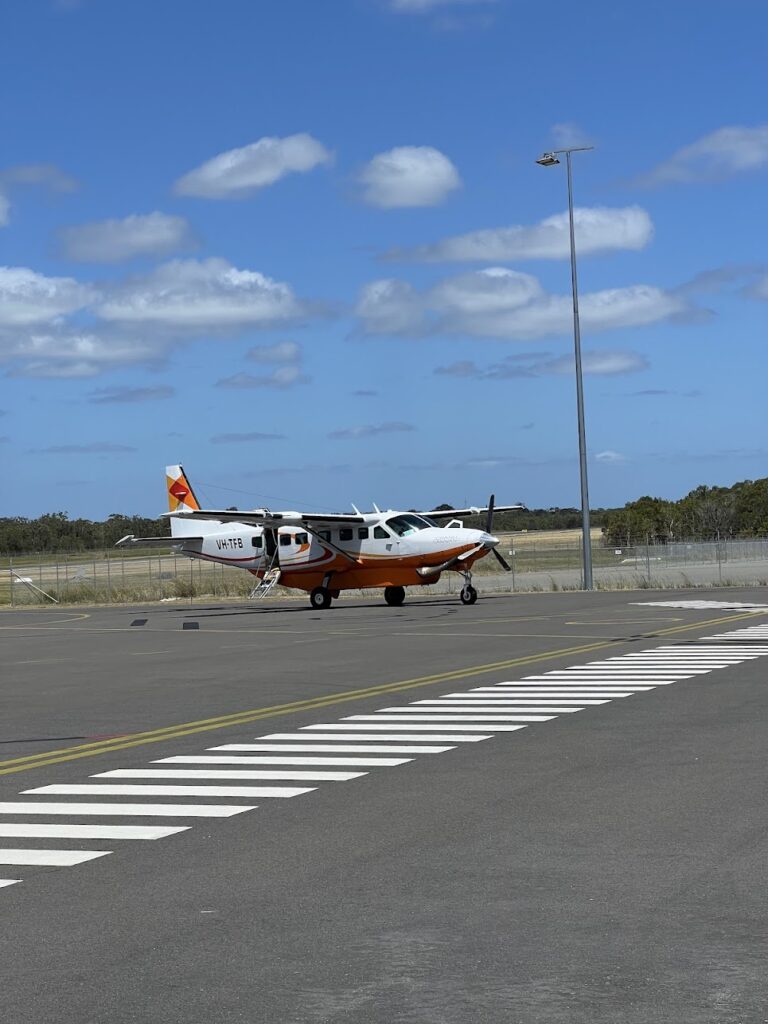
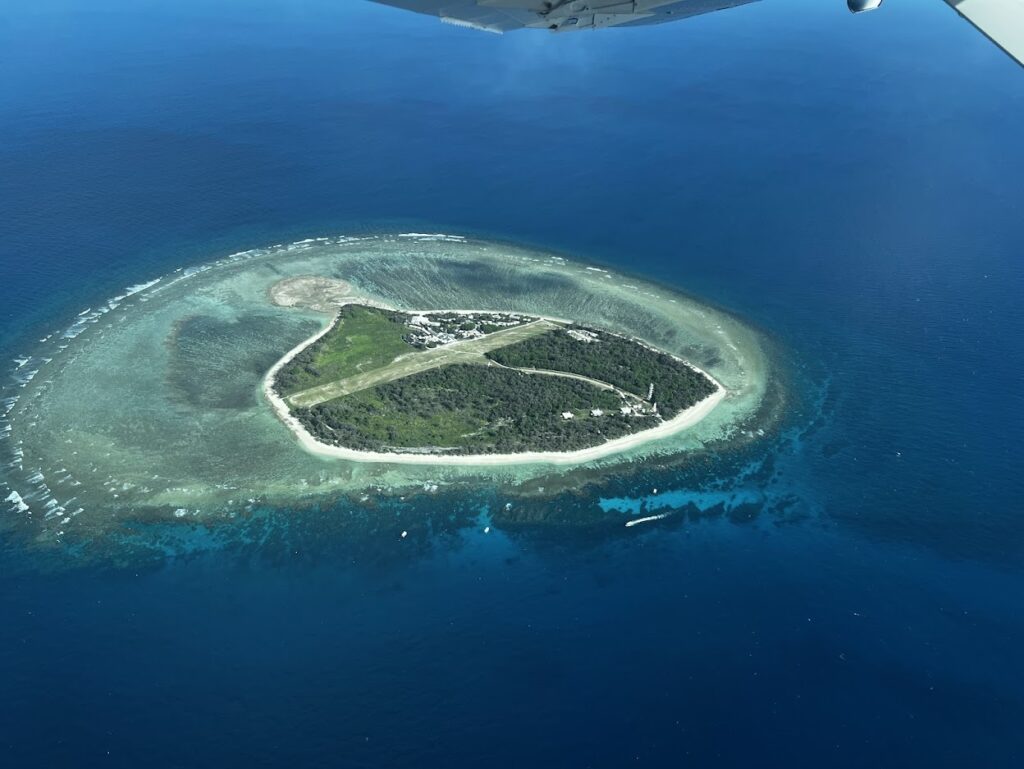
    In my previous post about Brisbane Australia, we took an a side quest during that trip and drove to Hervey Bay to fly to Lady Elliot Island and stay a night at Lady Elliot Island Eco Resort. The island is the southern most island of the great barrier reef and is absolutely stunning.

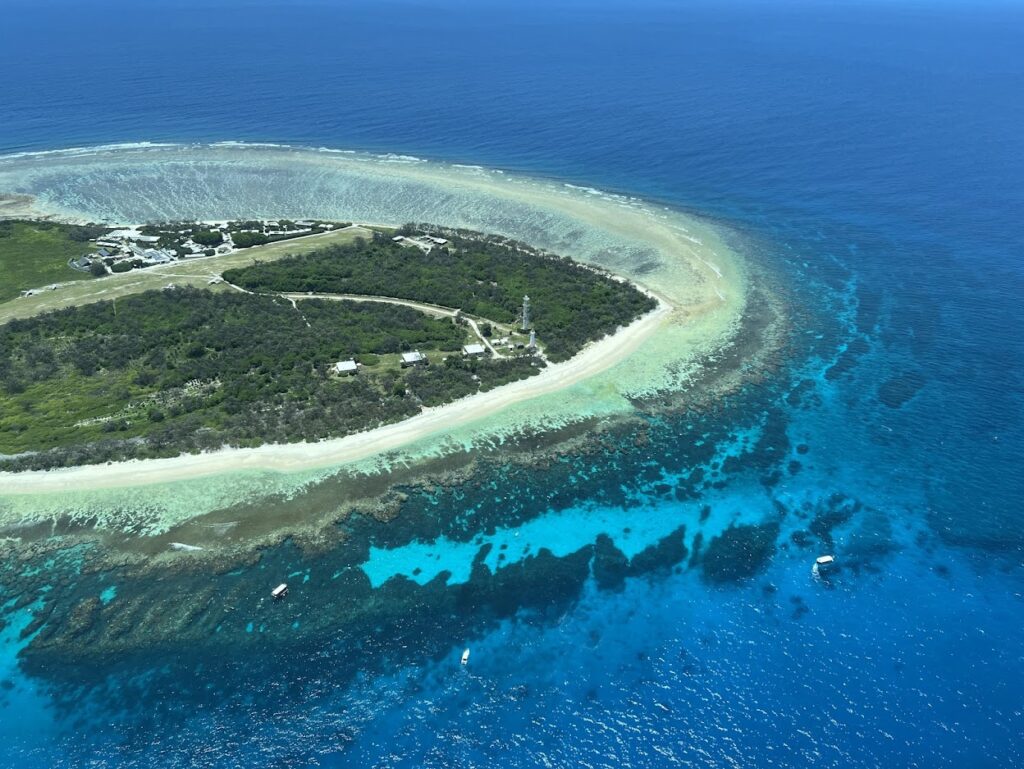
    I am going to start with some photos then talk more about it

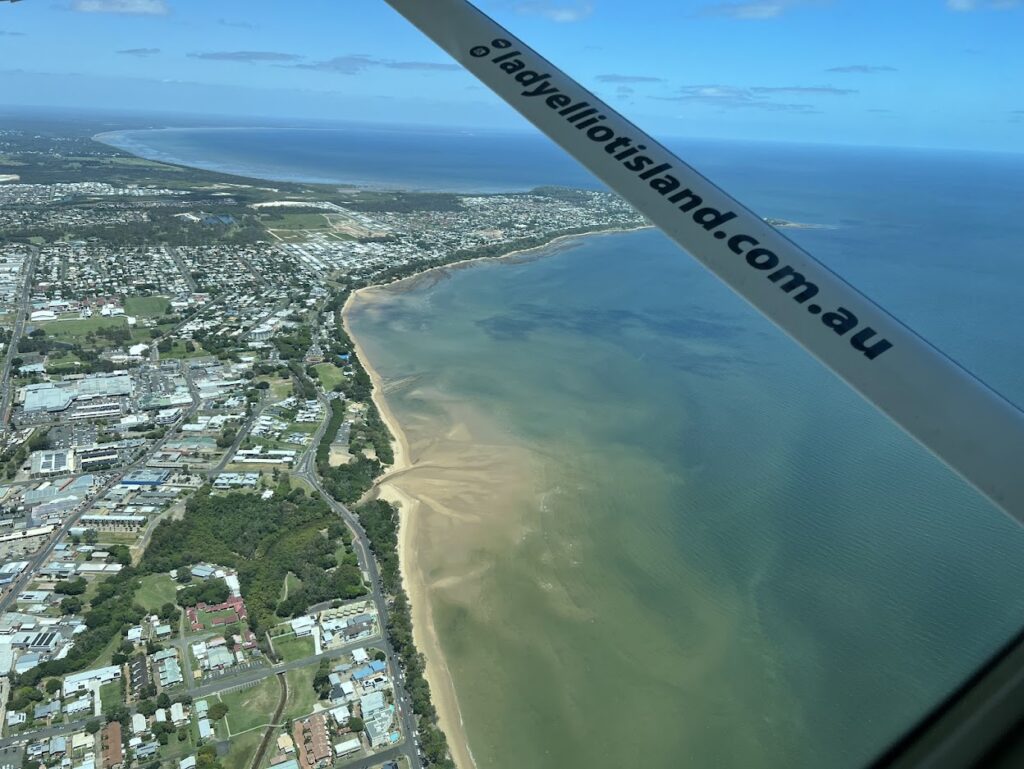
    I hope I captured your attention with those photos! First we boarded a Cessna Caravan plane then fly out to the island, got some amazing photos on the way in and out. Can you can see there is a reef around the island and it actually protects it from most of the wake.

    We arrived around lunch time and found our way around the small island and stopped at the cafe and got some amazing food. We quickly signed up for the glass bottom boat tour. This boat would travel out so you could see the reef and the different animals, which was about 15 minutes, then we had 45 minutes to snorkel. We were able to see green sea turtles, reef shark, and other various fish.

    From their we headed back to shore and got settled into our room. We went with a garden unit (vs the eco cabin) which was an upgrade and appreciated having our own bathroom vs a shared bathroom. Check out the the accommodation page to get more details.

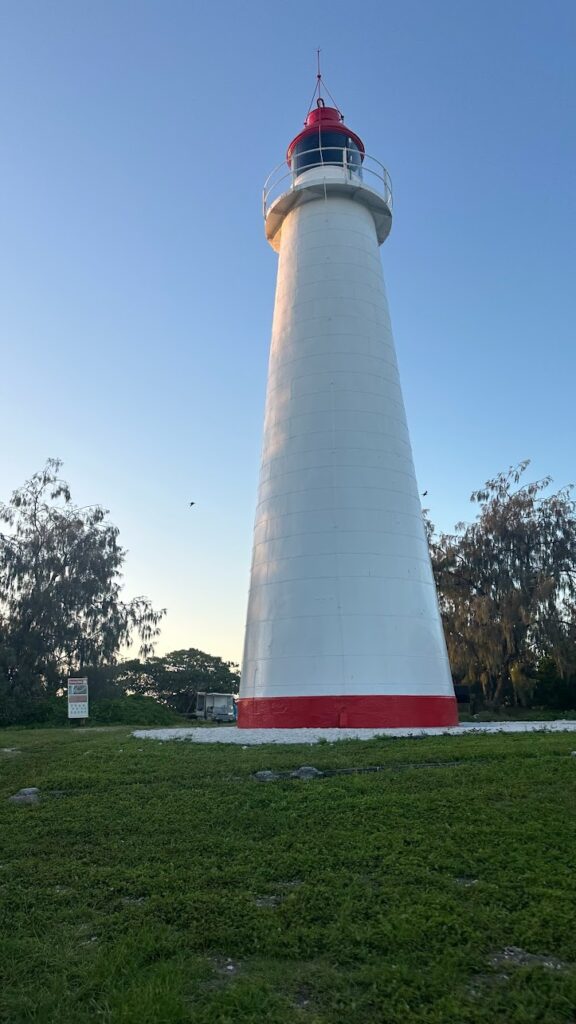
    As the day progressed, we went to west side of the island which is where the old and new light house is located. Here is a photo of the old light house.

    We ordered ahead some drinks charcuterie from the cafe at lunch and picked them up to watch the sunset, which was absolutely beautiful as you can tell from the photos below.

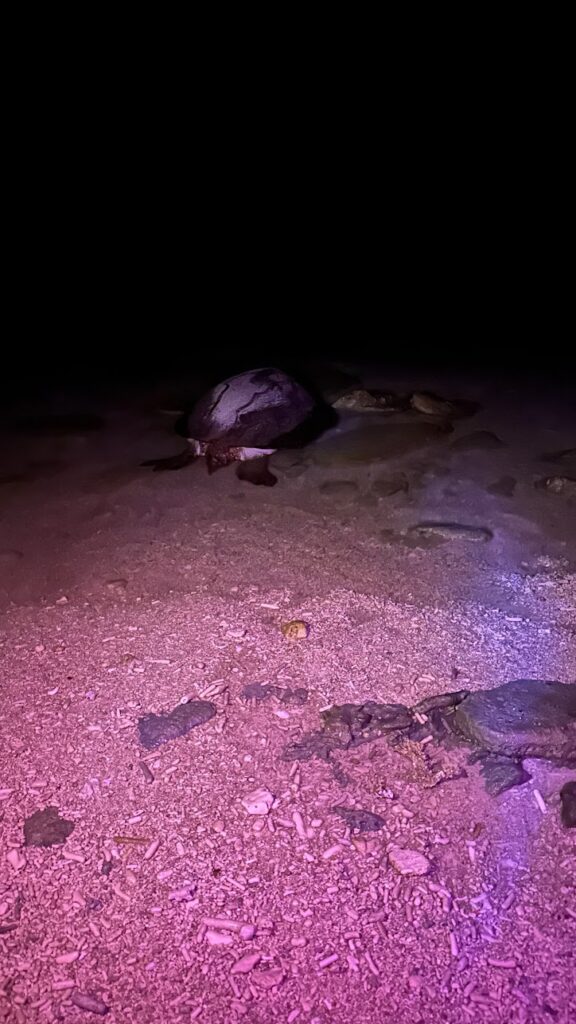
    That evening we went to the training class so we could go find and watch sea turtles laying eggs. This was late December when we were on the island, so the turtles have a limited season when they lay eggs. They give you special flashlights, so you don’t disturb them but allows you to see a little. We were able to find 3 different turtles digging nest, but we didn’t stick around enough to see if they actually layed eggs. Many times they will get spooked and go back out to sea. We were nervous that we would spook them ourselves, so we didn’t get too close or stick around long, so unfortunately the only photo I have is of a turtle already heading back out to see.

    From here, knowing we 50 miles off shore and 80 miles from the airport we took off from, I figured I could get some good sky photos of the milky way. These photos are from my phone, if I would have used a real camera, I am sure they would have come out even better.

    All of that adventure was in about 10 hours from when we landed. The next day we didn’t do nearly as much, as we couldn’t go snorkeling due to weather conditions and we took it a little easier.

    From here we departed and here is one last view of the beautiful Lady Elliot Island.

    Although we spent just 28 hours on the island, every moment was truly breathtaking. From the stunning ocean reefs to sunset. It felt like stepping into a dream. It wasn’t until we had left that we fully realized how deeply the experience had impacted us, leaving us with memories that would last long after our departure.

  • Beaches, Kangaroos and Koalas, Brisbane Australia

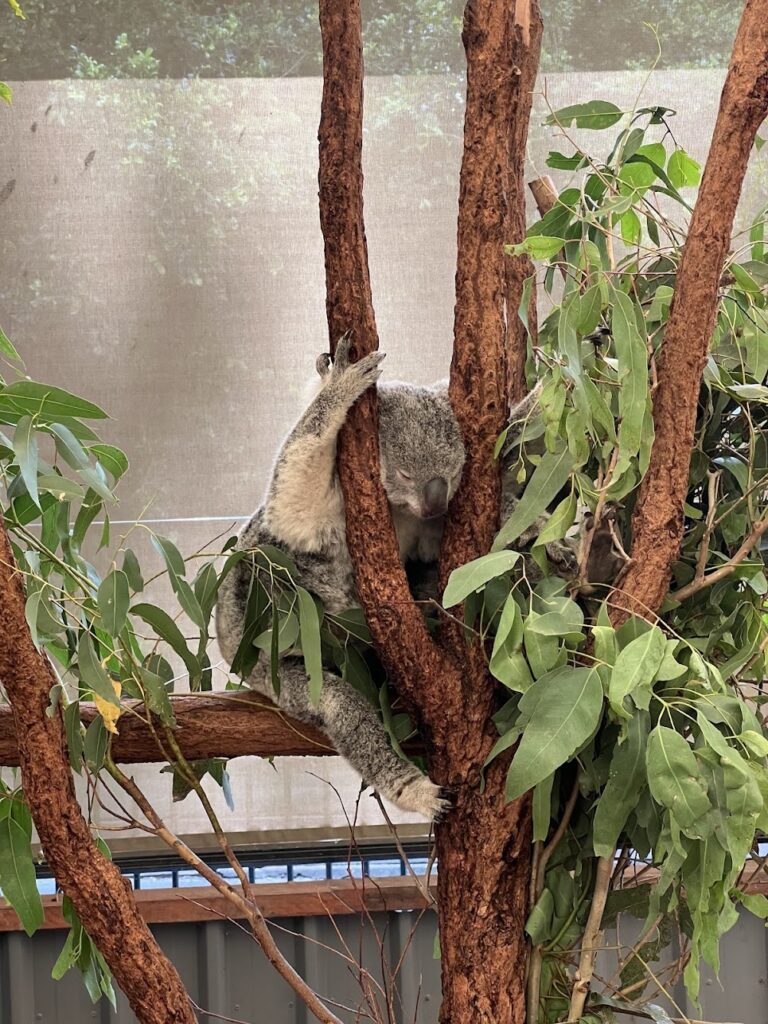
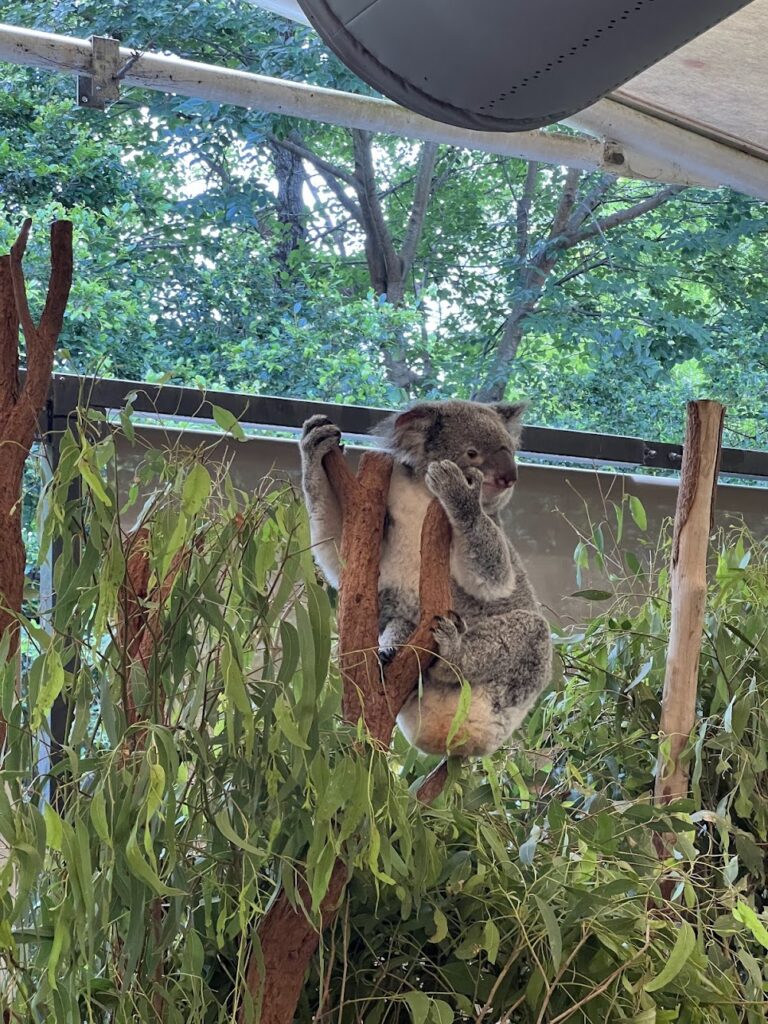
    We landed in Brisbane on Christmas morning, which was an adventure in itself. We were luckily able to check into our hotel early. Many places were closed and employees on their own holiday, so with limited options, we decided to stop and visit Lone Pine Koala Sanctuary which was open with limited hours.

    First we visited the kangaroos and were able to feed them, it was pretty hot that day and most of them just wanted to sleep.

    Being a Koala Sanctuary, of course they have Koalas! It actually is the largest collection of Koalas, somewhere around 200+.

    The next day we took it easy and just did a little shopping as it was Boxing day. Overall I was surprised at how many people were out and about shopping. Then that evening we went to the gold coast, which is south east of Brisbane. We got there a little later then expected, so I don’t have many pictures, but the area has a great surfers vibe and the beaches are Radiant.

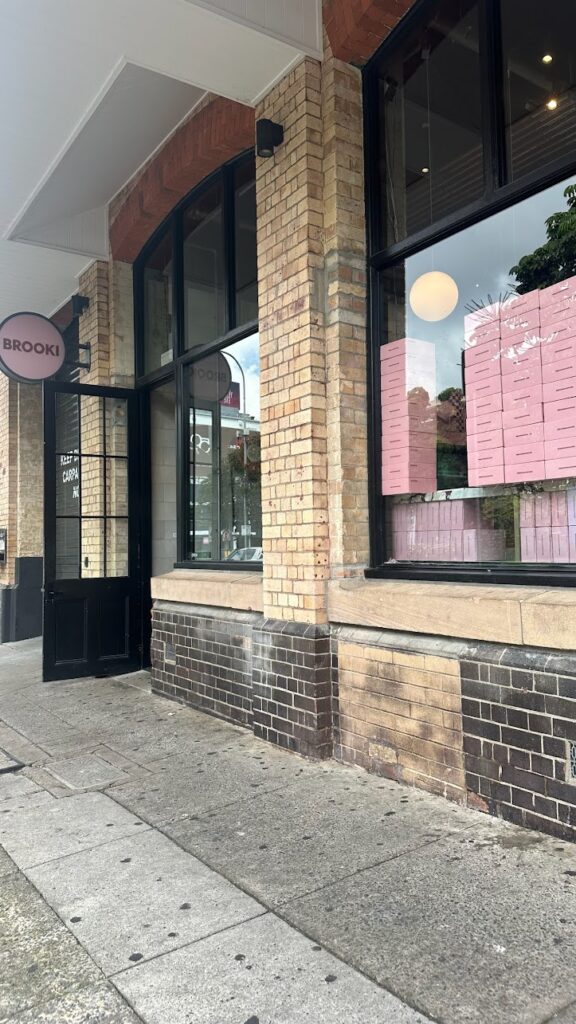
    We stopped by the famous Brooki Bakehouse and picked up a few desserts to enjoy. The display cases overflowed with tempting sweets, making it tough to choose. We indulged in their signature macarons, moist cupcakes with luscious frosting, and perfectly baked cookies—crisp outside, soft inside. Every bite lived up to their stellar reputation, leaving us with happy taste buds and a deep appreciation for their craft.

    Wrapping up our Brisbane trip, we had to visit the famous Brisbane sign located in the South Bank park.You can visit during the day or at night, we really enjoyed the colorfulness of it at night.

    Nice view of the bridge glowing and the city skyline in the background.

    Although our time was limited, there were a few things we had hoped to do but simply ran out of time for. We visited the South Bank at night, which was beautiful, but I’d also recommend experiencing it during the day for a different perspective. Mount Coot-Tha Summit Lookout offers stunning panoramic views of the city and is well worth a visit. Lastly, while we had the chance to explore Lone Pine Koala Sanctuary—which I still highly recommend—it does come with an entry fee. If you’re looking for a budget-friendly alternative, the Daisy Hill Koala Centre offers a great experience free of charge.

    Hope you get to enjoy this beautiful city, what are the things you recommend?

  • Custom built tool box for garage

    As my tool collection was starting to grow and outpace my toolbox, I decided was going to build a tool box that custom fit the location in the garage where I wanted it. I didn’t realize it was going to take me 2 years to finish this project. It was pretty difficult to get everything lined up and being busy it wasn’t always my highest priority. My requirements were, it needed to fit the garage space against the wall, below the electrical outlet, I could still access the hose spigot, and has wheels (with locks), so I can move it as needed.

    I started off using google draw to get a visual idea then figured up my dimensions. The final drawing looked like this

    From there, it was time to purchase the lumber. This isn’t a blueprint plan for it, but I will roughly share the type of lumber I got for this project. I was trying to save weight and built the frame out of 1×4’s, however if you look at the pictures in many spots I doubled up the lumber for strength (but it also negated the weight savings). For the outsides, I used a finished plywood that was thicker (probably 5/8 or 3/4), in the middle for support I used a normal piece of plywood, then for the back, I used 1/4 finished plywood.

    For the drawers I wanted to use hardwood to make sure it would last (vs using softwood, like pine), and use poplar and then MDF for the bottom of the drawers (sorry don’t have any photos). Then bought some ball bearing drawer slides from amazon, approx 16″ or 18″ in length. Then finished up the front also a poplar finish.

    For the top, I used pine boards as the base layer, then used a variety of different hardwoods that my neighbor gave me that we ripped into smaller pieces. This was an unique collection that he got from his relatives and I am not sure what they are all, but think one was hickory and unsure what the red one is, but its beautiful. Here I was dry fitting pieces and getting them cut to the right length.

    Had to clamp and glue the top together.

    All done gluing and rough sanding finish. I wasn’t going for a smooth finish as it a tool box and going to get beat up.

    Here is the final product, with drawer handles installed and rolled to its final location. I decided to not finish the wood with any stain or clear at this time. There is a couple of drawers that could have been better aligned, but this is my first large fine wood working project. Overall I was happy with the result.

  • Entertainment Center built for custom space

    I wanted to make an entertainment center to hold my receiver, computer/htpc, PS3, Xbox, SNES, and NES to fit a custom space. I started with taking measurements of the computer as it was the largest item and then took my design from there.

    I also was looking for something that was had a bit more personality then just standard shelves. My goal was to blend practicality with a touch of style, ensuring the final piece would stand out as a centerpiece rather than just a storage solution. As always, I started with a basic concept and allowed the design to evolve as I worked through the details.

    Partially assembled to confirm it was level. Then from there it had to be taken apart and stained then polyurethane and reassembled.

    Here it is—the final product! While the photo makes the front-facing panels and stain appear lighter than they actually are, in person, the finish is rich and perfectly balanced. The entertainment center turned out even better than I envisioned, blending seamlessly with the space while still making a statement.

    The clean lines and tailored fit give it a polished, professional look that elevates the entire room. It’s functional, stylish, and truly one-of-a-kind—a piece that not only serves its purpose but also showcases the effort and thought that went into its creation. I couldn’t be happier with how it turned out!

  • Daytona Beach

    Daytona Beach is an absolutely stunning destination, well worth a visit. I recently had the opportunity to travel there for work, though my schedule didn’t leave much time for sightseeing. That said, one of the city’s most iconic attractions is the legendary Daytona International Speedway—perfect for those seeking the thrill of a race.

    One thing that struck me during my visit was how dramatically the atmosphere shifts between a sunny day and a cloudy one. On sunny days, the beach sparkles with vibrant energy, while cloudy days bring a more serene and introspective vibe. Both have their own unique charm, making Daytona Beach a place full of captivating contrasts.

    Check out these photos and let me know what is your favorite thing to do in Daytona.

  • Gateway Arch National Park

    The Gateway Arch, located in St. Louis, Missouri, is an iconic monument symbolizing the westward expansion of the United States. It is the centerpiece of the Gateway Arch National Park and stands as the tallest arch in the world and the tallest man-made monument in the Western Hemisphere.

    Fun Fact: At the top of the arch, the observation deck has small windows that let you peer out to incredible views. On clear days, you can see up to 30 miles in every direction! The cars are pretty small and only sit about 4 or 5 people at most. However the view is totally worth it and I have a couple of photos from up top down below.

    Busch Stadium, home of the St Louis Cardinals
  • Building a 4 tap kegerator with a chest freezer

    Want to enjoy your freshly brewed beer without the hassle of bottling? It’s time to build your own kegerator and pour the perfect pint straight from the tap!

    I wanted to share some photos of my adventures of building a kegerator. I started off with a RCA 7.1 Cu Ft chest freezer. I ordered it from Walmart, so it could be just delivered to my house. Its important to know the height of your kegs for this next part to determine how tall you want your collar (wood part that sits on top of the freezer) to be. Here I placed the keg in the freezer. With chest freezers there is the deep part and the shelf that the motor sits below, so take both of those into consideration.

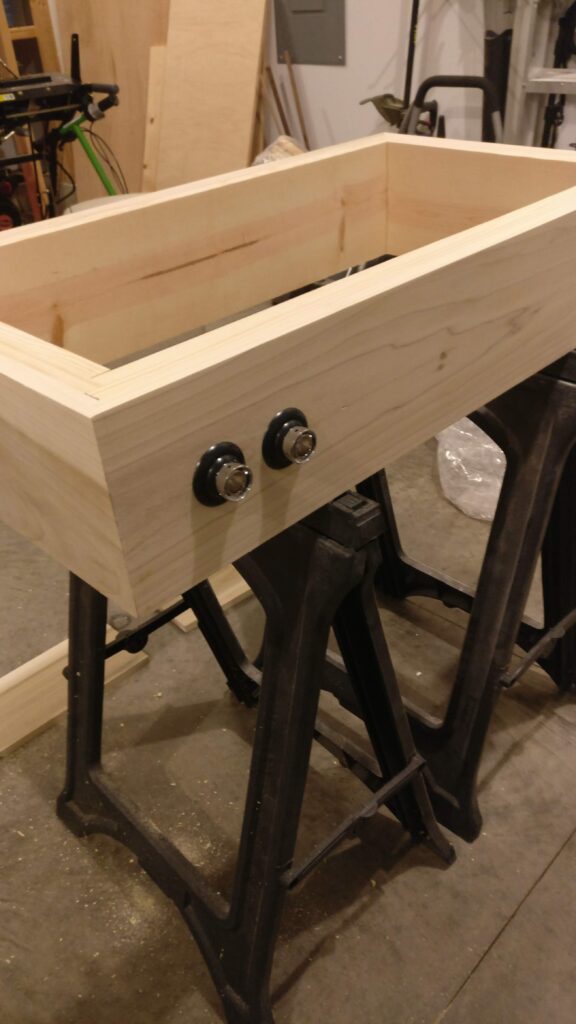
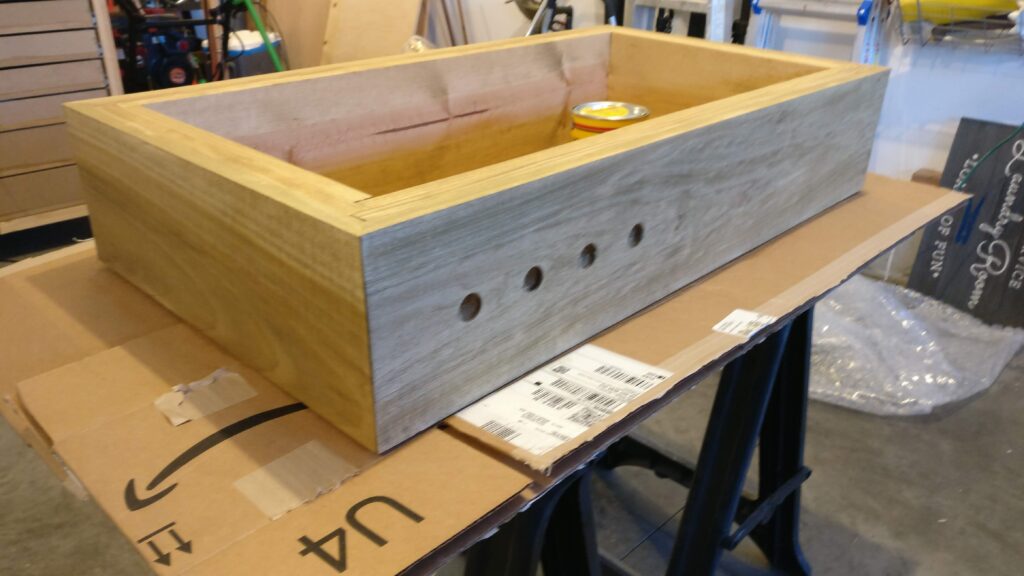
    I then figured out what lumber I needed, I don’t remember the exact size, but something like a 1×8 or 1×10 hardwood board, like poplar or oak. As you can see, there is an inside and outside of the collar, I left the width of the board between them. Then lastly for installation, I used spray foam installation to keep the cool in and the hot out.

    From here, I figured out how far apart I wanted my taps to be. It would be good to have your taps for measurement.

    I was now able to drill all 4 holes and start preparing the food for finish.

    I stained it with a oil finish and a pretty light natural color, but here is your chance to customize it to what you would like.

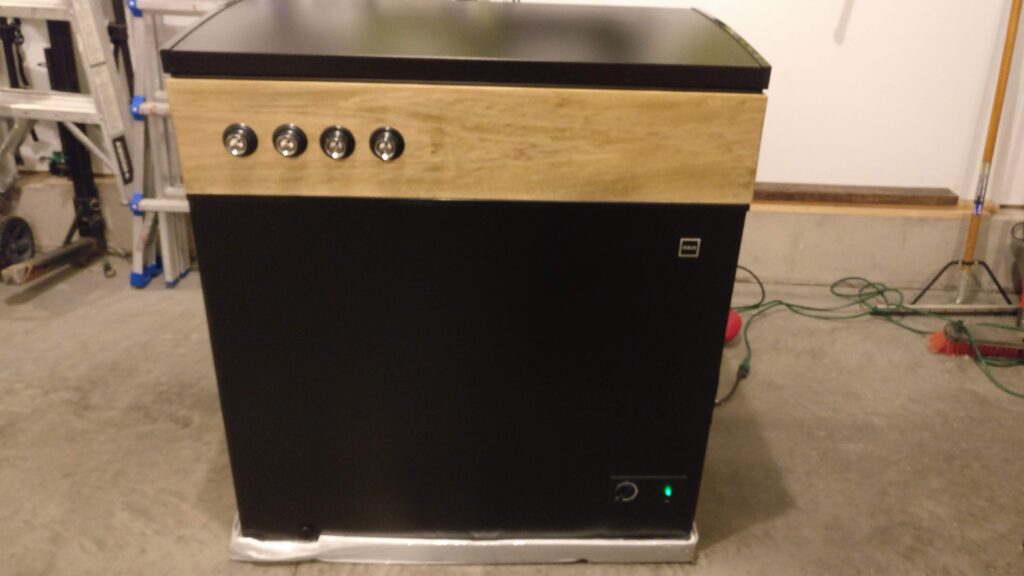
    I now have the collar sitting on the freezer and also attached the lid to the collar.

    If you seen my toolbox post, you would see it has wheels. Well I decided to do something similar here, so I could move it easily in the garage (and clean around it).

    Since a freezer main purpose is to freeze, its important to use some type of temperature controller to manage the temperature. This one you plug the freezer into the controller, then set the temperature to your desired on and off, eg on at 38 degrees and off at 33 degrees. The controller would have a temperature probe that you need to also put in the freezer.

    Here is a photo of the gas regulator. It allows you to use 1 CO2 tank for multiple kegs. I then ran the gas lines to the kegs (red lines here), and the clear lines are the beer out lines to the taps.

    I ended up buying a CO2 regulator that would allow multiple pressures depending on your beer. I did dedicate one keg to root beer, so I typically ran higher levels of gas to that keg.

    Once again, this is the final product. I did find this project took a decent amount of homework, as I was starting with nothing. I had to purchase Kegs, the freezer, wood to build collar, CO2, gas regulator, gas distribution, taps, lines, and temperature controller. I am sure I forgot something in that list as well. Overall I am very happy with how the kegerator turned out and found it to be a very rewarding experience, especially when you can enjoy a nice cold beer.