When it comes to network security and firewall management, OPNsense is one of the most powerful, flexible, and user-friendly open-source solutions available. Built on FreeBSD, it provides a robust alternative to commercial firewall solutions, offering features like traffic shaping, VPN support, intrusion detection, and web filtering—all with a modern, easy-to-use web interface.
In this post, I will walk you through my OPNsense hardware selection.
Hardware List
- Qotom Router Q750G5 Intel Celeron J4125
- Kingston 240GB A400 SSD
- Teamgroup Elite DDR 16GB – Note: I had problems finding RAM that worked with this Qotom box. I requested a refund through amazon and the seller reached out and told me the ram need to have 16 physical ram chips on the card vs 8. Purchasing the teamgroup memory solved that issue.
Note: As an Amazon Associate I earn from qualifying purchases. No additional cost to you.
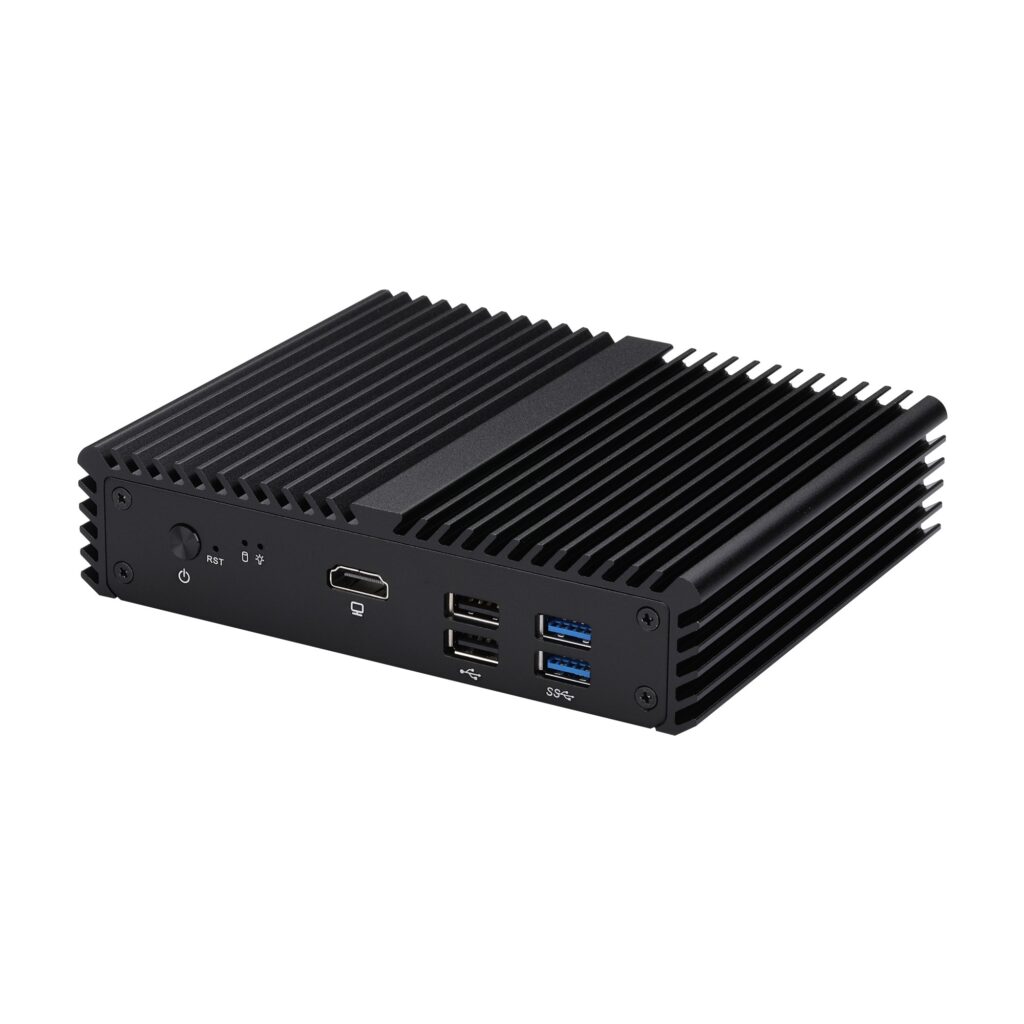
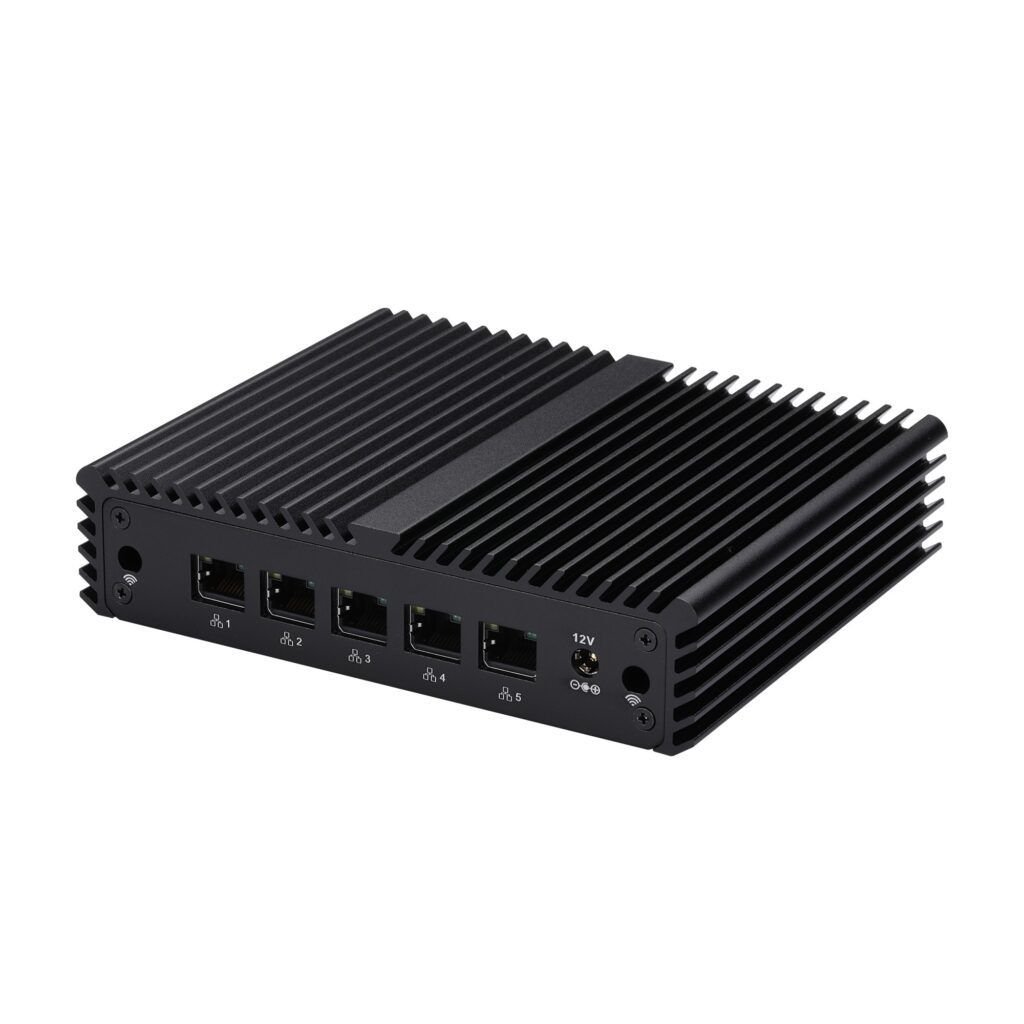
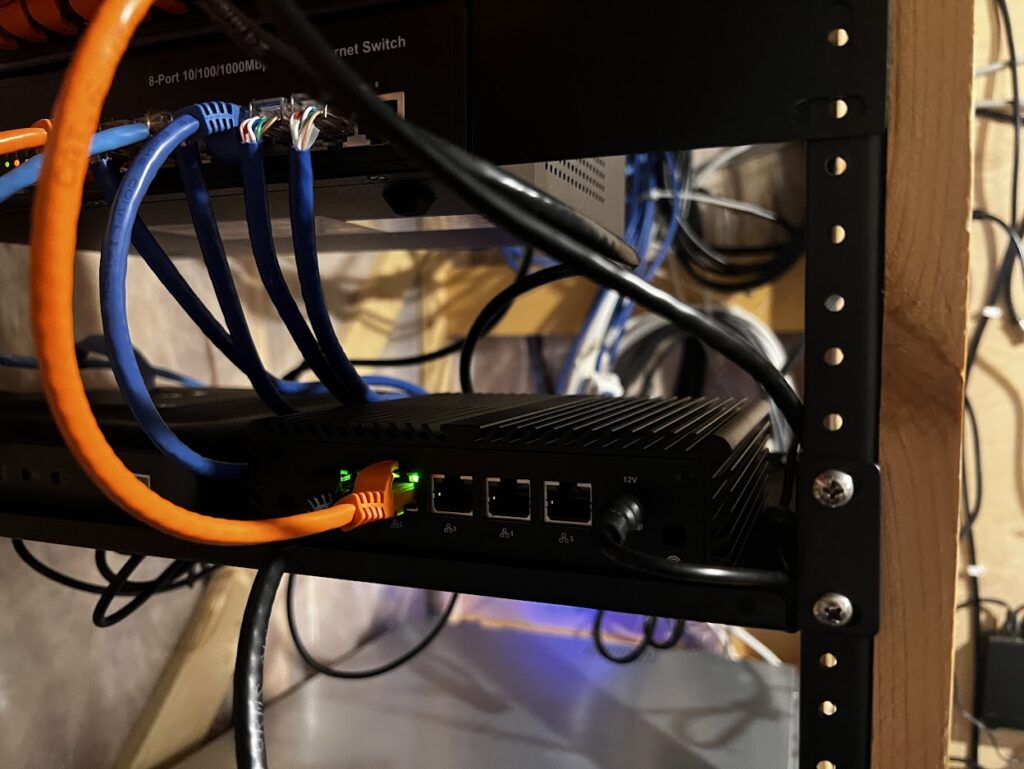
I don’t know what side is considered the front, I will assume its the one with the power button. It also has 2 x USB 2.0, 2 x USB 3.0, HDMI and a couple status LEDs. The backside has the power connector and 5 Ethernet ports.
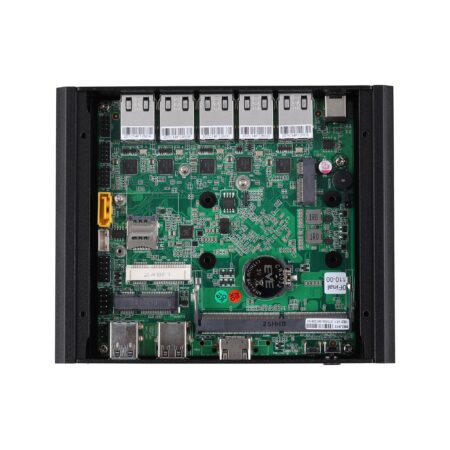
I didn’t take any photos of the unit when I was installing the RAM and SSD, but its pretty straightforward. This Qotom box supports either SATA or PCIe mSATA. I went with a 2.5 SSD as I mentioned above and used the included SATA cable to connect it. Then I slide in the ram into the ram socket.
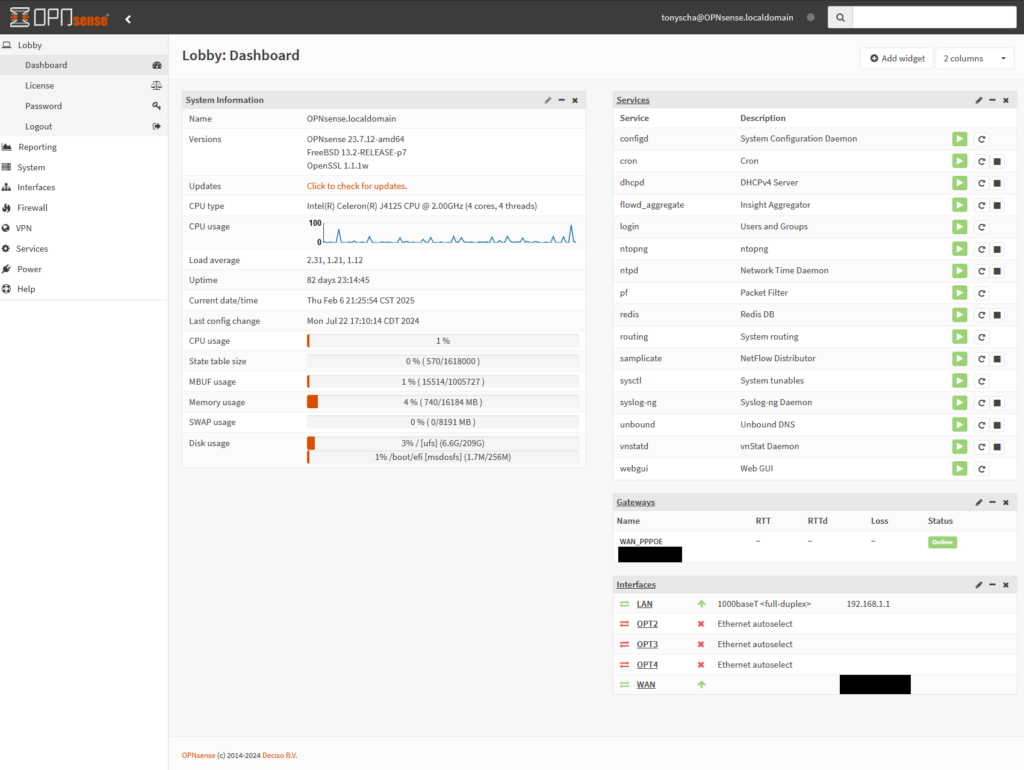
Installation of OPNSense is pretty typical for any embedded software install, recommend visiting the install notes out on the OPNSense site – https://docs.opnsense.org/manual/install.html
Now you will have to configure it for your home network and ISP.
Here you can see I have it installed in my network rack. I have the power supply mounted on the bottom side of the shelf to keep it out of the way. As you can see I only use 2 of the 5 Ethernet ports.
Whether you’re a home user looking to improve security or a network administrator managing a complex setup, OPNsense offers the tools and customization needed to take control of your network.