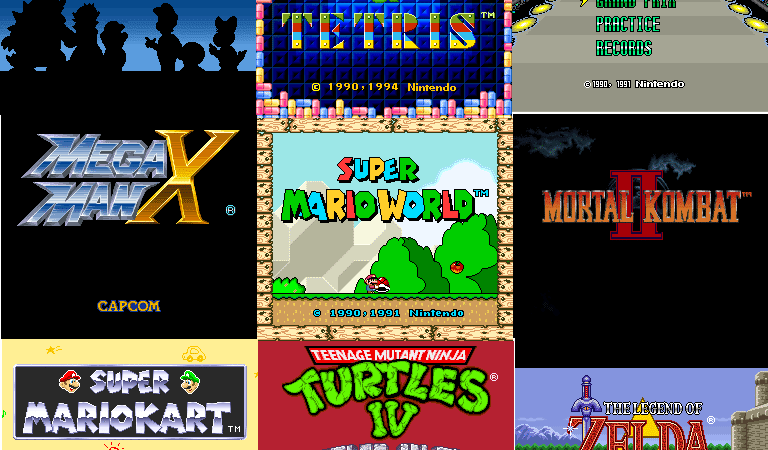
The Super Nintendo Entertainment System (SNES) was Nintendo’s smash hit into the 16 bit console market. I remember saving up money delivering newspapers as a kid to buy my SNES…
The Super Nintendo Entertainment System (SNES) was Nintendo’s smash hit into the 16 bit console market. I remember saving up money delivering newspapers as a kid to buy my SNES…
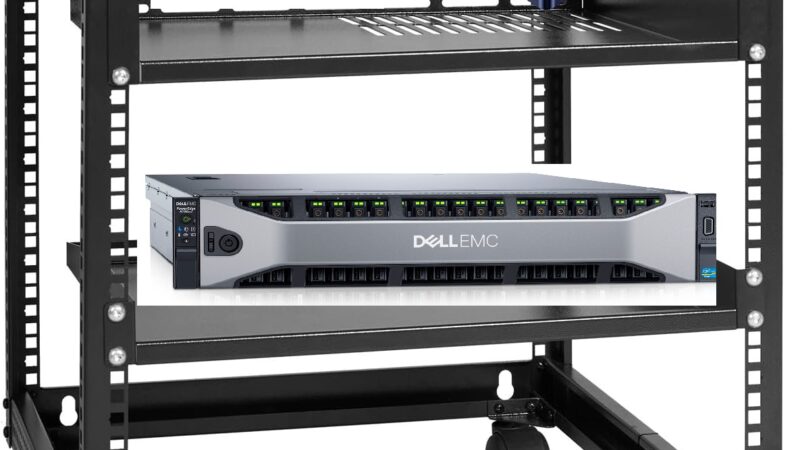
Looking to start a homelab? Homelabs can be as simple as a single raspberry pi or a server rack full of enterprise level servers, usually its something in-between. Then What…
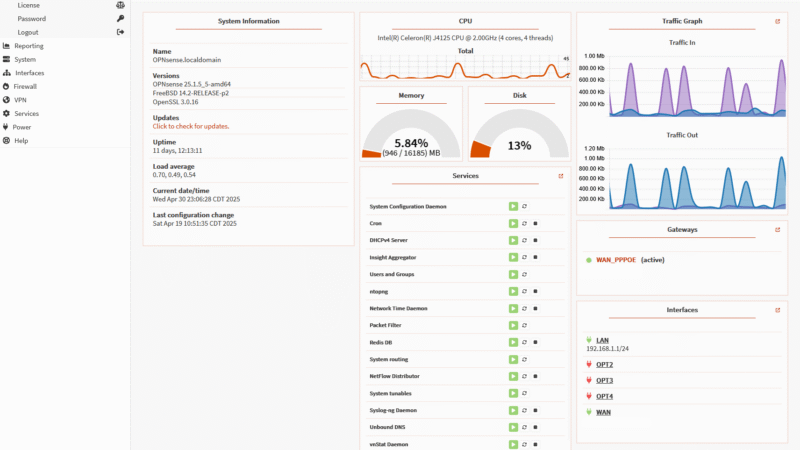
I wanted to follow up on my OPNsense Firewall/Router that I built two years ago. Overall the hardware I selected has been solid and haven’t had any issues expect for…
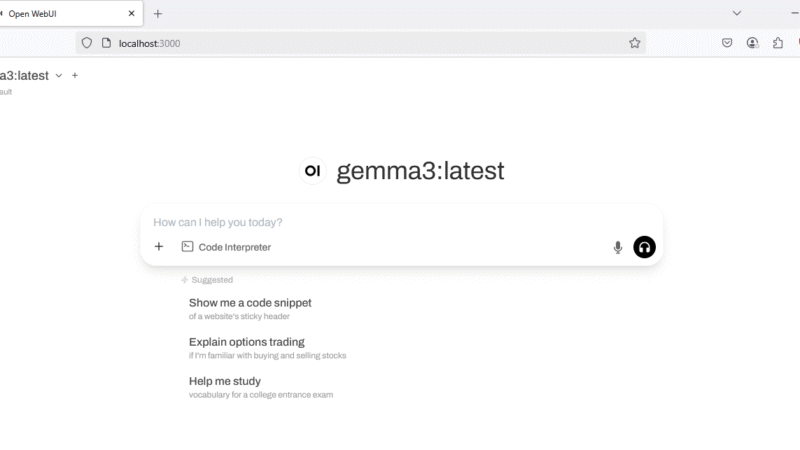
I have another post about getting Ollama and Web UI up in running on Unraid with Docker and do a write up for Windows 10/11. Why am I writing up…

In my previous posts, I cover the why I am LS swapping my truck and the build process, now its time to install the engine into the truck. This guide…
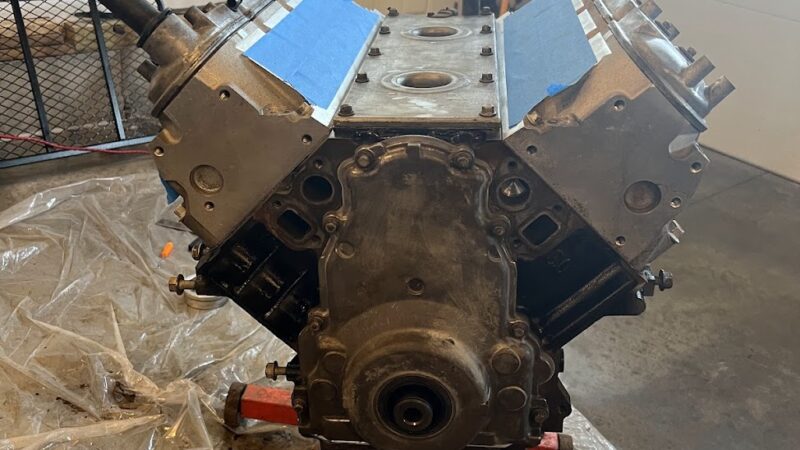
Summer of 2023, I decided to take the plunge and commit and bought an LS to swap and I was going to do it myself at home in the garage….
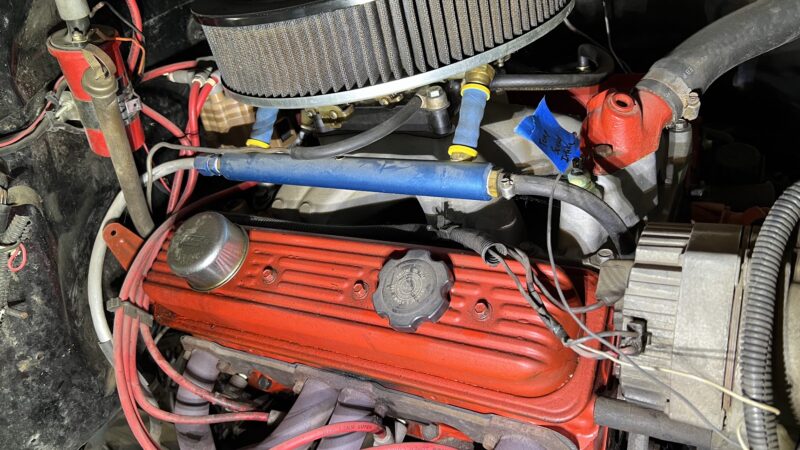
For many years my truck was parked due a hole in the gas tank after loading on a trailer. Life got away from me, but after some time I put…
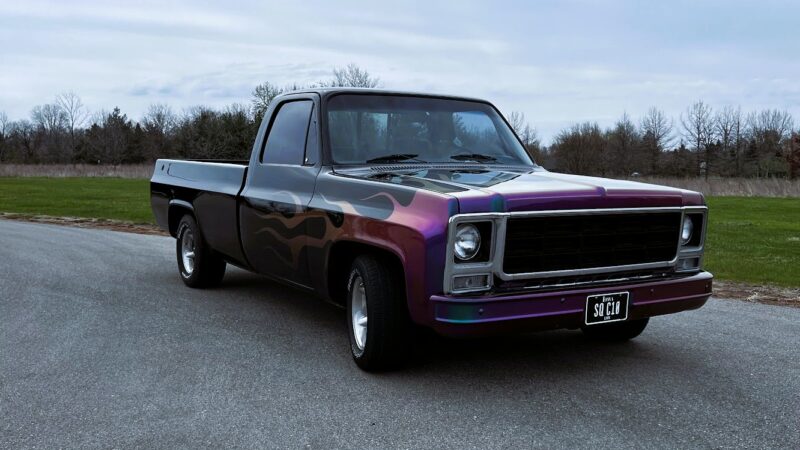
Went to the first 2025 Cars and Coffee and sadly there was only one other Square Body there. It was larger then the one from last fall, I am guessing…
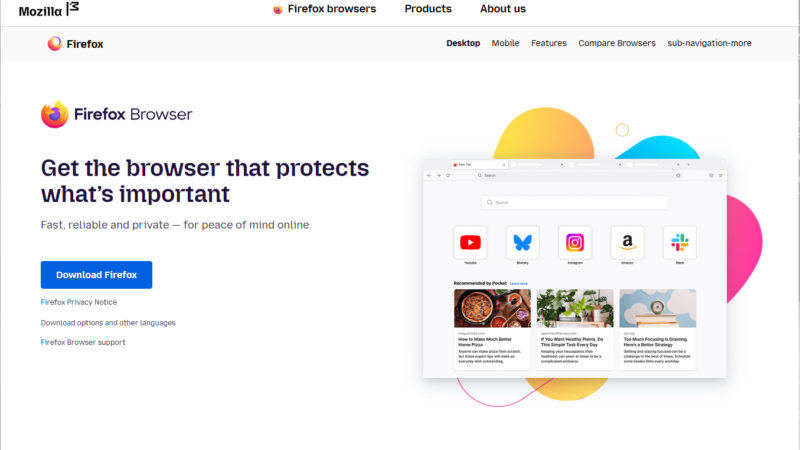
I’m a big fan of open-source apps, and with upgrading my computer to an AMD Ryzen 7 5700x and doing a fresh Windows 11 install, I realized I was missing…

We loved visiting Banff, Canada, it’s literally is one of the most beautiful places on Earth, in my opinion. With that, wanted to put together a detailed Banff, Yoho, and…