I just purchased a new to me, Dell r530 server from Ebay. I have another post about trying to configure it so I can get some lower idle power consumption. The main purpose of the server will be to run plex to record Over the Air (OTA) tv shows and provide enough storage to act as a Network Attached Storage (NAS). Virtualization was my second priority. My previous setup with Ubuntu install with plex running locally. It has worked great, but went trying to add storage management, virtualization or other services, it wasn’t as user friendly.
I started looking into the different options I had and settled on Proxmox, Unraid, and TrueNAS Scale.
- Proxmox is an open-source virtualization platform that combines a hypervisor (Proxmox Virtual Environment) with container-based virtualization, offering powerful management tools for virtual machines (VMs) and Linux containers (LXC). It supports enterprise-level features like clustering, high availability, and software-defined storage, making it a popular choice
- TrueNAS is an open-source network-attached storage (NAS) operating system designed for data storage, backup, and file sharing. TrueNAS SCALE (Linux-based, supporting containers and VMs), it offers powerful features like ZFS for data integrity, snapshots, and replication, making it a popular choice for home and enterprise storage solutions.
- Unraid is a flexible, Linux-based operating system designed for NAS, media servers, and virtualization. It allows users to mix and match hard drives of different sizes while providing parity-based data protection, Docker container support, and virtual machine hosting, making it a popular choice for home labs and media enthusiasts.
Having used Proxmox for some testing in a past, I thought it worked well, but not entirely what I needed for my requirements.
Next I decided to try out Unraid and have been fairly happy with the results. There is a bit of a learning curve on a few items, but Unraid’s help pages and forums have been really useful. Some of those learning curve items include, Unraid only runs off a USB stick (and runs mostly memory), so you do not need a extra hard drive. As the name of the product suggest, it doesn’t support raid, it uses a parity system to provide data integrity. The “Shares” isn’t super straight forward as well, but easy to learn.
Once you use the Unraid tool to load a USB flash drive, insert into your computer and let it start up. Here is the dashboard.
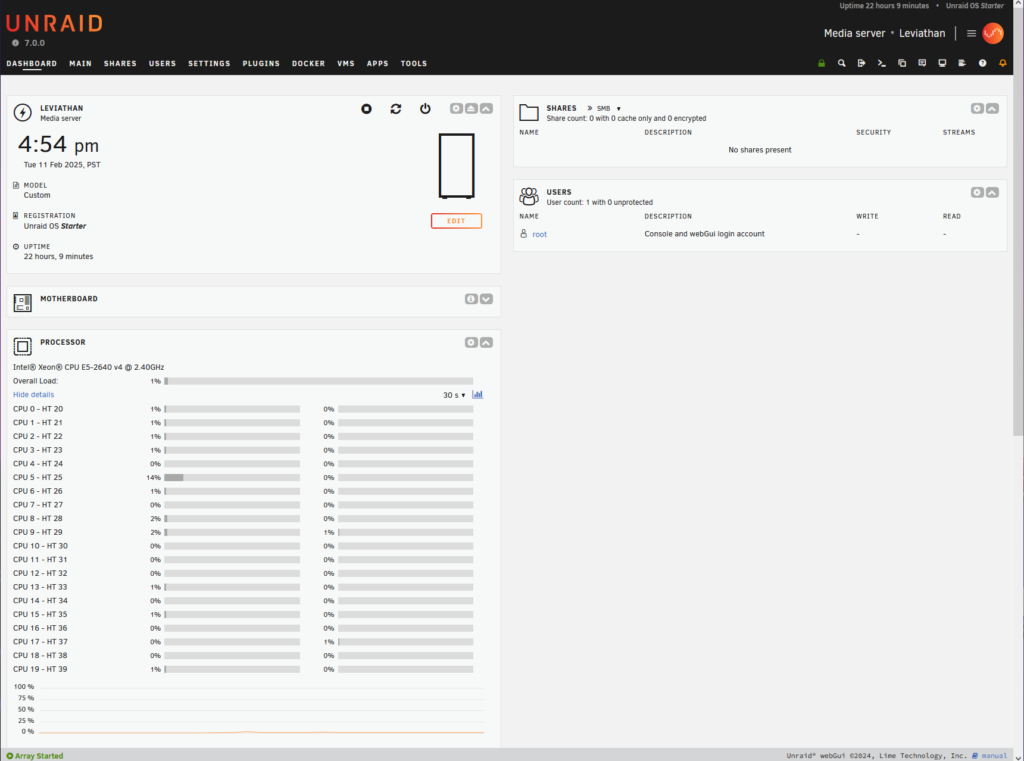
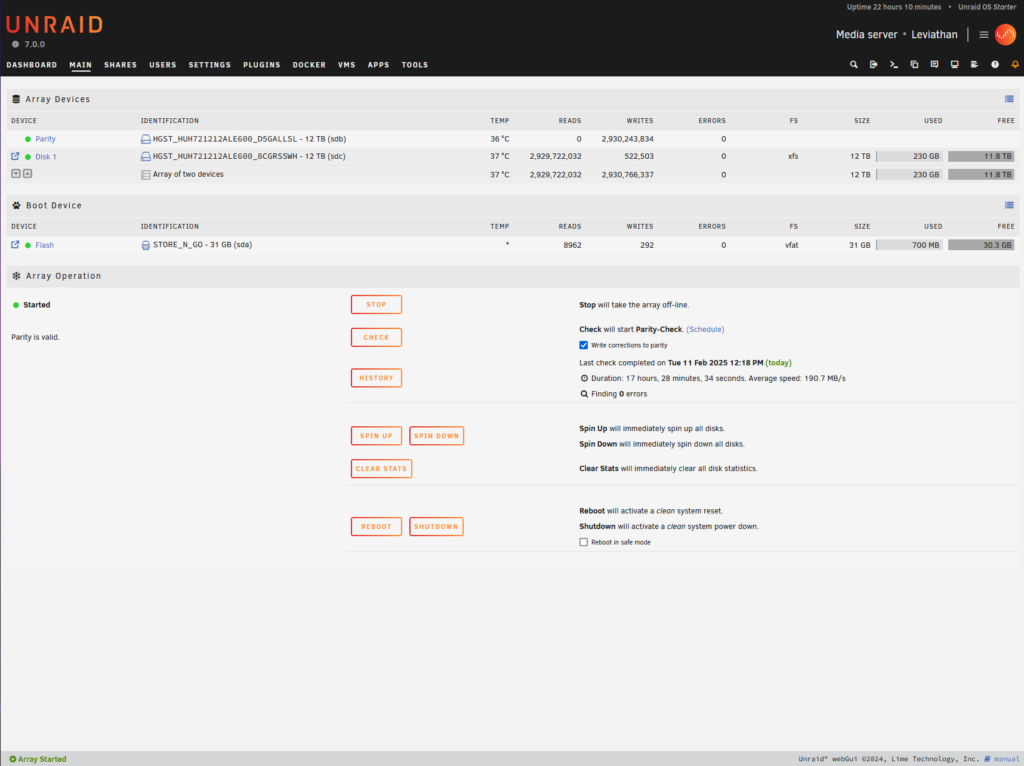
You have to setup an “Array”, here I selected once disk to be a parity disk and the second one as my data disk. On the initial setup of the parity drive, be prepared for it to take a while, my 12TB drive said it would take 13 hours and it was closer to 17 hours before it was done.
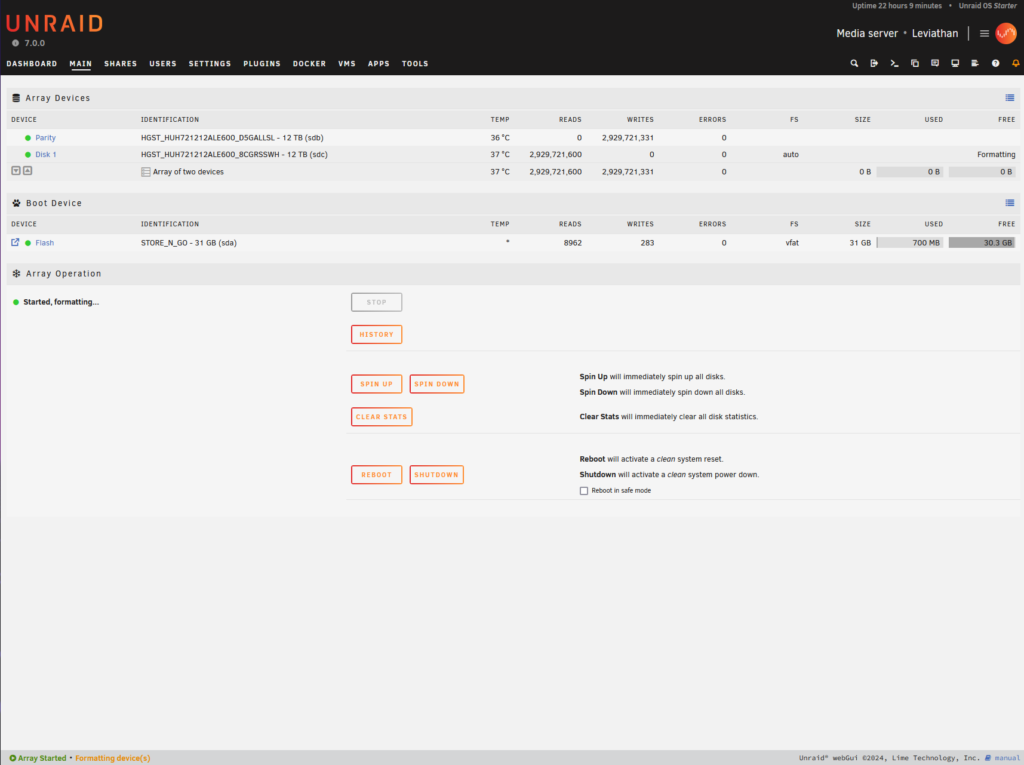
I either missed the checkbox when I setup the parity drive or you need to format the disk drive separately. No fear, this only took a few minutes.
Once you get your array configured, you can now start to setup shares. At first you will not have anything
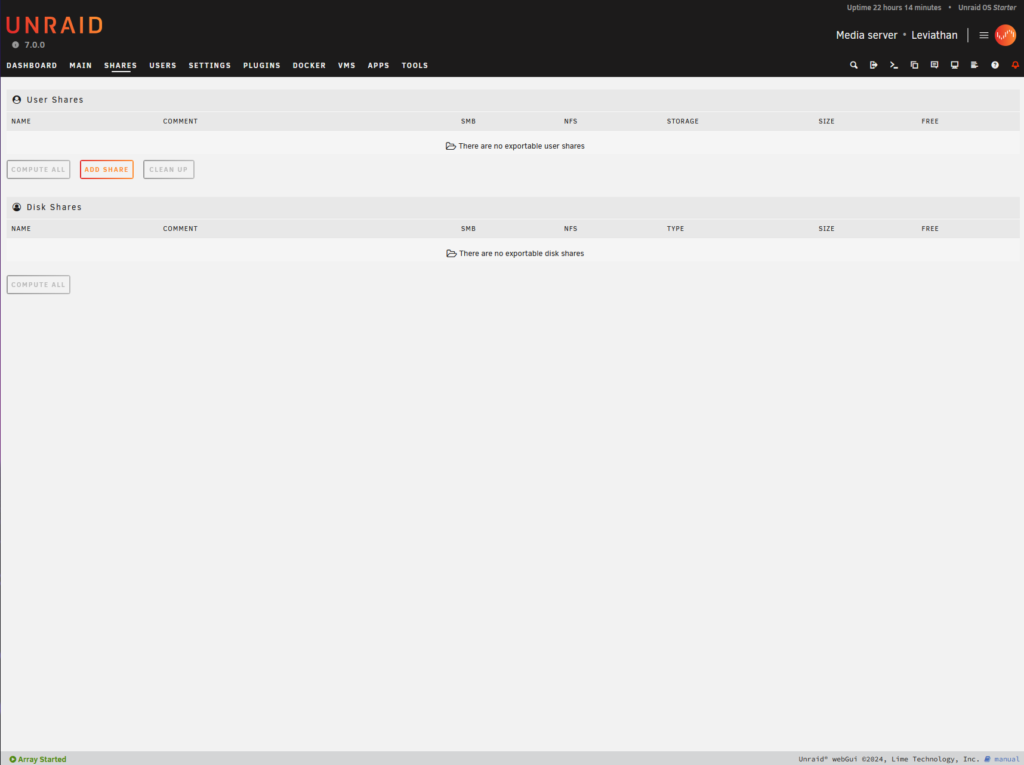
I setup my first share to be called “data”, but Unraid also creates “appdata”, “domains”, “isos”, and “system”.

I didn’t clearly state before, but plex runs within a docker container in Unraid.
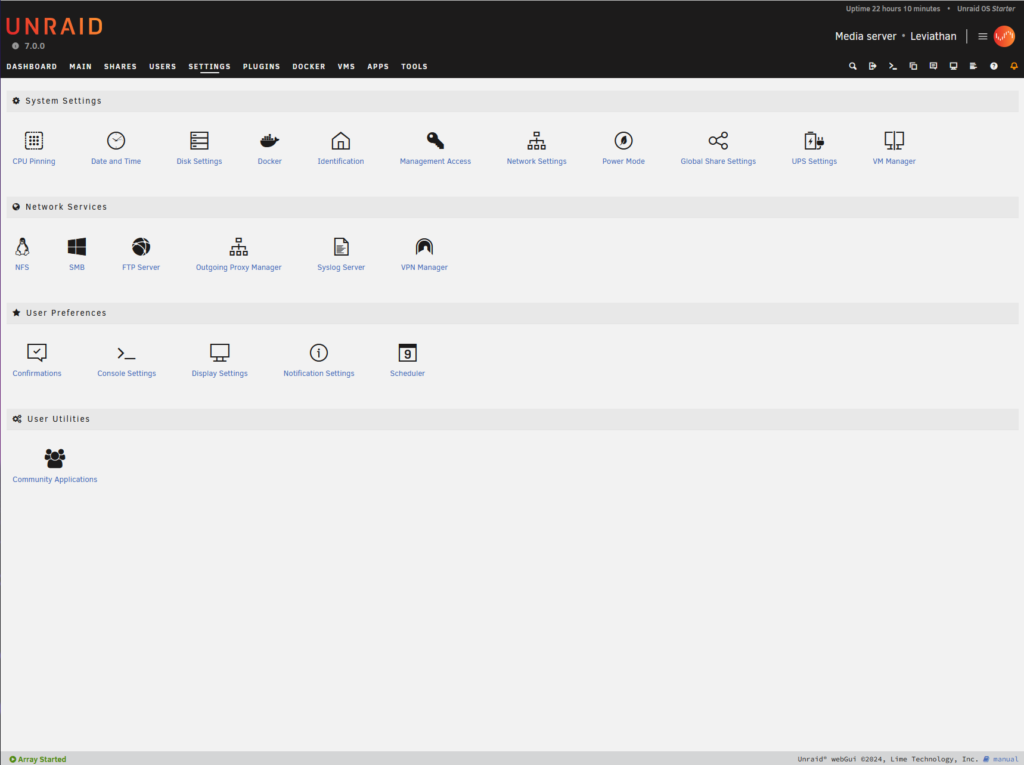
By default Docker not enabled, however just go to Settings -> Docker, then “Enable Docker” to enable the service.
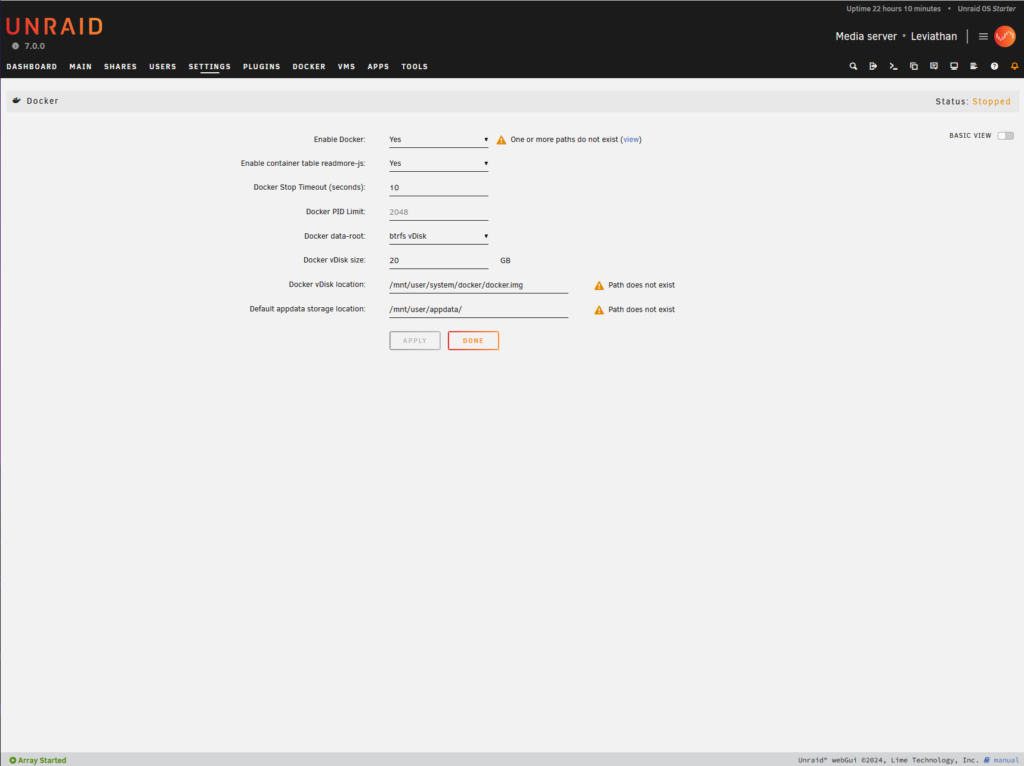
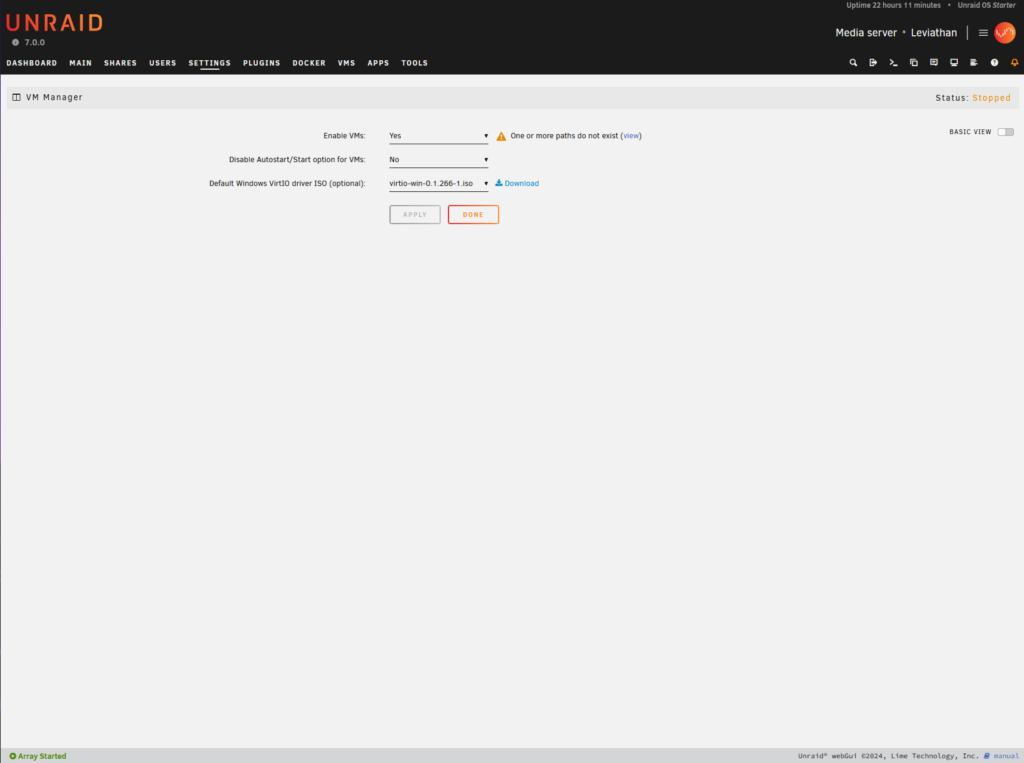
Similar story for Virtual Machines, they are not enabled by default. Go to Settings -> VM Manager, then “Enable VMs” to enable the service.
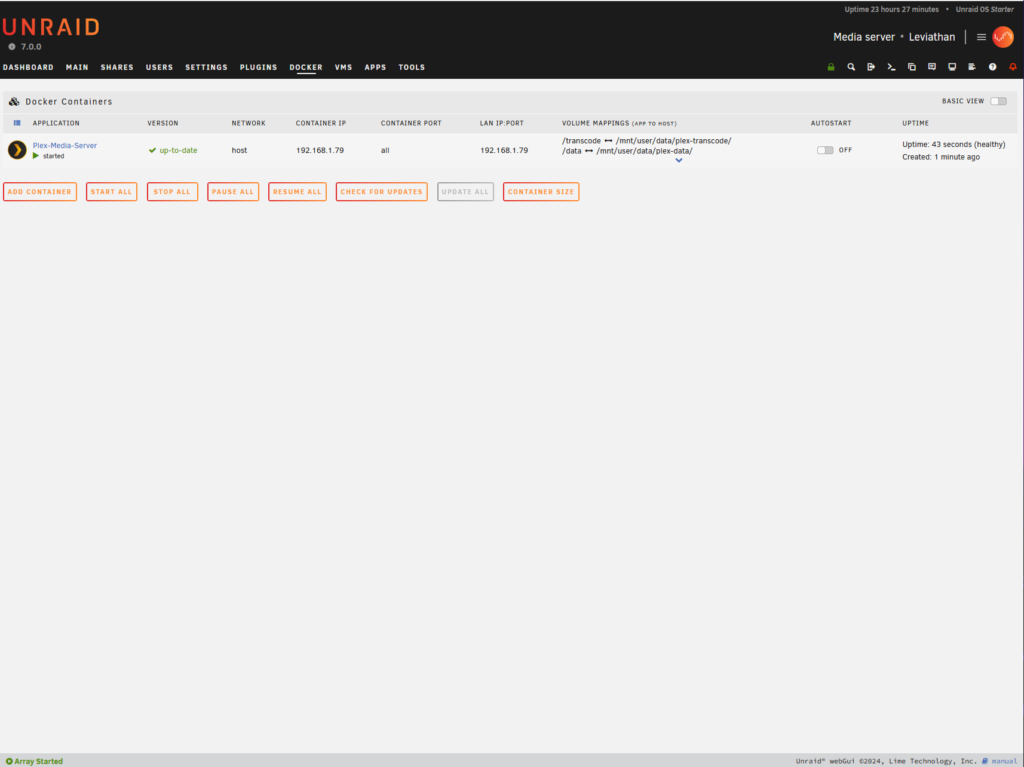
To install plex-media-server, head over to the “Apps” tab in Unraid and install it. When installing plex, it ask you to configure some items like the transcode and data directory.
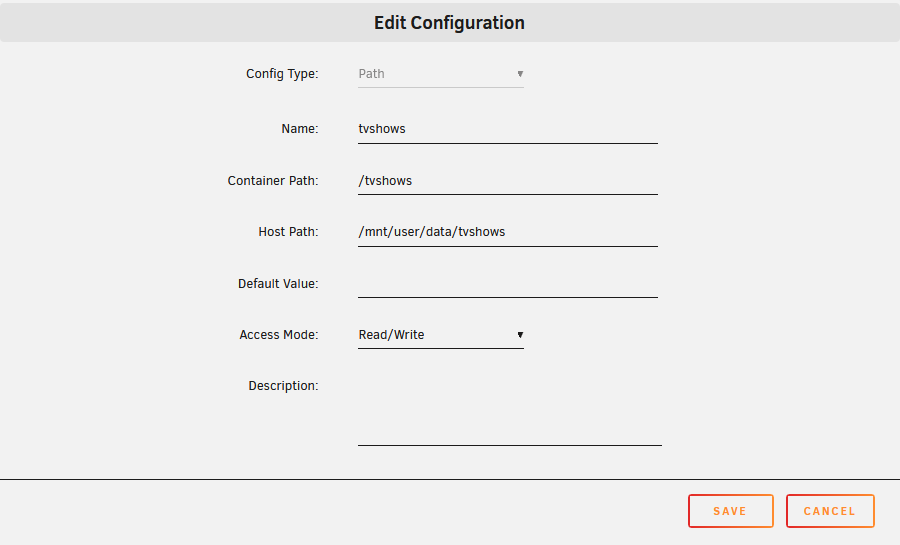
You will also want to configure the container to have access to your media folders when you move data to your unraid shares.
If you configure it incorrectly, it uninstalls the docker image, which at first scared me and is a little confusing. No worries, just head back to the app store, click on “Previous Apps” -> Docker, on the docker container, plex in this example, click “Actions” and it will ask you to “Reinstall:
One thing that caused me some trouble was you need a forward slash at the beginning of the container path.
I was able to get a virtual machine setup within the first week without any issues. When I was doing my research, many people said Unraid wasn’t the best at virtualization. While I haven’t done any performance measurements, just how seamless it works, I am very impressed.
One item I did not cover yet, proxmox and TrueNAS Scale are both free. Unraid does have a cost associated with it https://unraid.net/pricing.
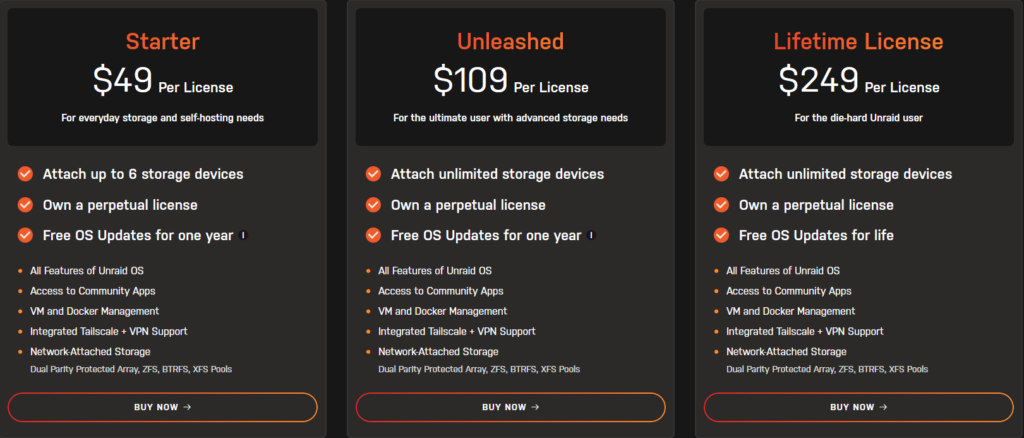
I am love using free open source software (FOSS), so this was a tough decision for me to purchase software. Based on the initial setup which allows for a 30 day free trial and community support I have read about, I decided to buy the starter license. I plan on staying under 6 drives (currently only have 2). I will give it a try for a year and look at upgrading or buying the updates. They also allow the ability to upgrade your license if your needs change in the future, which is a huge plus. Maybe my blog will take off and Unraid will give me a free license? Wishful thinking!
Wrapping up this post Unraid is a flexible media server and provides virtualization utilizing docker and virtual machines. Suggest trying it out by downloading the free trial. Happy Unraiding!
One thought on “Unraid First Impressions: Install, Setup, and My One Week Review”