Category: Homebrewing

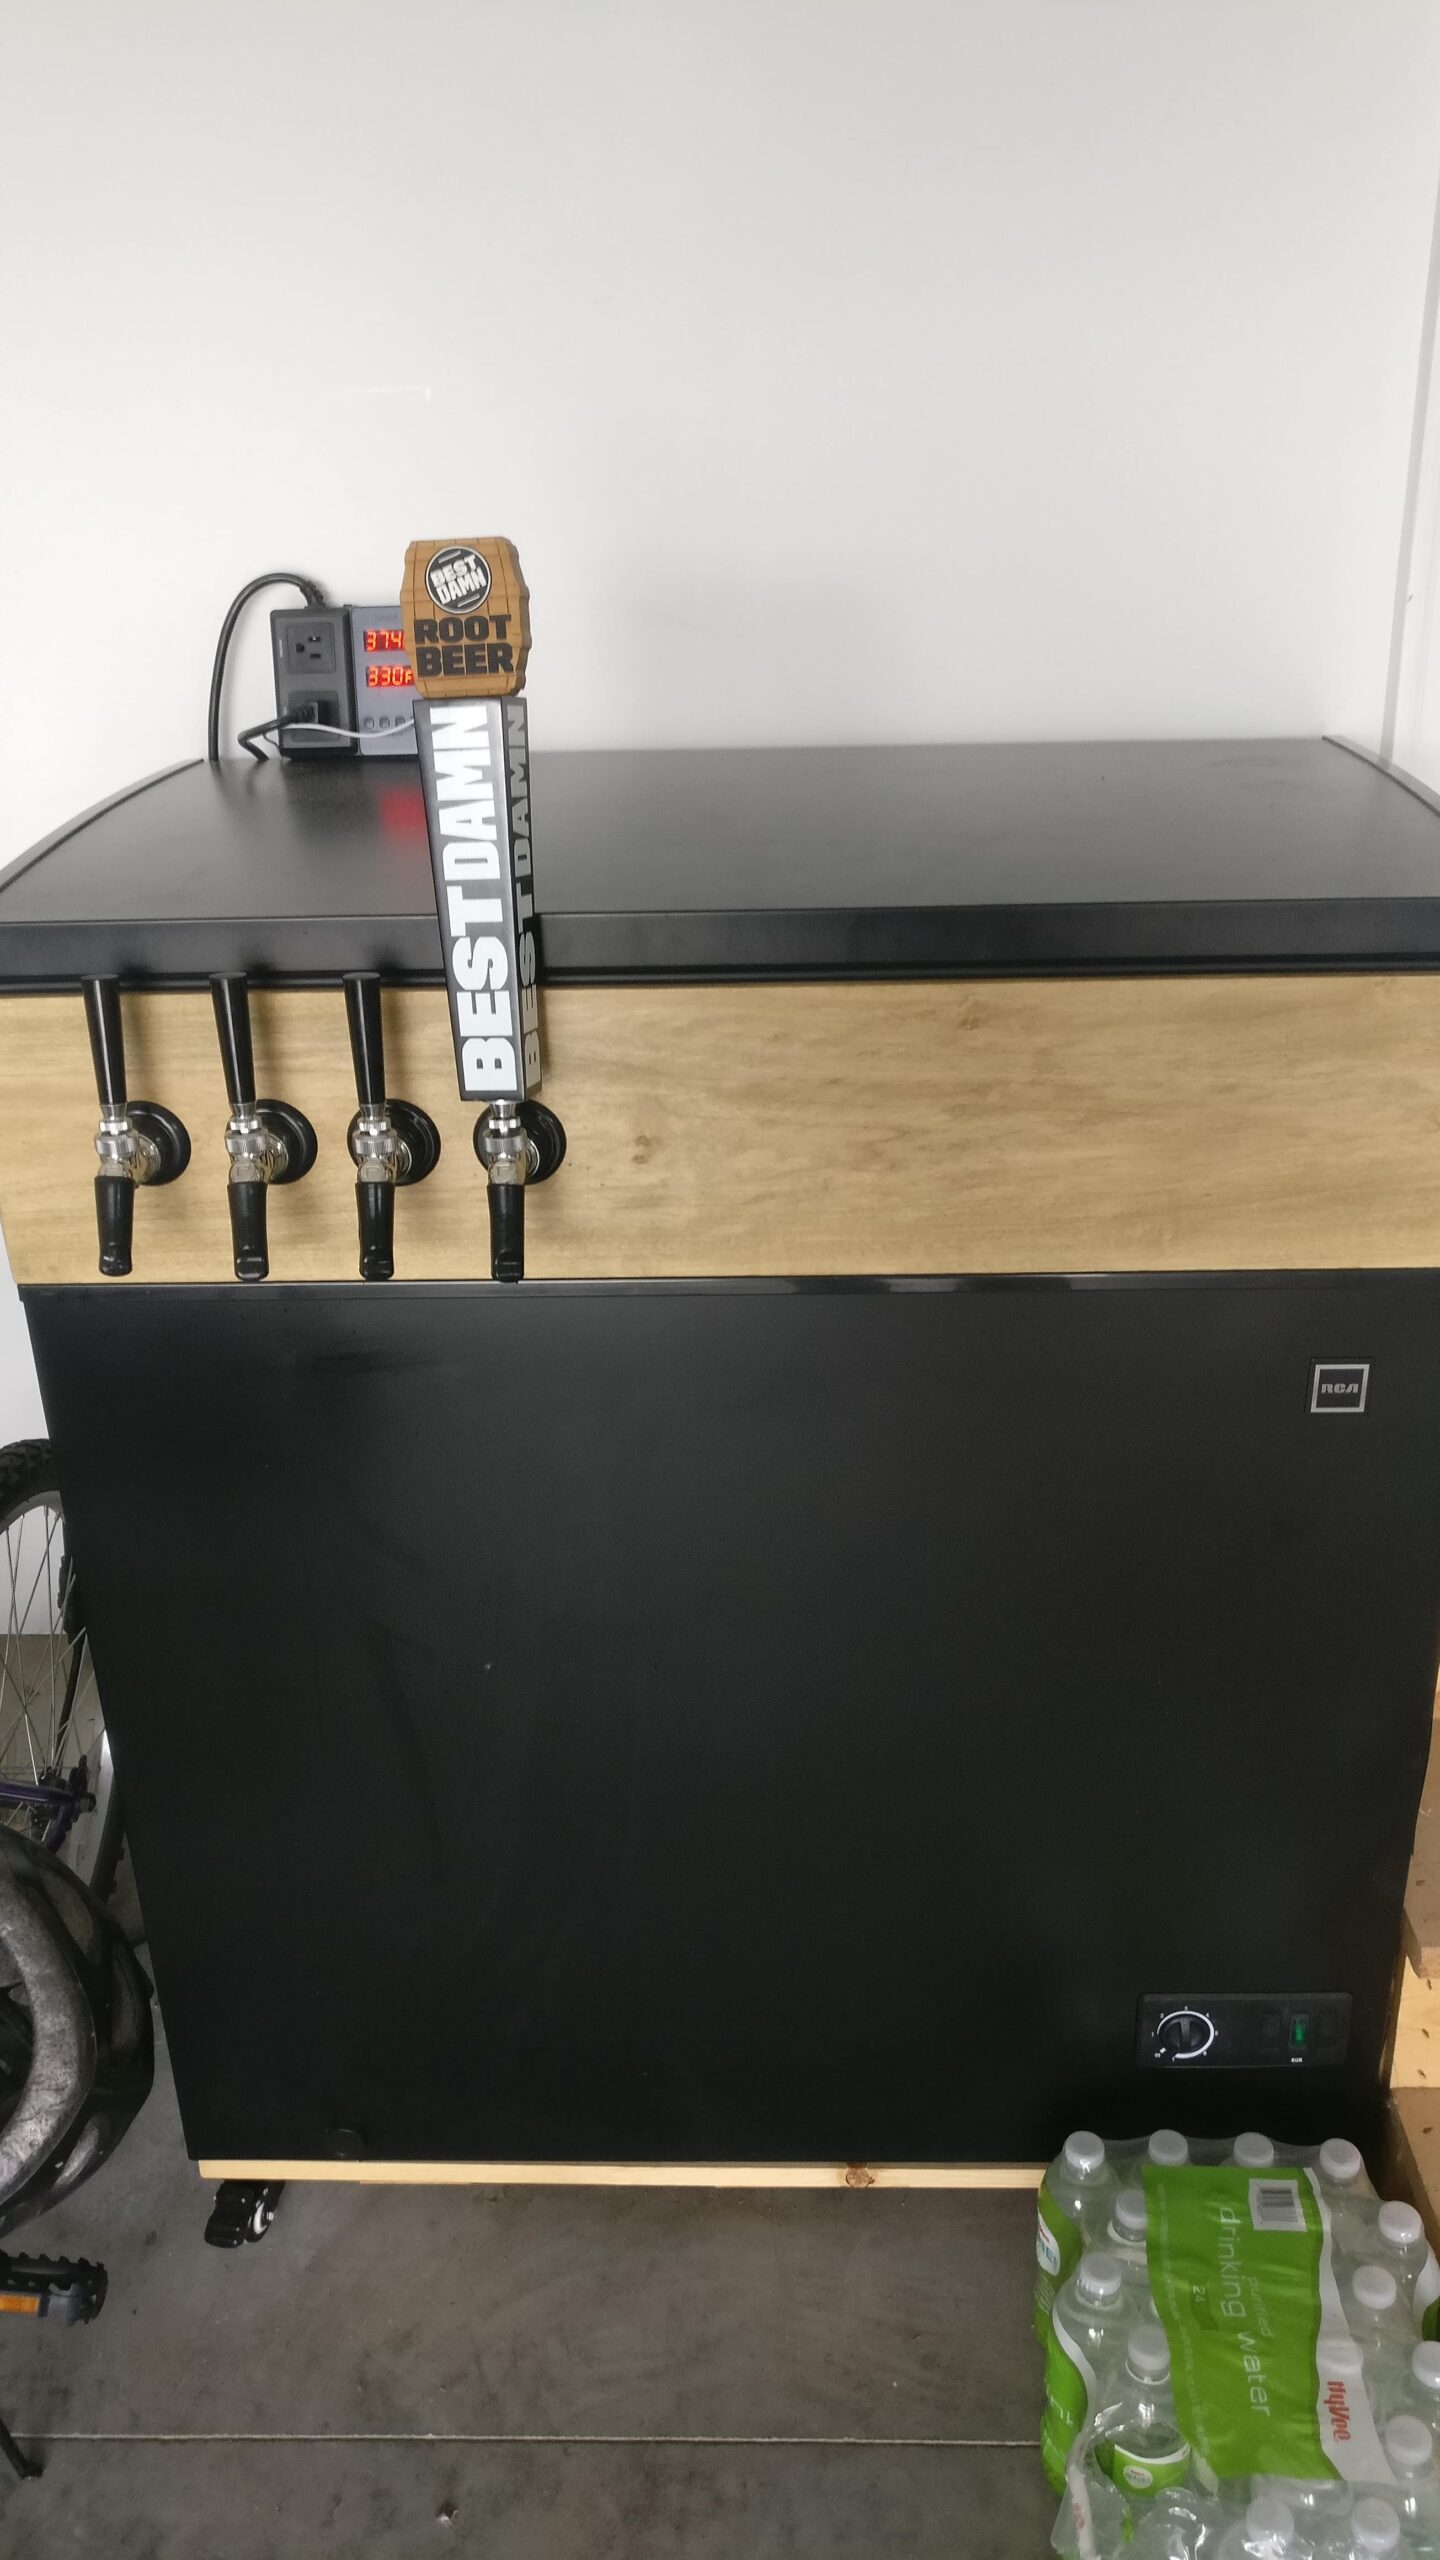
  • Building a 4 tap kegerator with a chest freezer

    Want to enjoy your freshly brewed beer without the hassle of bottling? It’s time to build your own kegerator and pour the perfect pint straight from the tap!

    I wanted to share some photos of my adventures of building a kegerator. I started off with a RCA 7.1 Cu Ft chest freezer. I ordered it from Walmart, so it could be just delivered to my house. Its important to know the height of your kegs for this next part to determine how tall you want your collar (wood part that sits on top of the freezer) to be. Here I placed the keg in the freezer. With chest freezers there is the deep part and the shelf that the motor sits below, so take both of those into consideration.

    I then figured out what lumber I needed, I don’t remember the exact size, but something like a 1×8 or 1×10 hardwood board, like poplar or oak. As you can see, there is an inside and outside of the collar, I left the width of the board between them. Then lastly for installation, I used spray foam installation to keep the cool in and the hot out.

    From here, I figured out how far apart I wanted my taps to be. It would be good to have your taps for measurement.

    I was now able to drill all 4 holes and start preparing the food for finish.

    I stained it with a oil finish and a pretty light natural color, but here is your chance to customize it to what you would like.

    I now have the collar sitting on the freezer and also attached the lid to the collar.

    If you seen my toolbox post, you would see it has wheels. Well I decided to do something similar here, so I could move it easily in the garage (and clean around it).

    Since a freezer main purpose is to freeze, its important to use some type of temperature controller to manage the temperature. This one you plug the freezer into the controller, then set the temperature to your desired on and off, eg on at 38 degrees and off at 33 degrees. The controller would have a temperature probe that you need to also put in the freezer.

    Here is a photo of the gas regulator. It allows you to use 1 CO2 tank for multiple kegs. I then ran the gas lines to the kegs (red lines here), and the clear lines are the beer out lines to the taps.

    I ended up buying a CO2 regulator that would allow multiple pressures depending on your beer. I did dedicate one keg to root beer, so I typically ran higher levels of gas to that keg.

    Once again, this is the final product. I did find this project took a decent amount of homework, as I was starting with nothing. I had to purchase Kegs, the freezer, wood to build collar, CO2, gas regulator, gas distribution, taps, lines, and temperature controller. I am sure I forgot something in that list as well. Overall I am very happy with how the kegerator turned out and found it to be a very rewarding experience, especially when you can enjoy a nice cold beer.

  • First bottling experience – finished with a bang

    I just bottled my first 5 gallon beer YEAH. I have done several Mr. Beers in the past, but those were all using plastic bottles.

    Thinking it wouldn’t take more then an hour and a half, I started getting all my bottling supplies prepared. I got 54 bottles ready, sanitized them using star-sans, boiled my 5oz of sugar, transferred my Irish red from the carboy to the bottling bucket (sanitized). I started bottling, spilled a little here and there, but I thought overall pretty good.

    I ended up with 51 bottles, which I thought was awesome for my first batch.

    Took the first 36 bottles down stairs to my unfinished basement (had boxes from previous 12 packs). Then I was going to take the last of the bottles down stairs. I had 12 bottles which were in two 6 packs (in a plastic bag) in one hand, and in the other hand a 6 pack (3 full/3 empty). I made it about 1 step and the bottom of the 6 pack gave away. All six bottles went down the stairs, 2 of the full ones broke, and I think 1 of the empty ones broke. Beer and glass all over, good thing the basement is unfinished, but still made a huge mess and this is at about 10:15 at night, and I was ready to go to bed. Over an hour later, I am finished cleaning up the mess.

    I was too frustrated to take any pictures of the mess!

    The bad, I lost two bottles of beer.
    The good, I still have 49 bottles of beer.

    I put them all in totes just in case of bottle bombs, taking no chances with this.
    Just wanted to share my first bottling experience.
    The end

  • New Beer Kit Part 2

    So, since this is my first brew, I thought I would show what I have done. Moving from the primary to the secondary (carboy). 


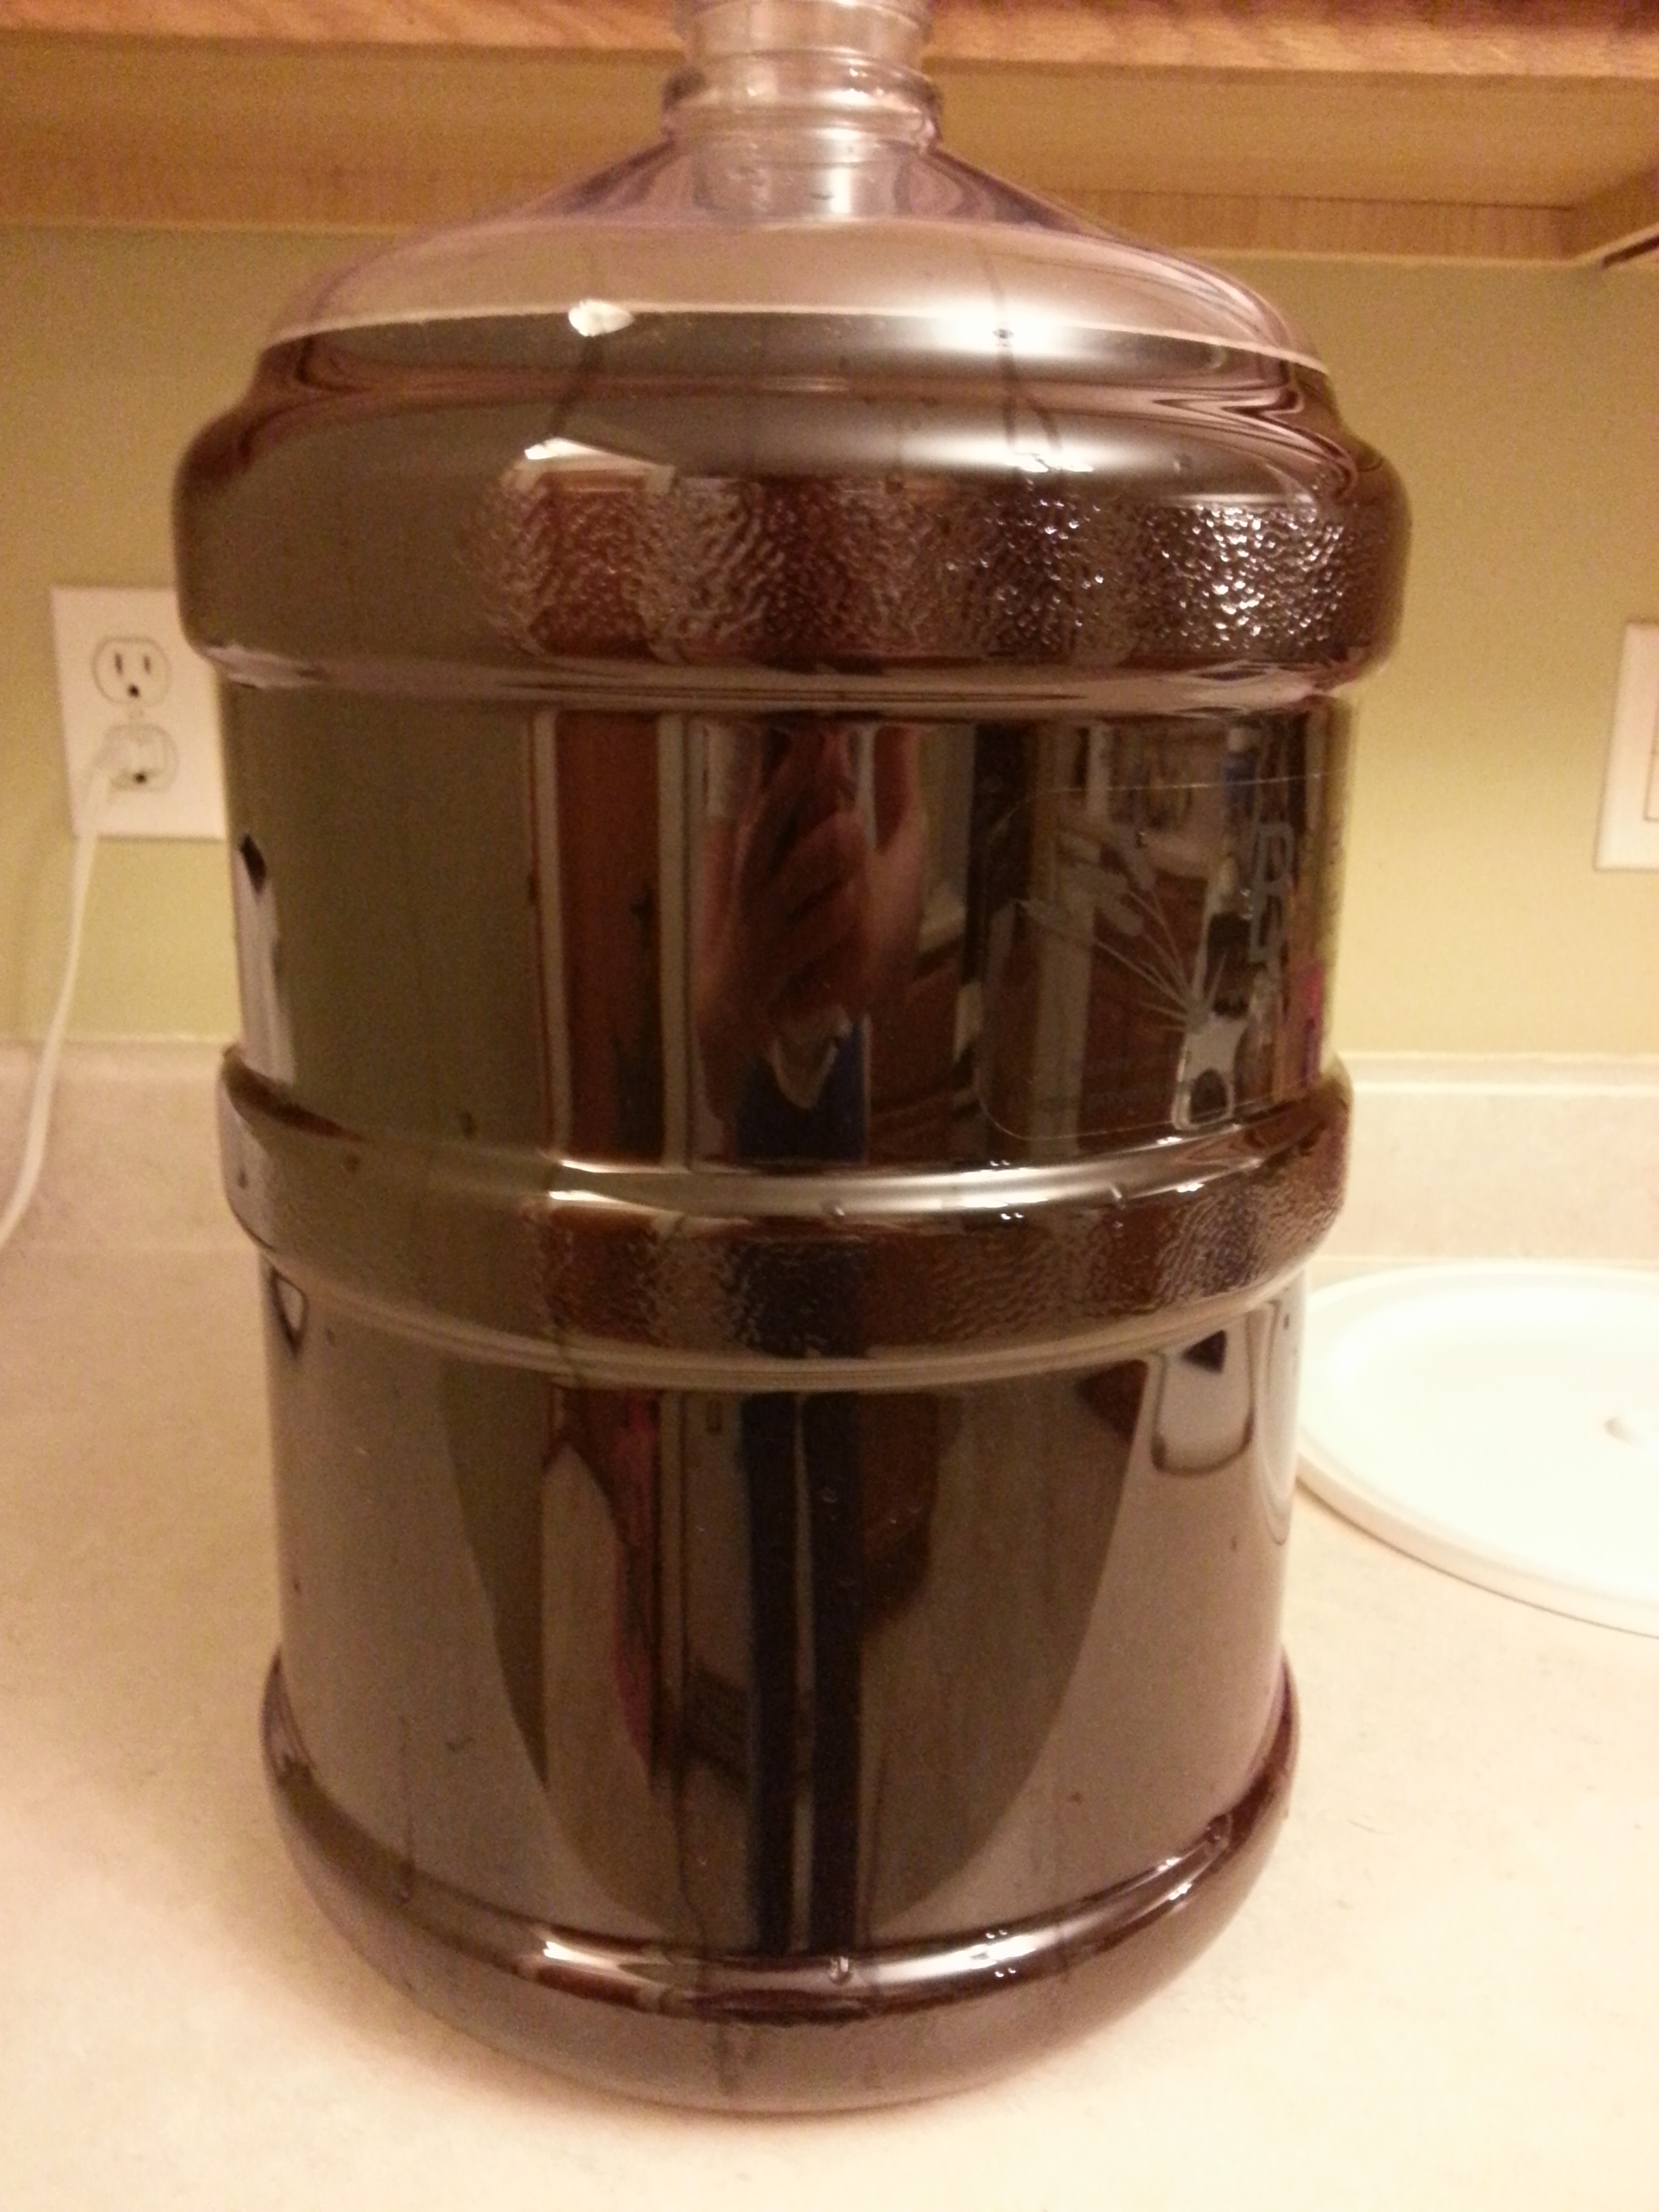
    Full carboy, almost 5 gallons.

    Drew a little for tasting, unbelievably awesome. Cant wait for it to be carbonated and cold.

    Sludge, glad this settled out.


    I will post some more pictures when I get around to bottling.

  • New Brew Kit

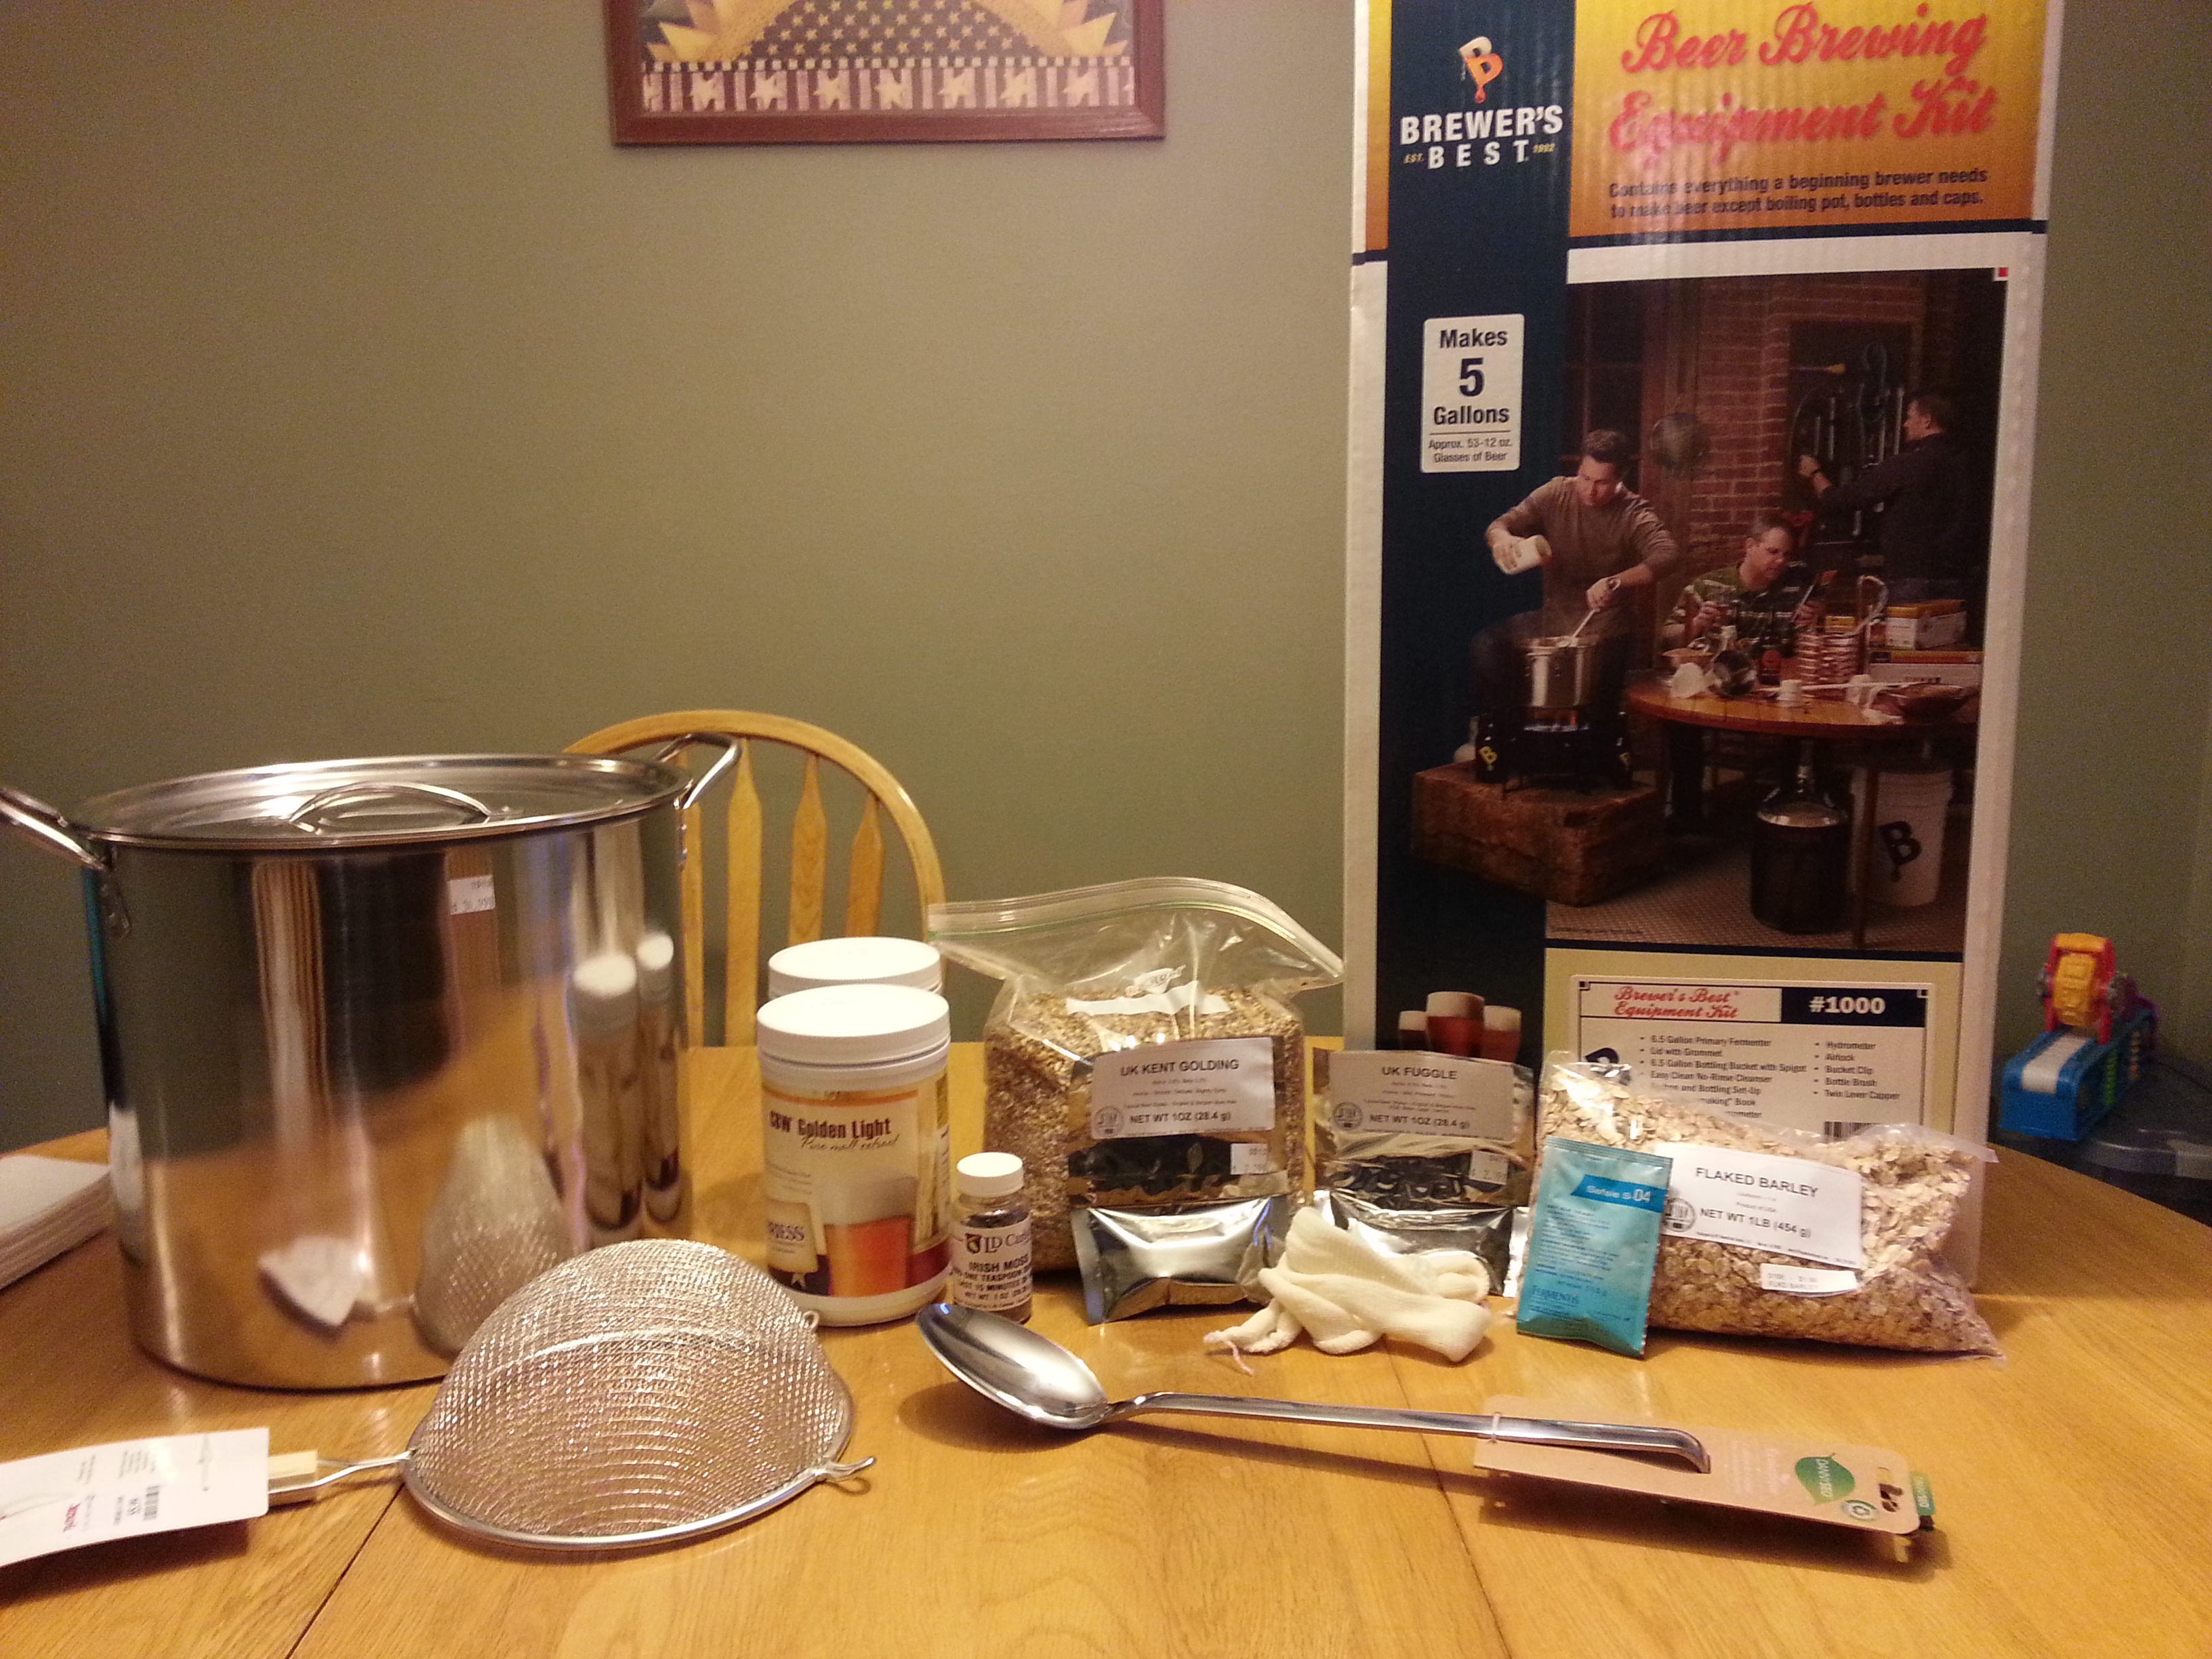
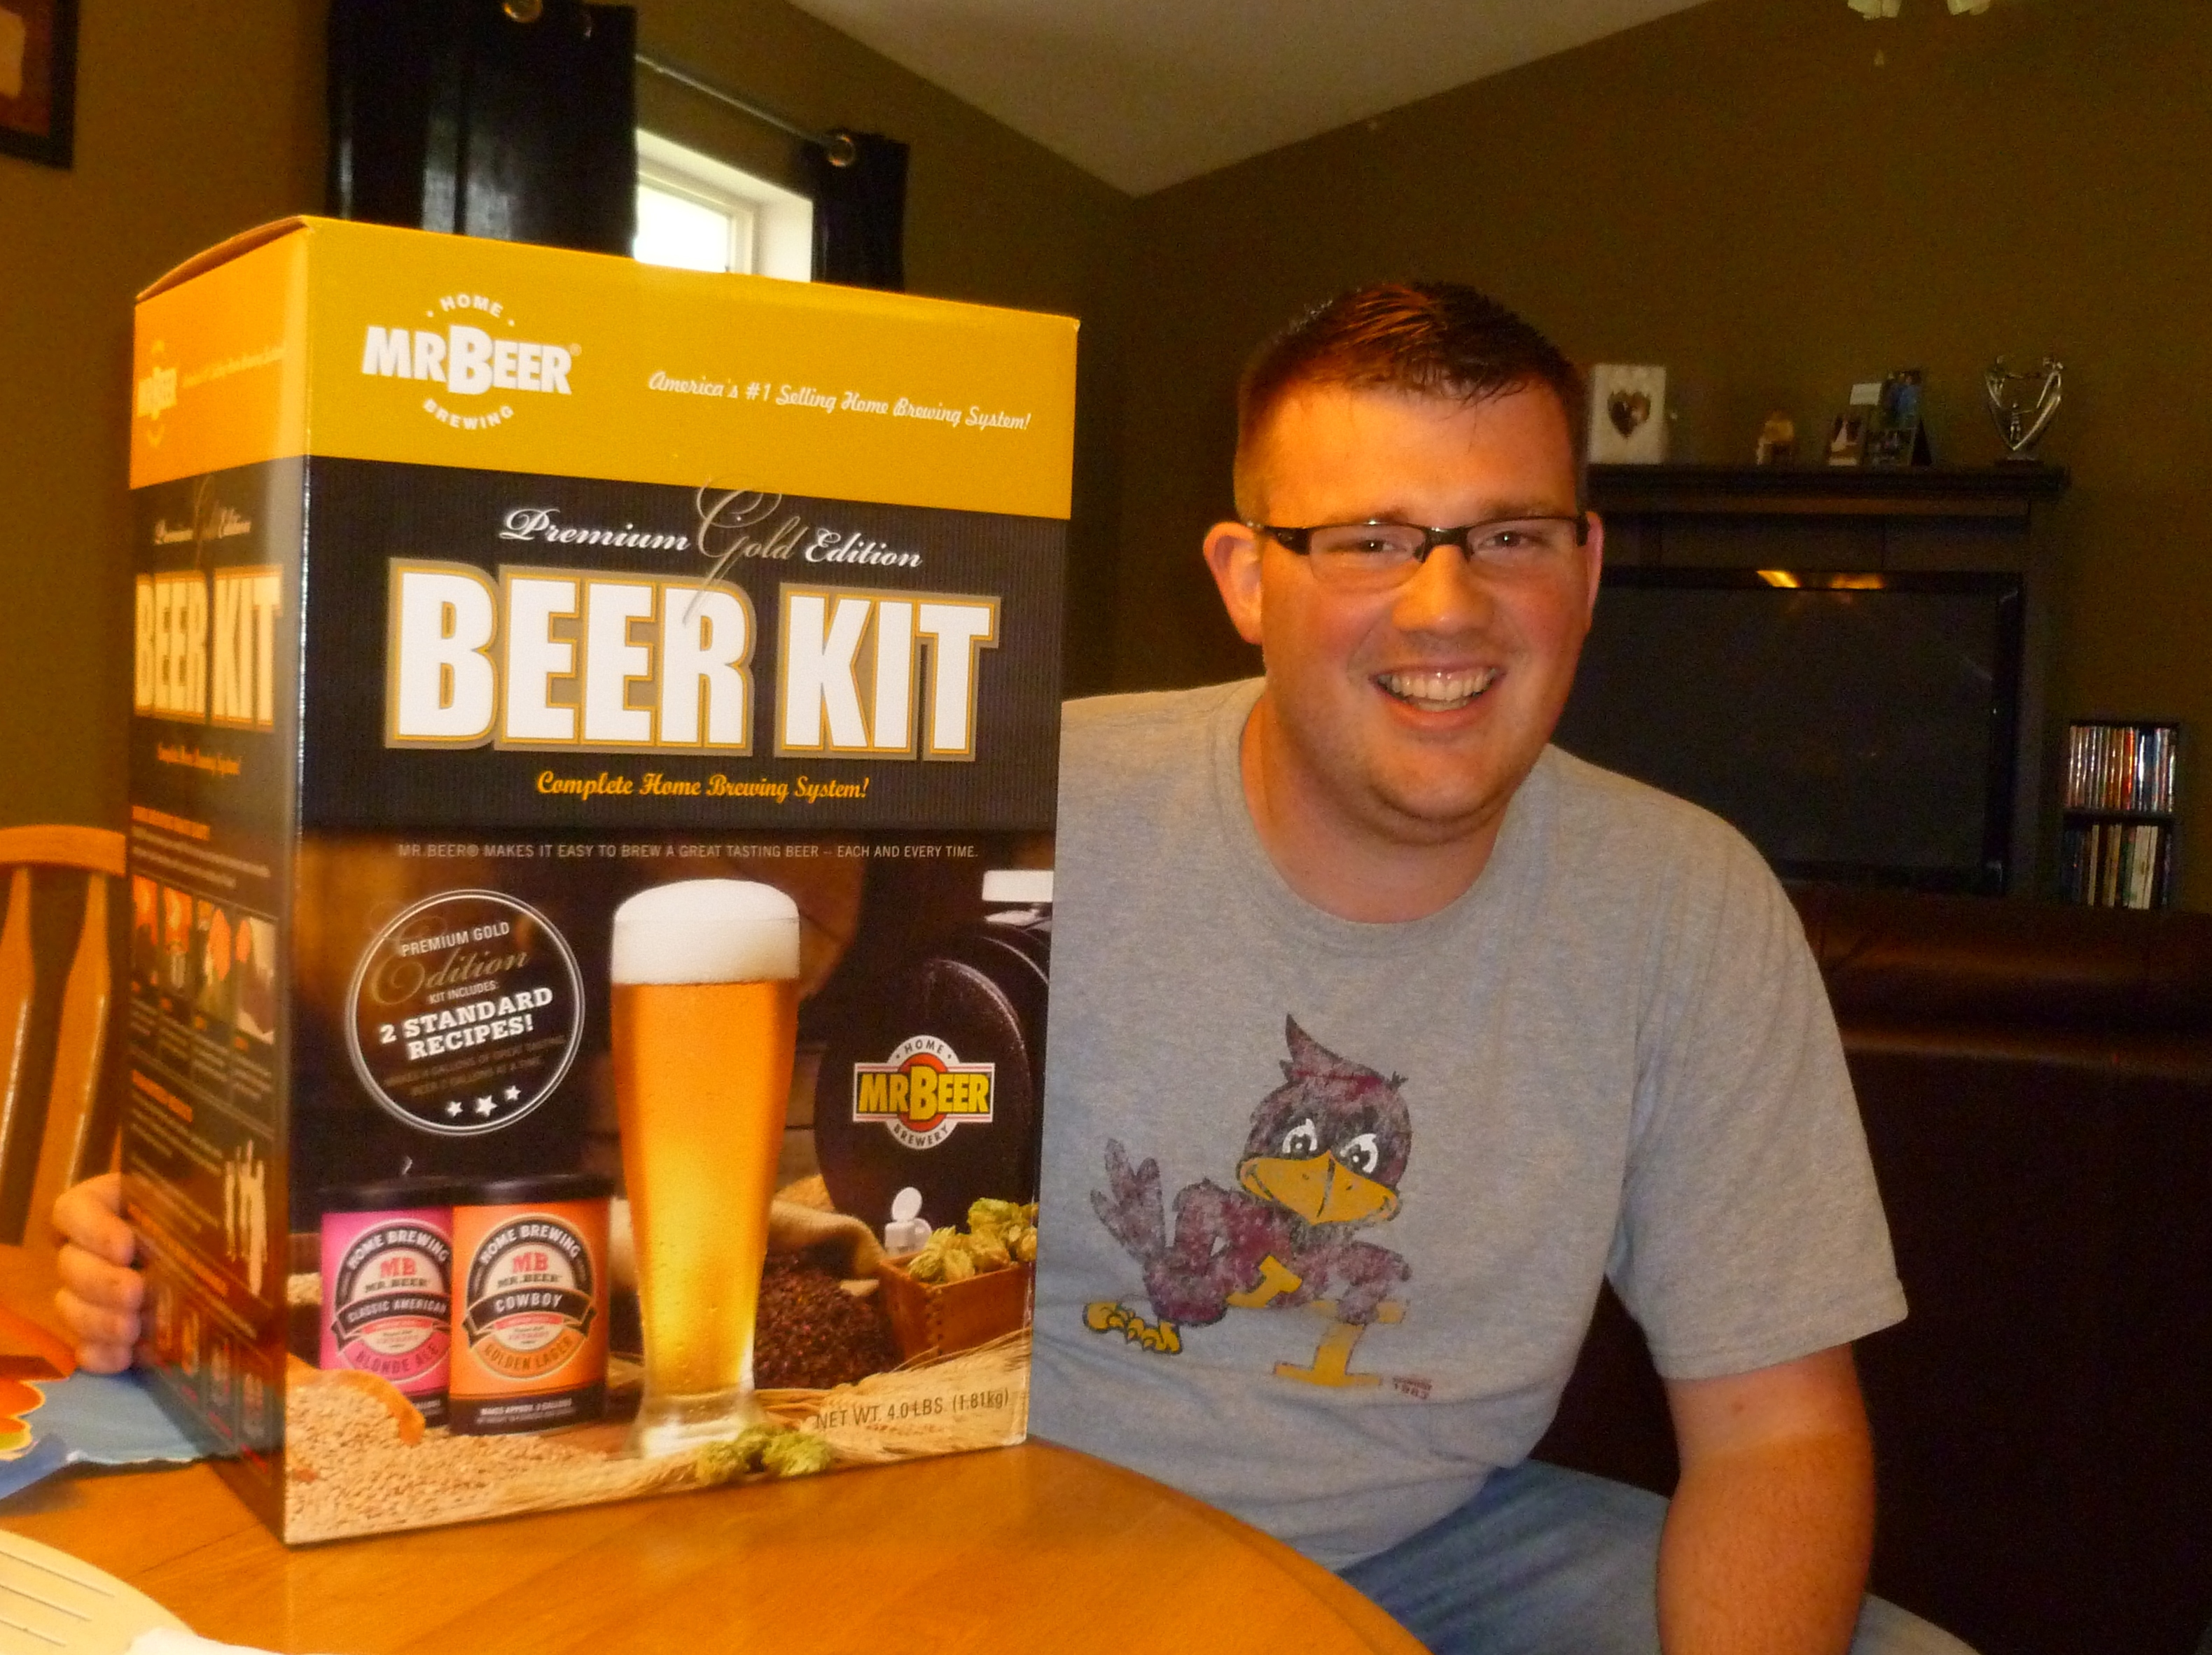
    Look at what came home with me, a new bigger brewing kit! I received the Mr. Beer kit for my birthday, while it worked great, most of the brewing community does everything in 5 gallons batches, so I have decided to take brewing to the next level.

    Brewers Best Kit
    Strainer
    Spoon
    Ingredients to make an Irish Red Ale

    Specialty grains before steeping.

    Sorry, a little fuzzy, but steeping the grains.

    Science!

    More active science!


    More to come!