Category: Projects

  • New Beer Kit Part 2

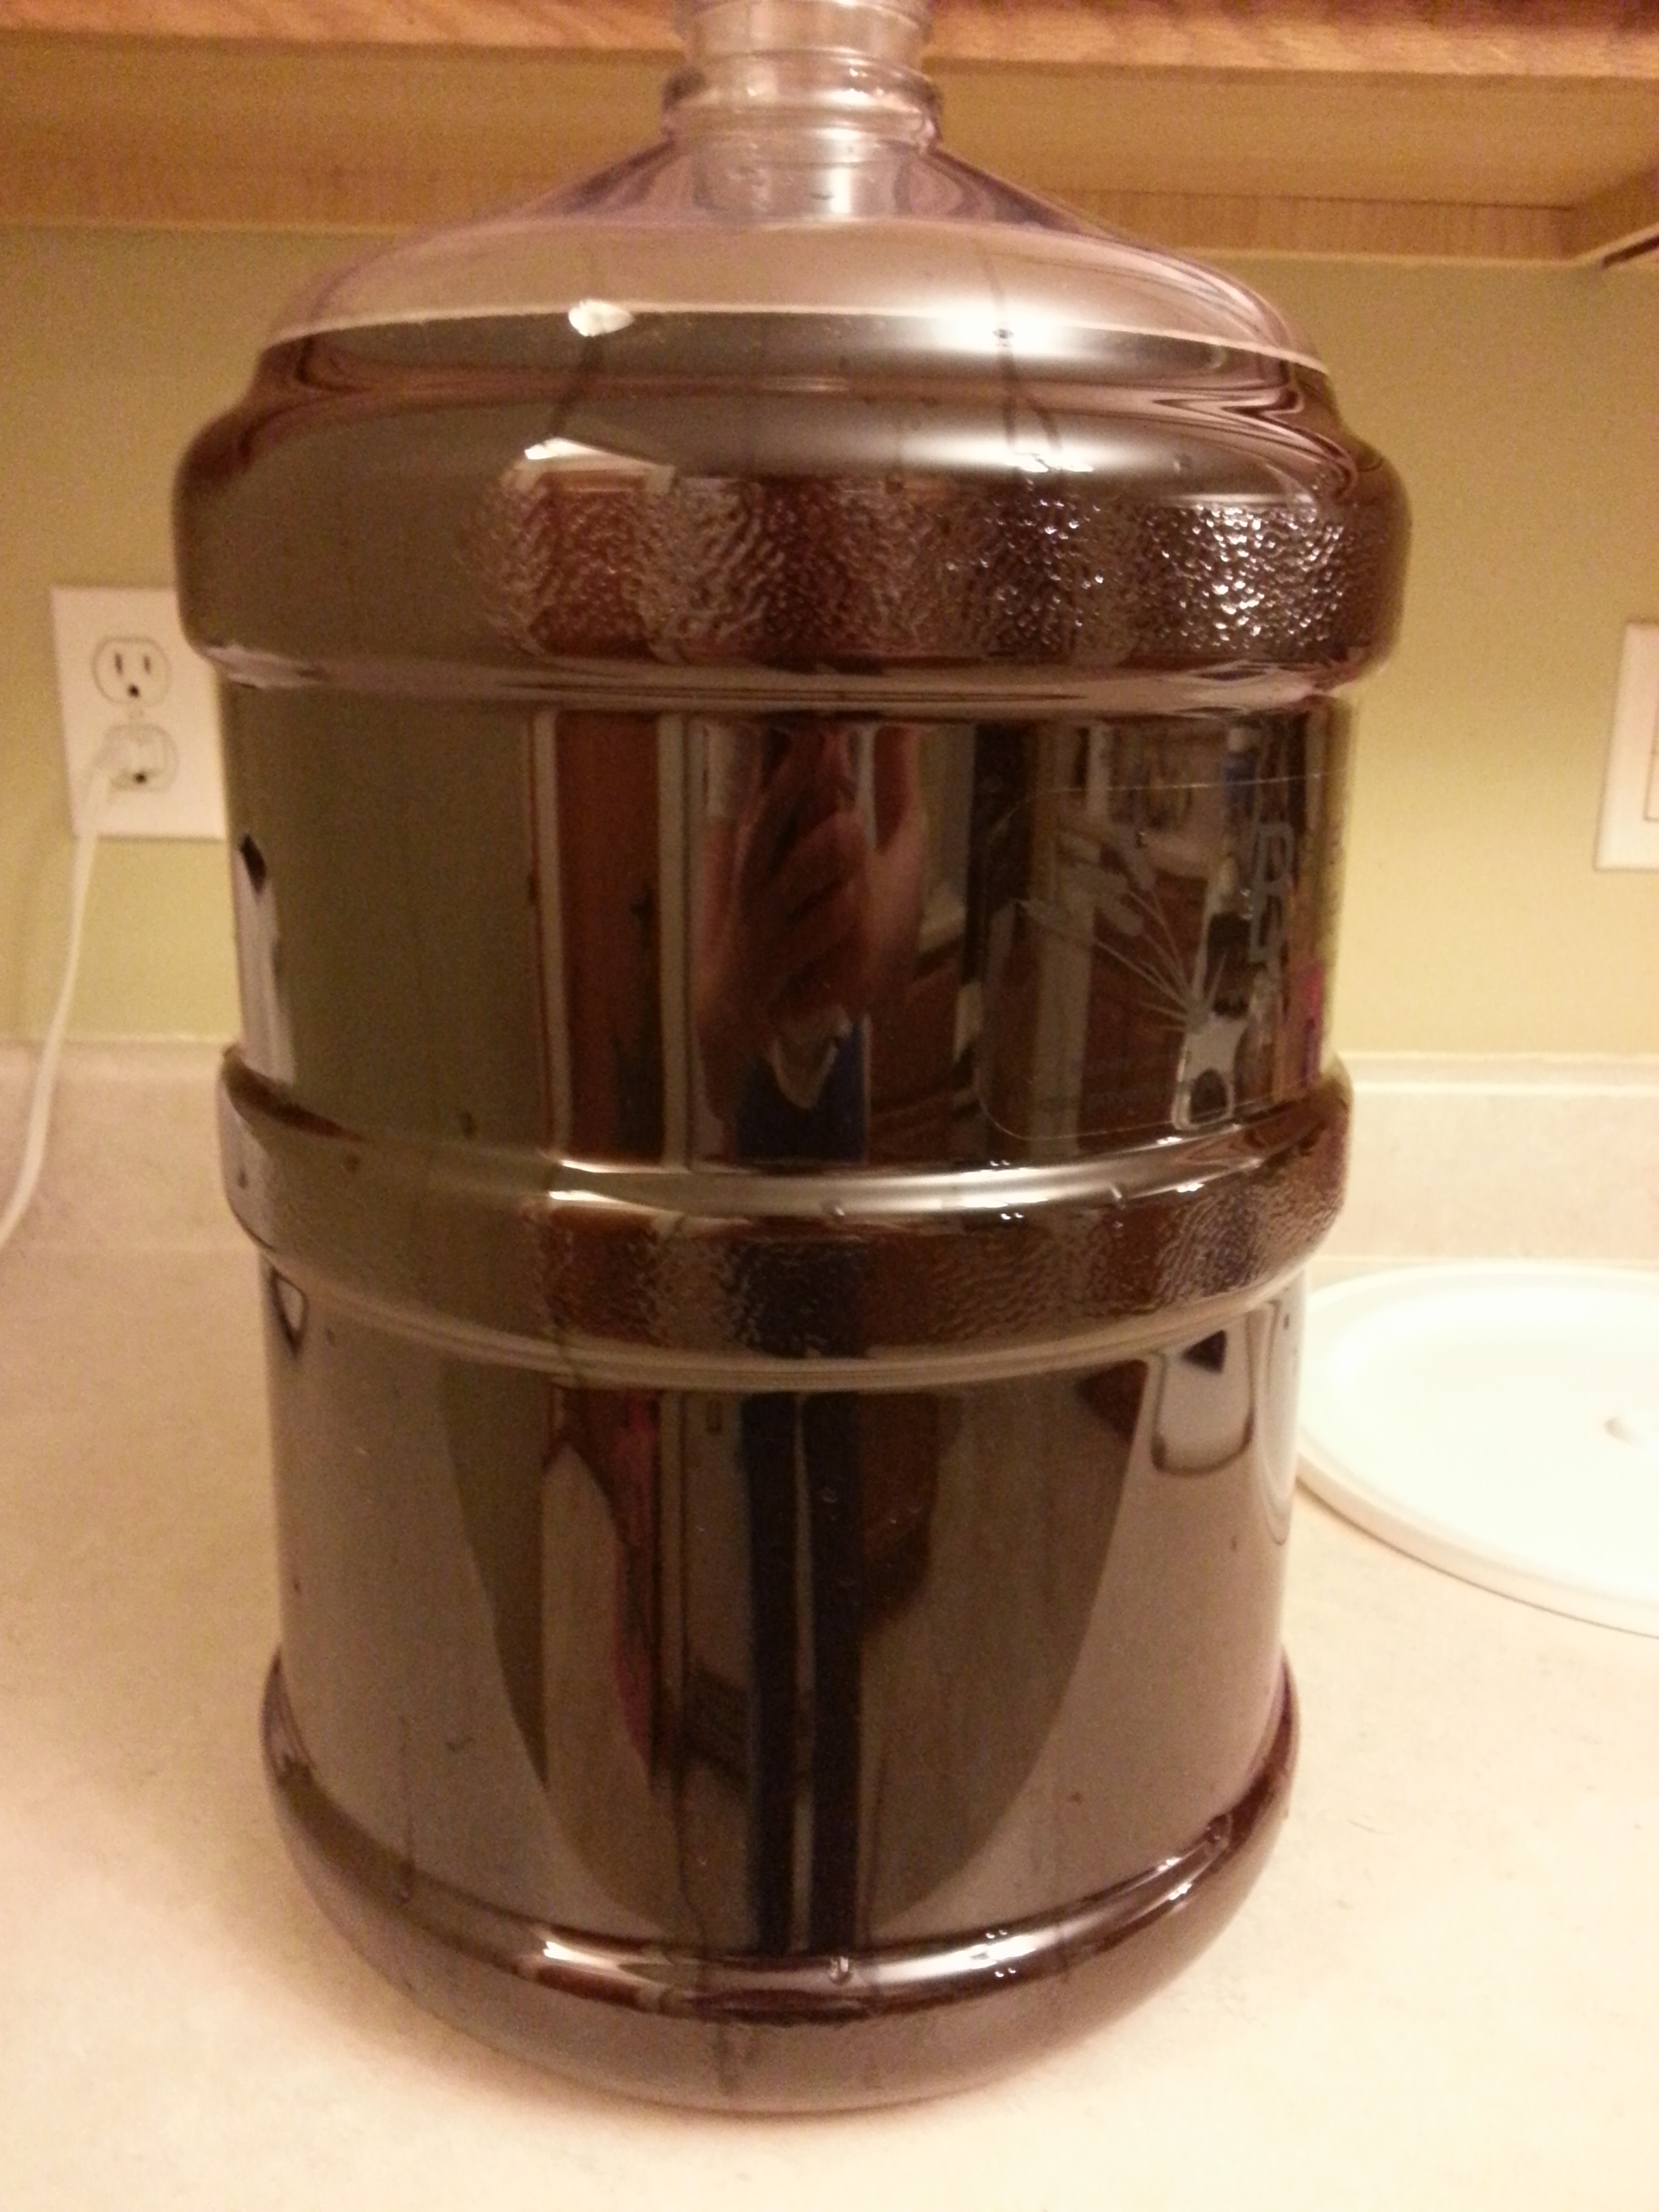
    So, since this is my first brew, I thought I would show what I have done. Moving from the primary to the secondary (carboy). 


    Full carboy, almost 5 gallons.

    Drew a little for tasting, unbelievably awesome. Cant wait for it to be carbonated and cold.

    Sludge, glad this settled out.


    I will post some more pictures when I get around to bottling.

  • New Brew Kit

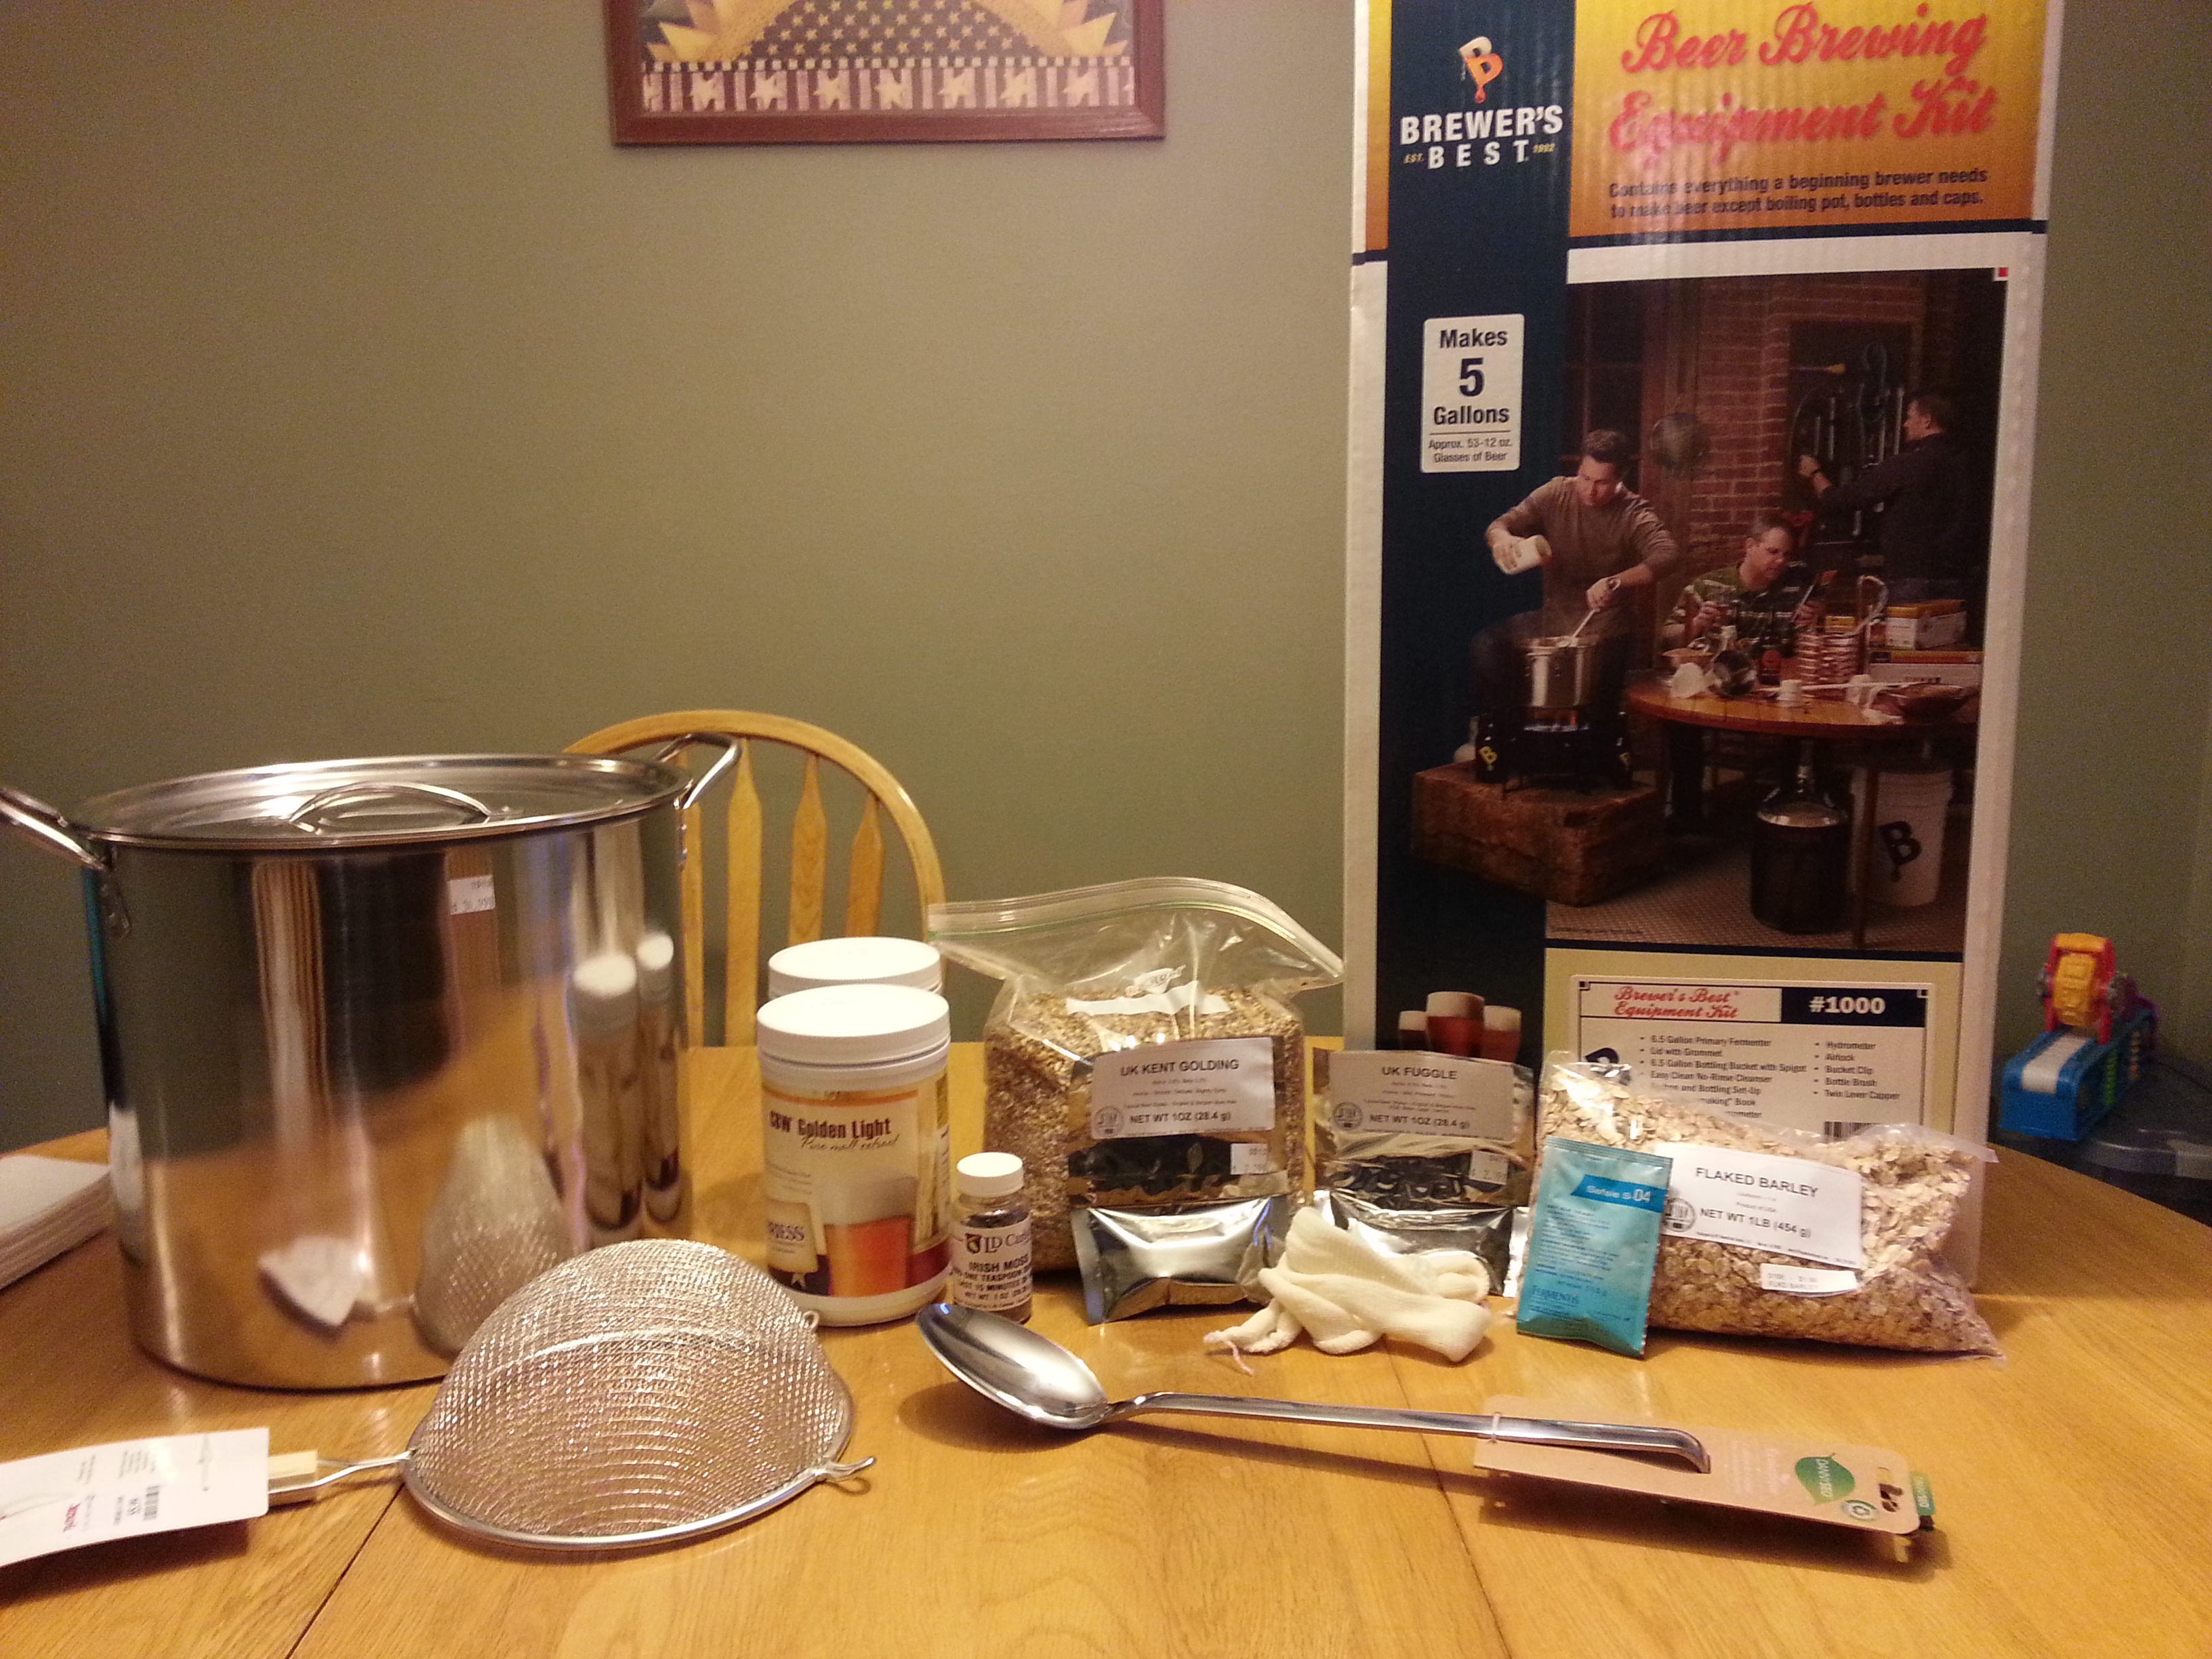
    Look at what came home with me, a new bigger brewing kit! I received the Mr. Beer kit for my birthday, while it worked great, most of the brewing community does everything in 5 gallons batches, so I have decided to take brewing to the next level.

    Brewers Best Kit
    Strainer
    Spoon
    Ingredients to make an Irish Red Ale

    Specialty grains before steeping.

    Sorry, a little fuzzy, but steeping the grains.

    Science!

    More active science!


    More to come!

  • Mr. Beer Kit

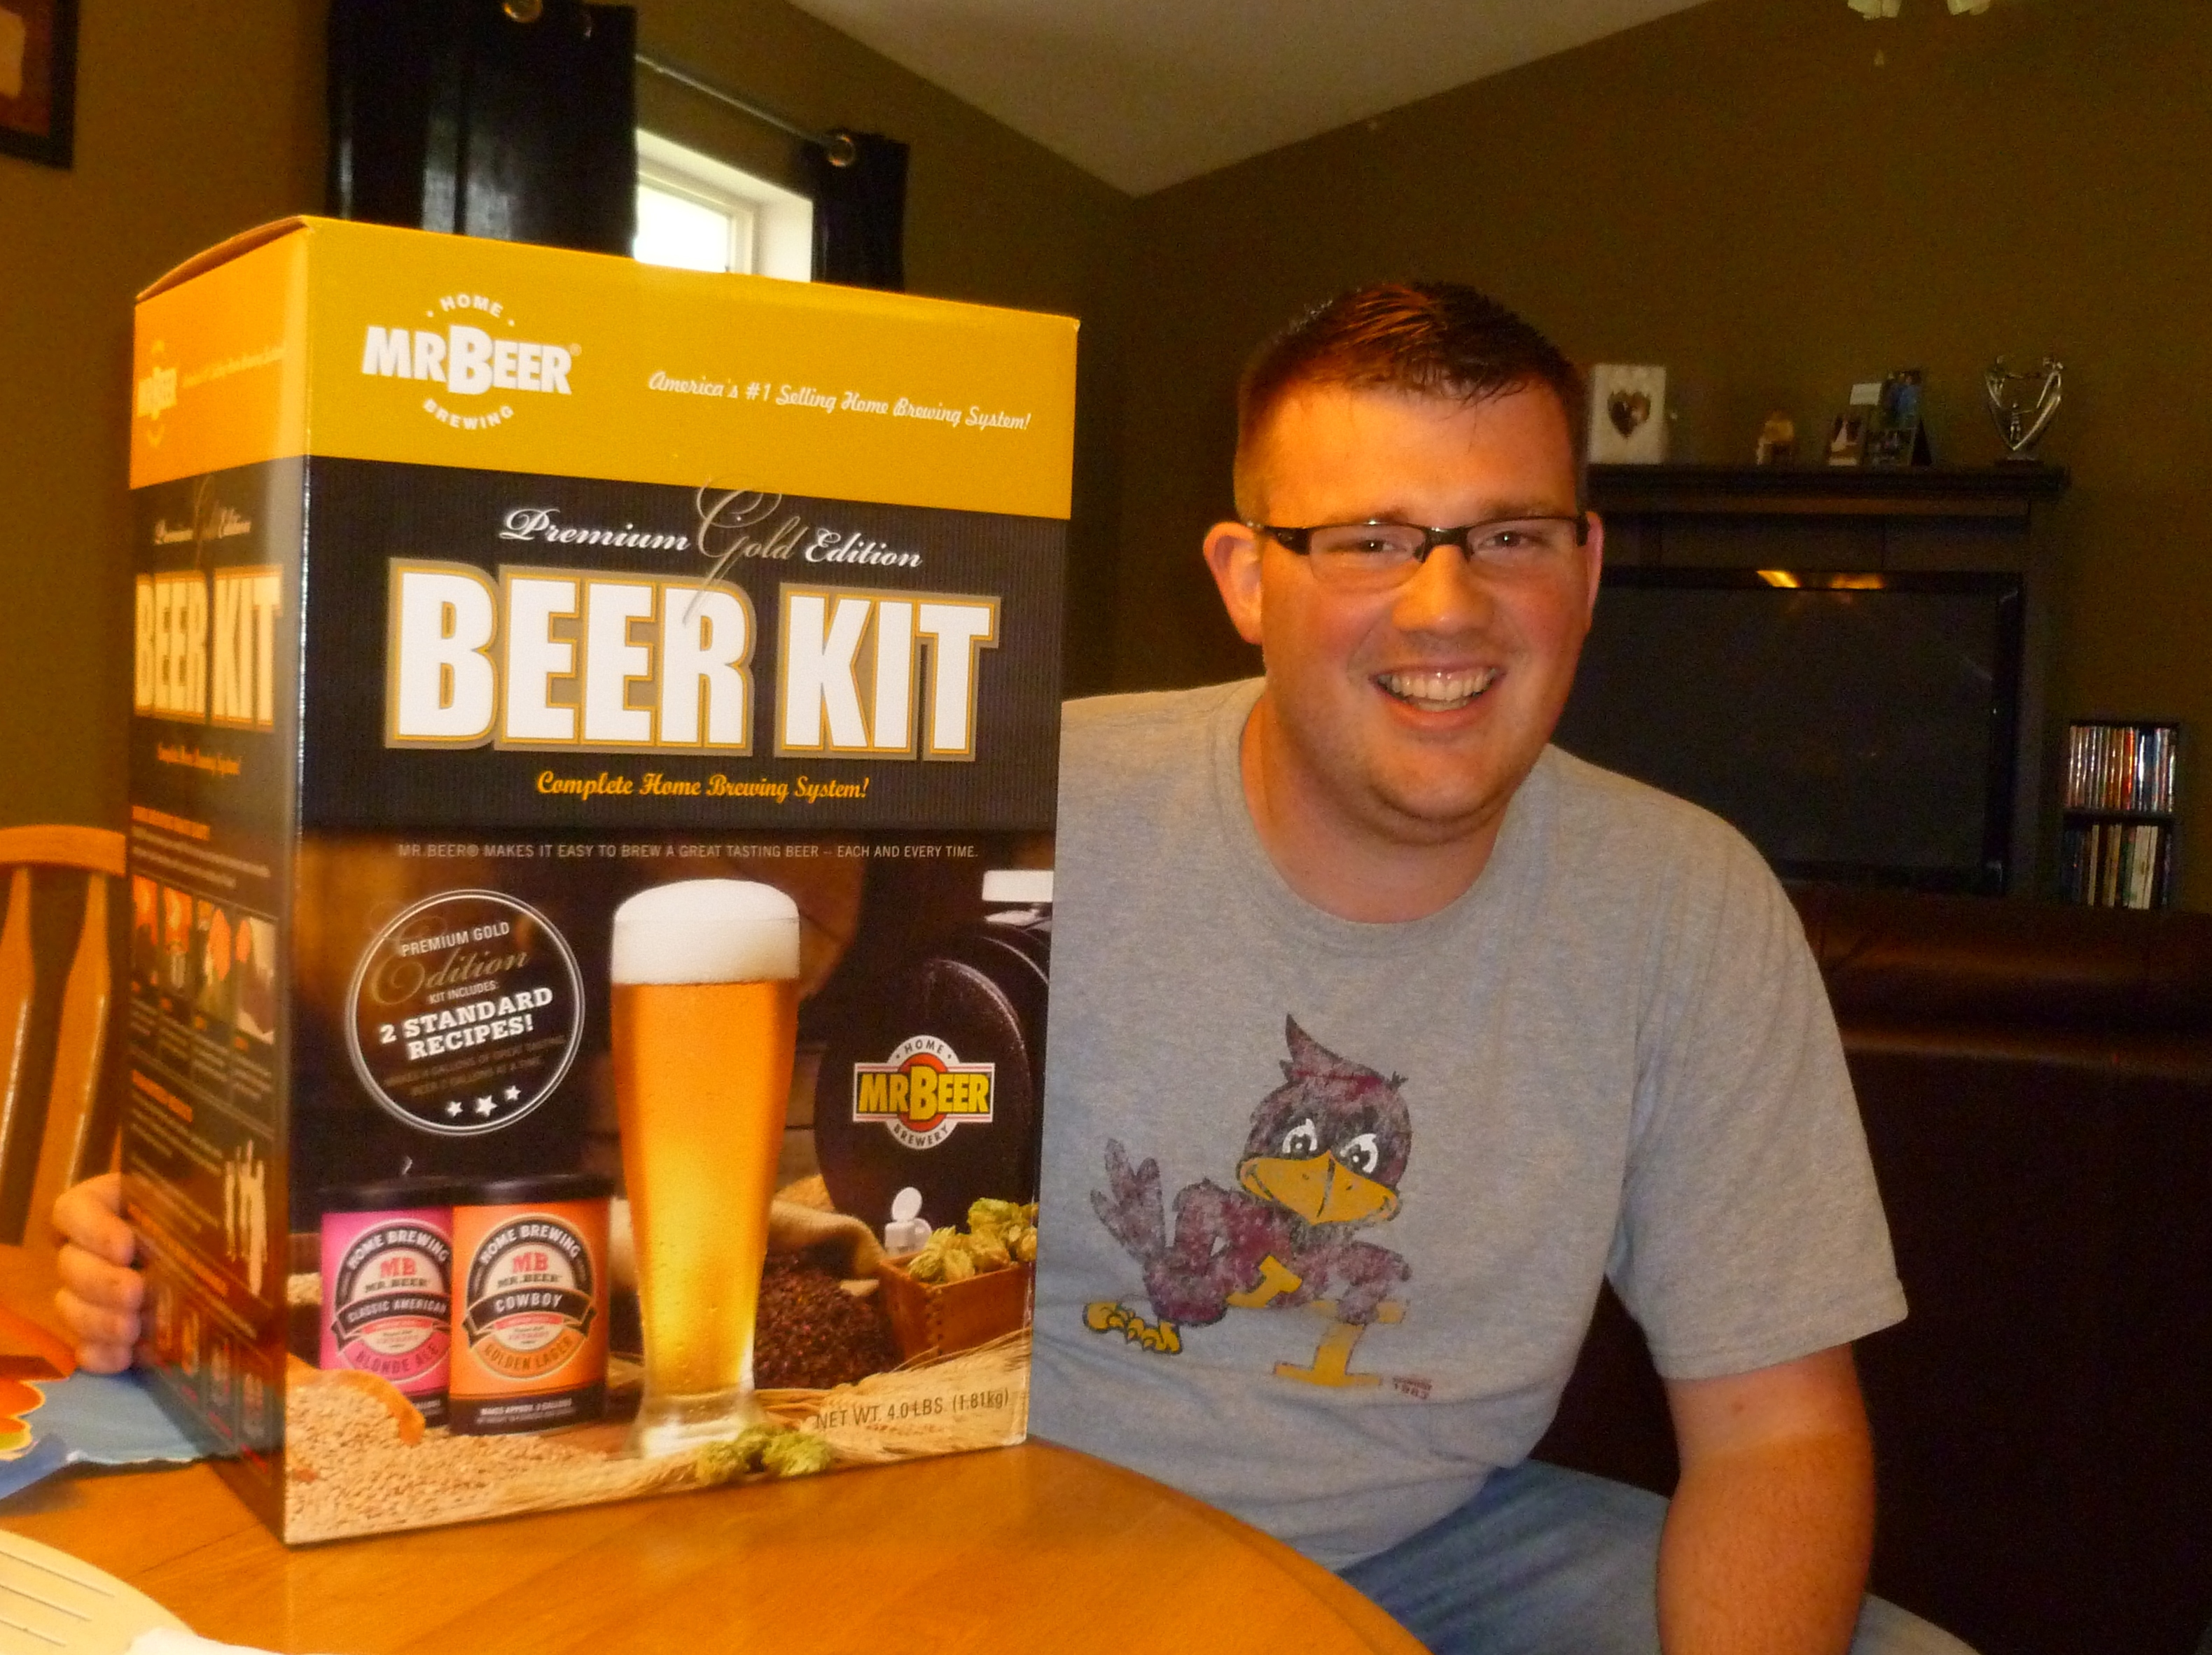
    For my birthday, I got a Mr. Beer kit. I wanted to get into brewing, but didn’t want to take the leap into a expensive kit, so this turned out to be a great gift.

    I brewed the Cowboy Lager first, and it turned out really good. Here is a picture, it has a little yeast from the bottom of the bottle, normally its not so cloudy.

    Just brewed the Blonde Ale, look for a status update in about a month.

  • Old – Aluminum Case Mod

    Here was my other case mod I did back in the day. This was from 2005 I believe. I will add my comments I originally had 😛

    The place i bought the case from
    http://dealsonic.com/skmssialatxm.html <—- Dead Link

    The manufacture website http://www.skyhawkusa.com <—– Dead Link

    This is the case after i took it apart, and kind of put it back together so i
    could get a picture


    This is the only plastic pieces on this case are the two on the left, and they are covered up.


    I wanted to mount an 120 mm fan like I ordered, this will have to change, maybe a 92mm fan because 120mm will not fit.

    I am going to mount a 120 mm fan on the front though. This will require a lot of cutting and gluing of some sort, more to come on this when i get around to it.


    The front piece are even aluminum

    And at last, the slide out motherboard tray.

    I am going to put a blow hole on the top.

    This is a picture of the back were i am going to make the fan part of the case.
    Going to cut the inside part, and leave the outside lip.


    This is how the fan will sit in the back

    Drawing is fun… The front of the case needs some cutting to make a 120 mm fan fit. I dont have to cut the front plastic piece because the fan will be on the back side, but to get maximum air flow i will cut it.

    Just showing how the front fan will be, but it will be on the back side.

    BLURRRRRRRRY opps, well i see pets in pictures so I took a picture of my fish, and my new XP-90 that has an Panasonic Pofolio fan.

    and at last the cheap filter and grill guard for the top blowhole.

    ANOTHER UPDATE Dremel time !! Here is my front mounted fan after i cut the front


    The fan on the back was tough to fit, i need to cut the frame as i said before. Here you can see it sitting in the frame on the left side.

    I cut the 3.5inch frame that holds the Hard Drives and the Floppy. I needed the room so the fan could blow some air. I was going to some how remount it but I decided that it doesn’t need it.

    Here i jimmy rigged a power supply and hooked up the fans to kind of see what it will look like after it all set to go


    This left to do

    1) Cut blow hole on top of case, i was practicing with Dremel on the insides first.
    2) Get some money and order the rest of the computer components HEHE 😀

    Here is a picture of all three of the fans mounted

    The top one with its grill guard, i wasnt sure how it would look, but doesn’t look to bad.

    Here is how i marked it off on the inside of the top of the case…. if that make any sense. Pretty much looked at different sizes of power supplies and looked at the depths on them, i didnt look to hard, but the biggest i seen was 180mm. So i made the fan 180mm from the back of the case, then just centered it from side to side. I checked with an extra cd-rom and i wont be able to put it on the top bay but thats ok, i was thinking about putting a fan controller there.

    This picture you can see i mounted a fan on the bottom of the case to blow air up.


  • Custom Computer Case with Flames

    I was digging through some old photos, and ran across these photos of a custom case that I painted. This was around 2005.


    Its a little dusty in a few of the photos!


  • My new Desktop for 2010

    I built a new computer over the last week or so. I was looking for something to replace an old used desktop I bought for $20 dollars about 2 years ago. It specs are
    Gateway, Intel P4 2.2ghz, 1 Gig of mem, 120 Gb HD, Stock Power Supply with Dead Fan, 120 MM fan keep the PS cool and a x800 ATI video card. The computer was getting very sluggish but severed its purpose.

    I was in the market for a $500 dollar Desktop / Minor gaming PC. After a little research, I came up with the following setup.

    Motherboard – BIOSTAR A785G3 ~$60
    OCZ Platinum 2GB DDR3 1333 ~$50 ( after rebate)
    AMD Athlon II X3 435 Rana 2.9GHz ~$75
    WD 1TB ~$75 (bought it from dell)
    Antec Case/ 500Watt PS ~$100 ( on sale)
    DVD-Rom ~$20
    ATI Radeon HD 4850 ~$110
    Windows 7 from School MSDNAA = Free!!
    Total ~$490

    It was fun to go ahead and build another computer, been a while since I had the chance. If I wanted to make this a more dedicated gaming pc, I could of bought a smaller hard drive and cheaper case / power supply, and spent a little more money on the graphics card. The CPU does well for the price point. It was hard to decide on where to save and where to spend more money with this kind of price range.

  • First Post ( Hello World )

    I dont even know what a blog is, and guess what i have one, SO :P, but i am doing some EE, and i have no clue whats going on, but it all kool! Nothing like finding the power to everything in the universe. – Anthony