Wanted to show off the sound deadening and new carpet I also installed into the truck. Before I finished the Suburban seat installation, figured it was the perfect time to lay down the sound deadening and some fresh carpet.
Sound deadening material works by reducing the vibrations of the metal. Its typically a rubbery material, formally called Butyl and normally has an aluminum backing. By applying this sound deadening material to the cab floor or doors as an example, it adsorbs some of the sound waves when the metal would vibrate and makes it quieter
Lets jump into the parts I bought for this
Amazon
- Siless 80 mil sound deadening mat (2 boxes)
- uxcell 10.76 sq ft Heat Sound Deadener Insulation Mat 76×20 (I will talk more about this later)
- uxcell 6.4 sq ft Heat Sound Deadener Insulation Mat 40 x 24 inch (I will talk more about this later)
- Sound Deadening Rollers (3 Piece set)
- Note: As an Amazon Associate I earn from qualifying purchases. No additional cost to you.
Other retailers
- OC Auto Carpets – 1975-1980 Chevy C10 Carpet
- I went with Cutpile 839 Federal Blue for all of the carpet material
- OC Auto Carpets – 1975-1986 Chevy C10 Reg Cab Rear Wall
- OC Auto Carpets – 1975-1986 Chevy C10 Floor Mat
- LMC Truck – Black Plastic Door Sill Plate Set 38-2437
OC Auto Carpets has a large selection of colors which is why I went with them. The photos on the website are lacking, but if you reach out to them they will email you high quality photos of the samples or send you up to 4 samples https://www.ocautocarpets.com/faqs/#q18.
Step 1: Preparation and cleaning
You will need to remove all your seat and carpet. You will want to clean the floor well, remove all debris, dirt, pennies from the 1980’s etc. You will also want to clean your floor with some type of dust remover and a lint free cloth. Rubbing alcohol would work for this as well. It doesn’t need to be surgically clean, but it needs to be clean enough for the sound deadening material to stick to the floor.
If you have any rust on the floor, now is a good time to take care of that.
Note: I did clean up the wires as well, most it being from my Holley Terminator installation.
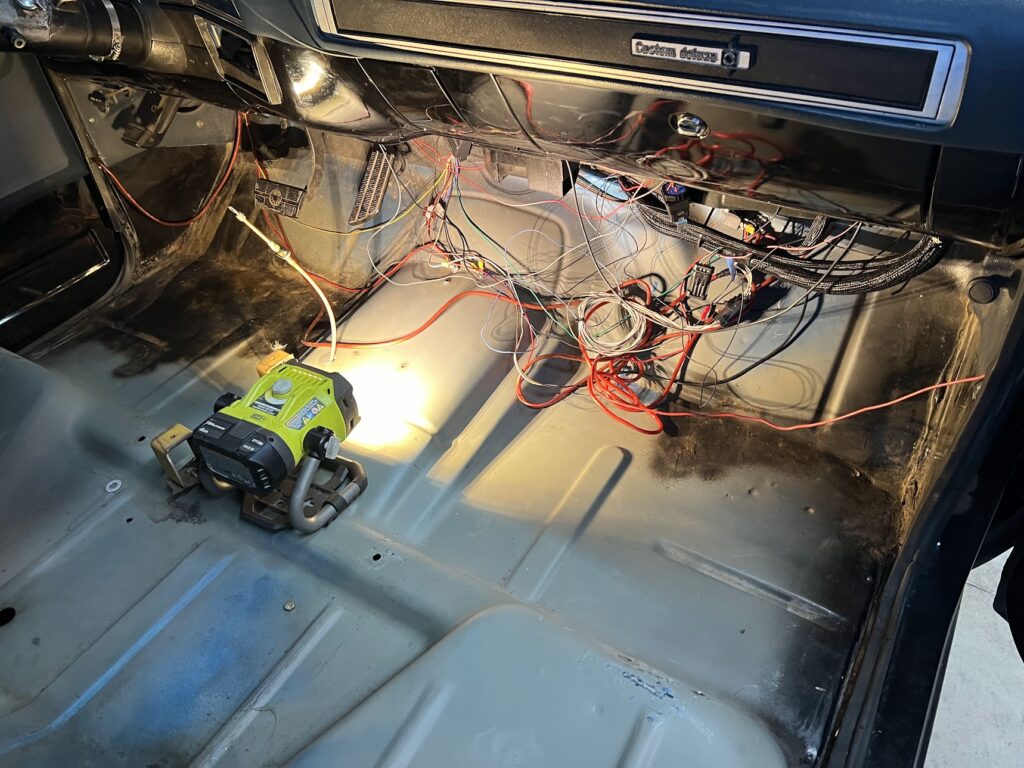
I did scratch the floor up pretty good when I installing and uninstalling the seats, so I bought some primer and touched up the areas that needed touched up. After the fact, wished I would have spent a little more time and primed the entire floor, but I was limited on time and plastic.
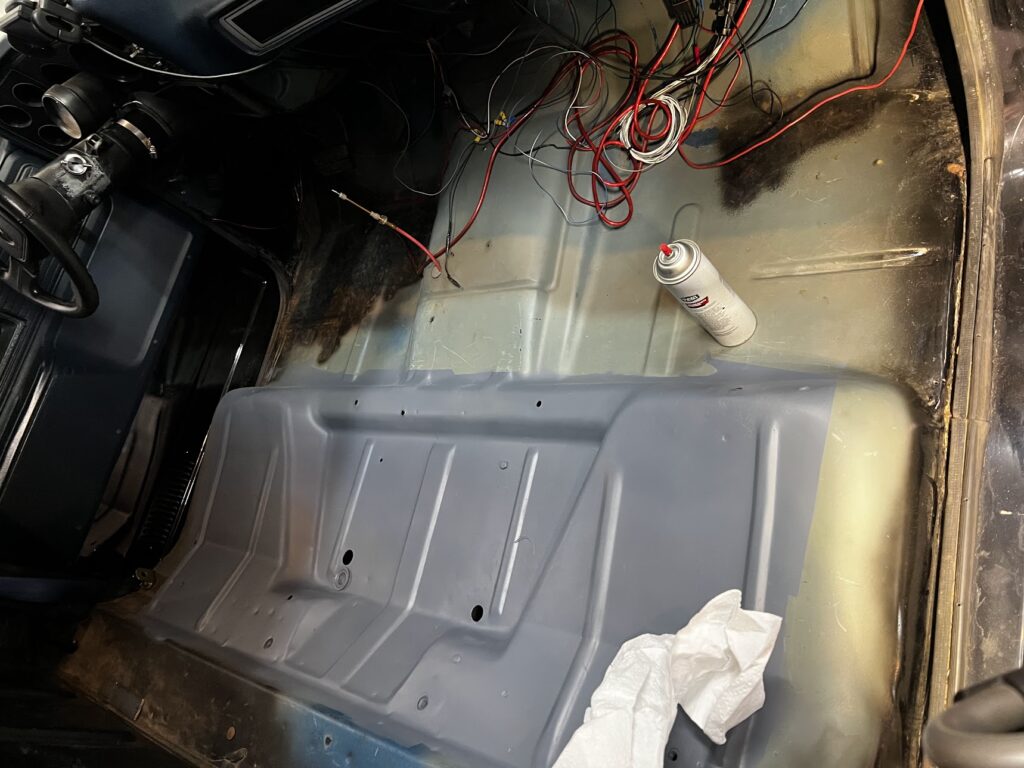
Step 2 : Applying Sound Deadening
I started with the Siless sound deadening and started at the front firewall passenger side and started laying down sheets. Important Note: You need a roller to fully secure the sound deadening material to the floor. Roll over the entire surface area of the material, until you see the roller wheel impressed into the sound deadening material.

I did my best to butt them up to each other. I watched some videos were people would buy an aluminum tape to seal up the joints, but I didn’t do that here and believe it will be fine. Corners are the hardest and you need to cut the material accordingly to get it to fit. After I was all done with the whole floor, I went back and cut smaller pieces and filled in the smaller areas that still needed covering around the corners. As you can see, I did the back wall here as well.

Step 3: Applying the Heat Insulation (optional)
I decided to buy some additional insulation (in the parts list above listed as uxcell) and apply it on top of the sound deadening as well. Its listed as a heat and sound insulation, but from reading the comments its better on the heat then the sound. Its probably overkill, but wanted to keep the heat out as much as possible. Unfortunately I didn’t take any photos., but here are the sections of the floor I did cover with the uxcell material:
- Floor pan that is flat
- Under the seat
- Transmission Tunnel
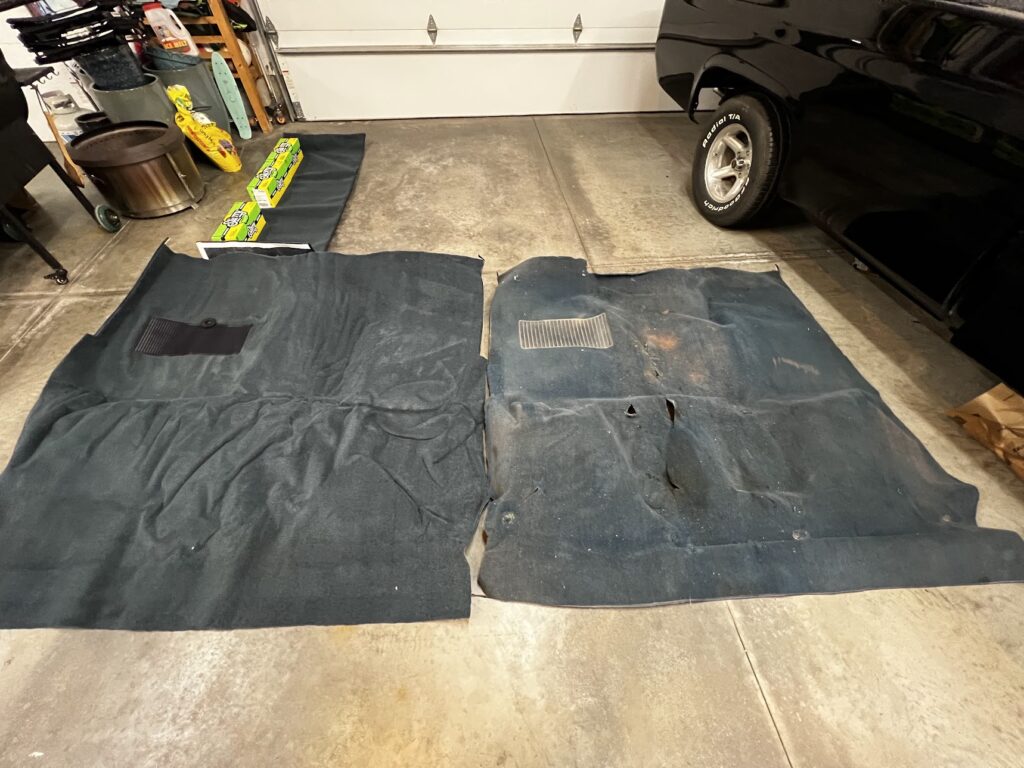
Step 4: Installing the carpet
I decided to buy new carpet with having new seat mounts and the old carpet was dirty and stained. Note: The carpet I was replacing wasn’t the original, the truck had a vinyl floor mat originally.
Install the carpet, make sure it covers all 4 corners. The carpet is molded, so it should be pretty easy to light up. You may need to put something heavy down on it so it doesn’t move around.
Note: Recommend installing all the bolts and screws you need to cut around under the carpet, so when you cut the holes for them its easier to find the locations of the holes.
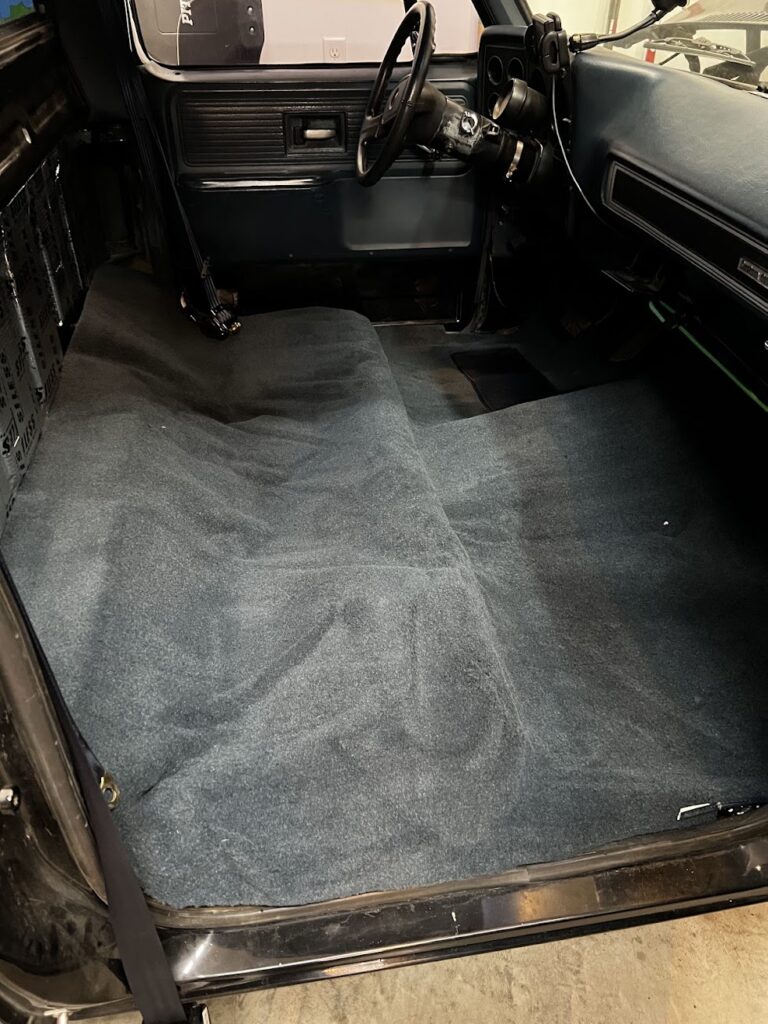
Here is the seats installed on top of the carpet.

Final Thoughts
The carpet installation was the easiest part of this project. The sound deadening takes some time so be patient with that. I took it for one drive and noticed its quieter while driving. While it will help, it will not make it a Rolls-Royce though. I still need to do the roof and doors with sound deadening material yet, so that will also help reduce the sound even more.
Hope you enjoy this project, let me know if you have any comments or questions.
One thought on “1979 C10 Sound Deadening and New Carpet”