Summer of 2023, I decided to take the plunge and commit and bought an LS to swap and I was going to do it myself at home in the garage. I have some car mechanic background but my day to day job is software engineering, however I watched enough videos that I felt comfortable tackling this at home.
To help navigate check out the table of contents to jump to a specific section.
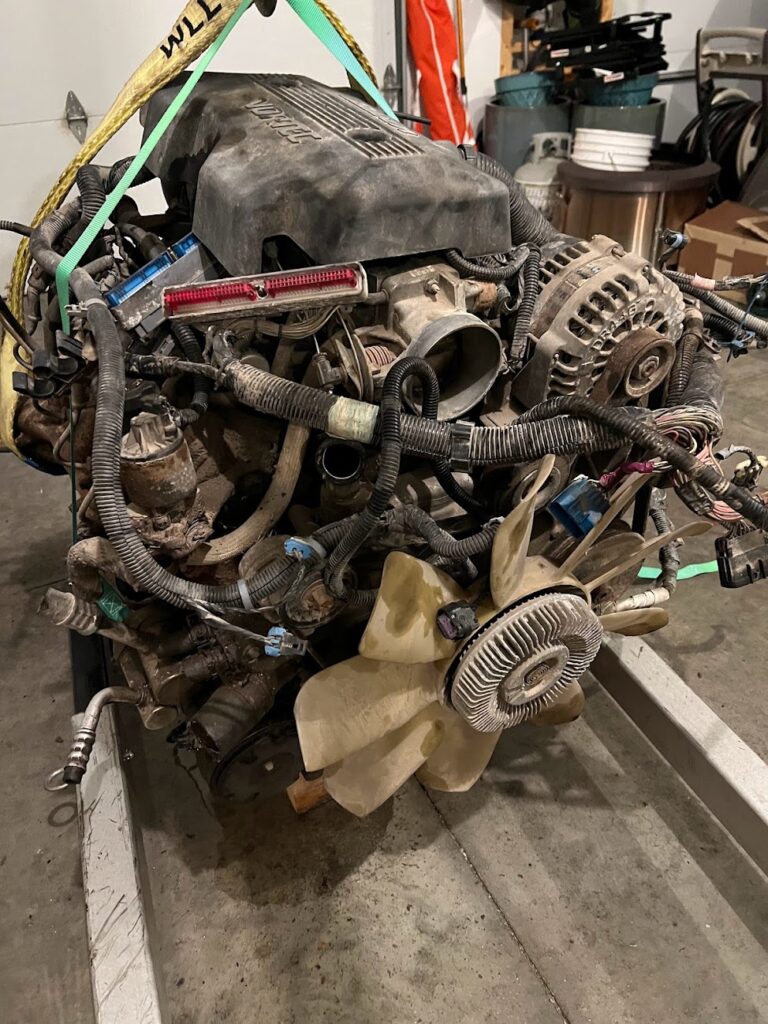
LQ4 Engine with Accessories
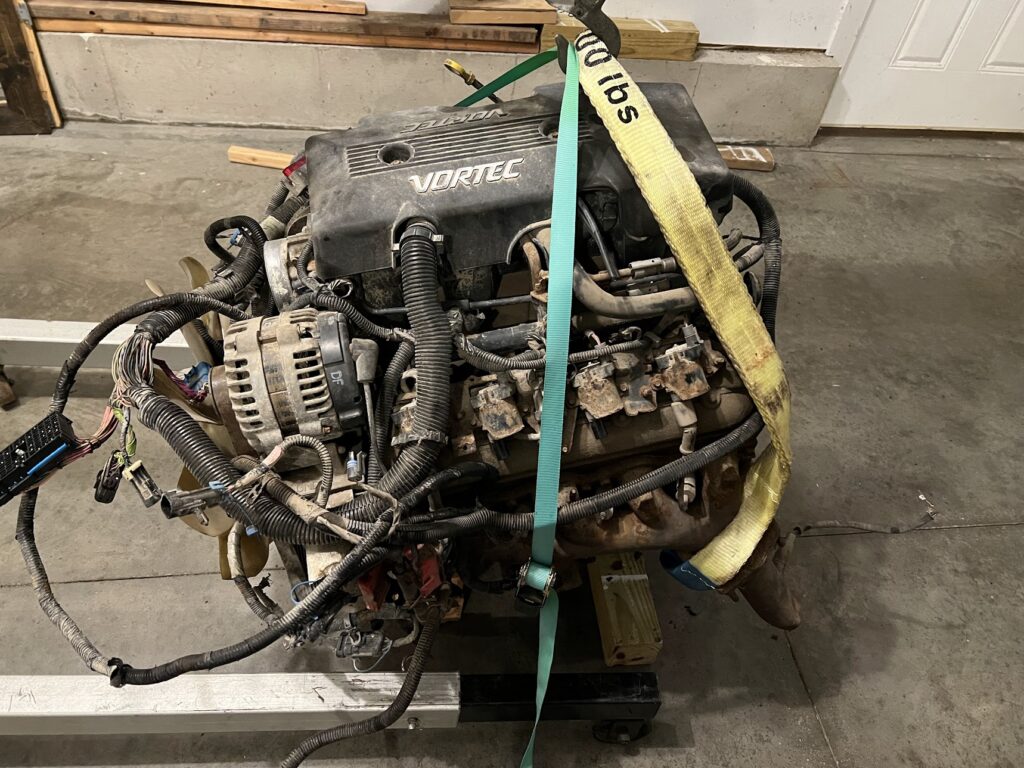
Another picture from the front.
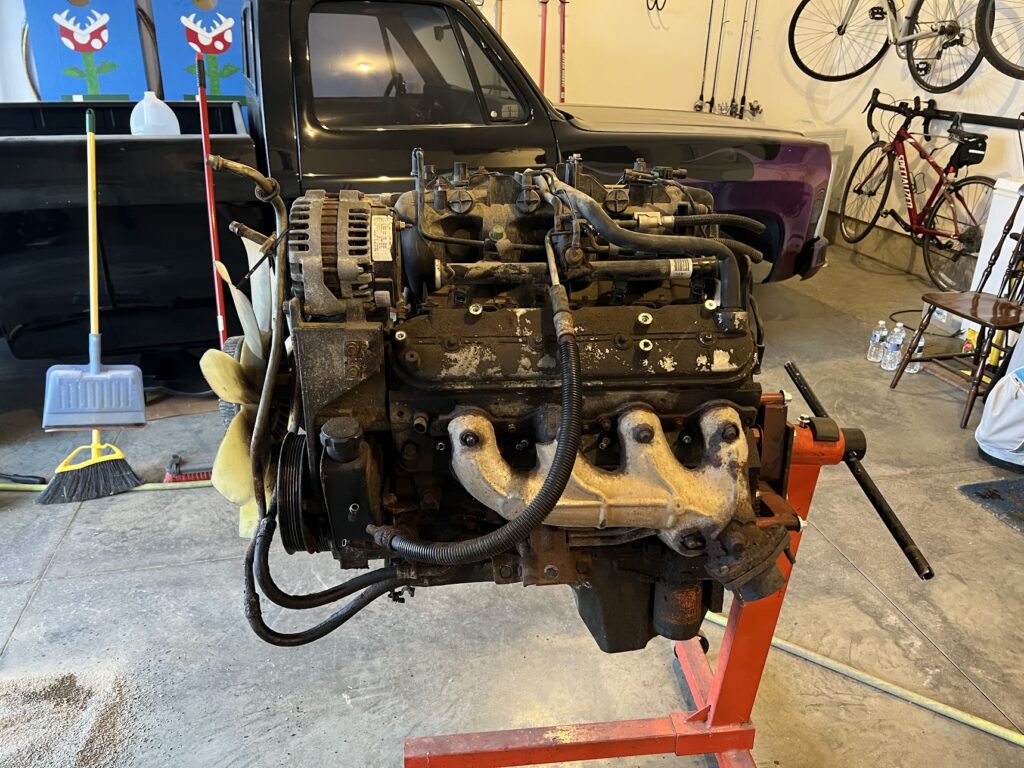
I started with the tear down of the engine and did the best to label everything the best I could knowing it’s hard to remember where everything went exactly. Started with the wiring as it makes it easier to see whats going on. Then transitioned to smaller items and eventually the exhaust manifolds and accessories. As you can see in the photo below, much easier to see, but still a grease bomb that needs cleaned up.
Tear Down and Clean up
After taking off the intake, I worked on cleaning it up even more. I didn’t want anything falling into the cylinders as I wasn’t planning on doing a full rebuild.

I took the heads off and keep cleaning everything up. I got some different heads for this build as I was looking to make some additional power which I will cover more below as I reassemble it.
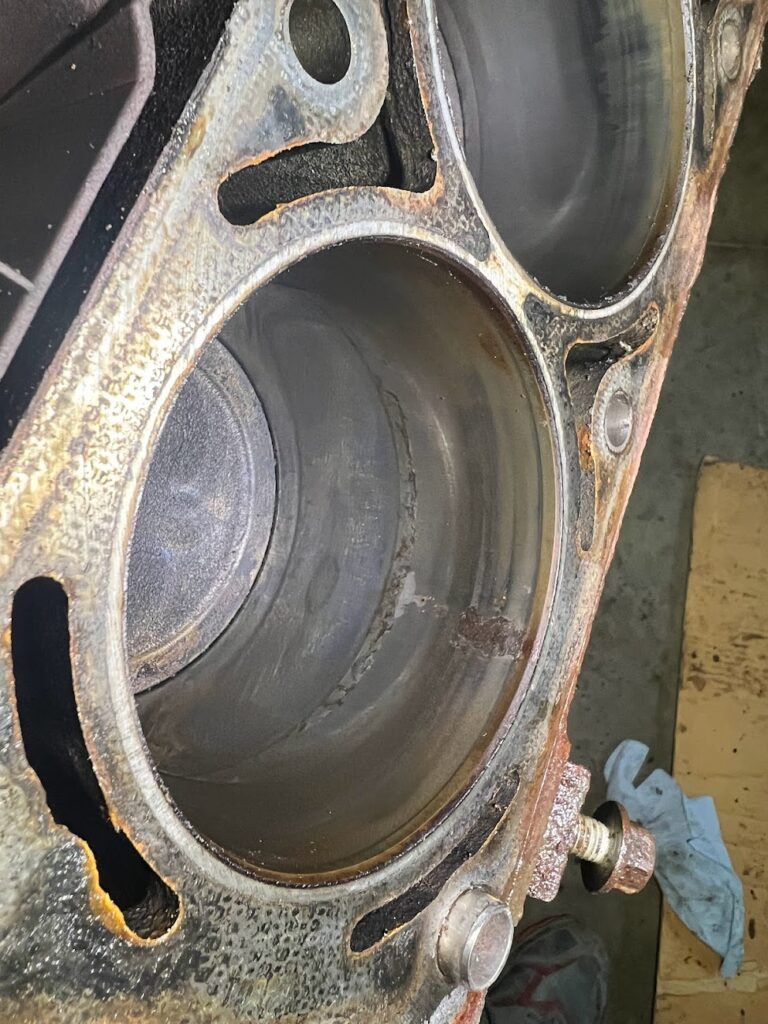
Now that we are down the bare block, want to make sure you clean everything the best you can, inspect the engine, make sure there isn’t excessive wear, etc.
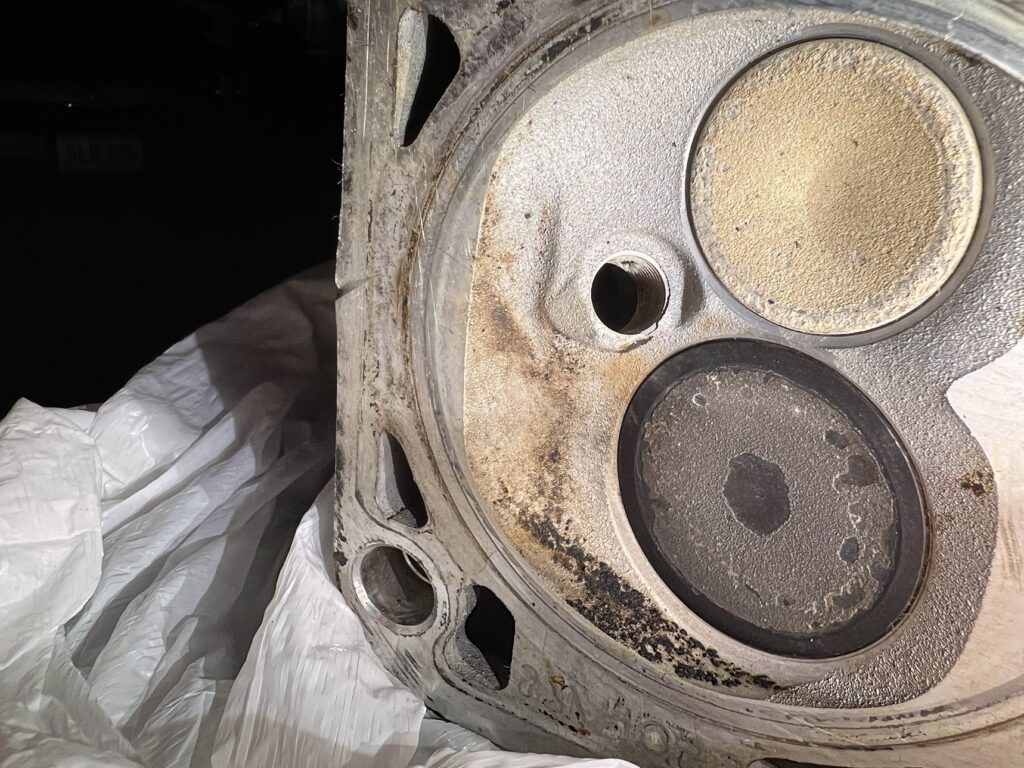
This engine supposedly had 150k miles on it, which it looked pretty clean on the inside. There was some small pitting two of the cylinders, which I did the best I could to clean it up with affecting the cylinder walls. This photo really makes it look much worse then it was. I know there are some mechanics that would rather do a full rebuild. While it would have been nice, by opening up the bottom end, it would have cost me another $2k to $3k and I would have probably went with additional upgrades that would have cost me.
These engines are known to run to 250k or 300k miles before needing rebuilds. Knowing I was going to be putting less then 5k miles on a year, I figured this would last me 10 years before needing any major maintenance.
The other cylinders looked great, so after I cleaned it up, decided to move forward with it.
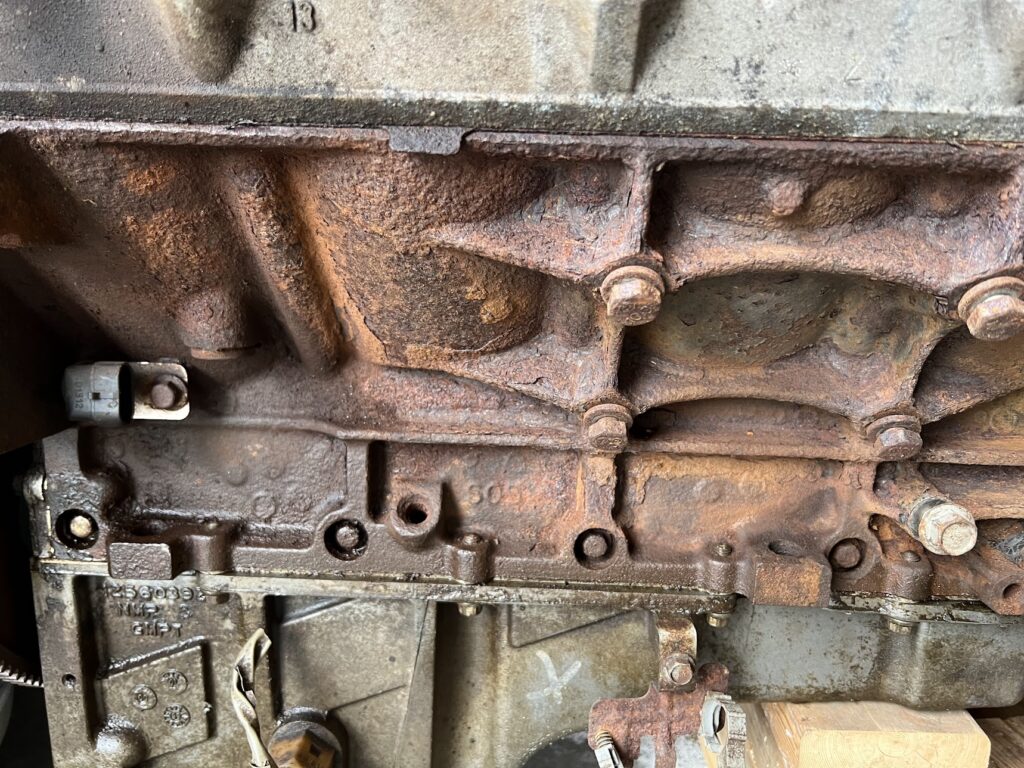
Being from the midwest, these things get so rusty! I did my best to clean it up the block with a pick and wire brush to scrape off the rust and get a clean surface. If you went with a full rebuild, engine shop would clean it up better, but as I mentioned above, I didn’t change the bottom end at all. I did some more cleaning after this photo and before primer.
Painting
Very important to de-grease the engine before you are you ready to primer and paint. I went through many cans of brake cleaner to remove the dirt and grim.
Here you can see it after using primer. For the blocks you will want to use high temp enamel that is made for engines.

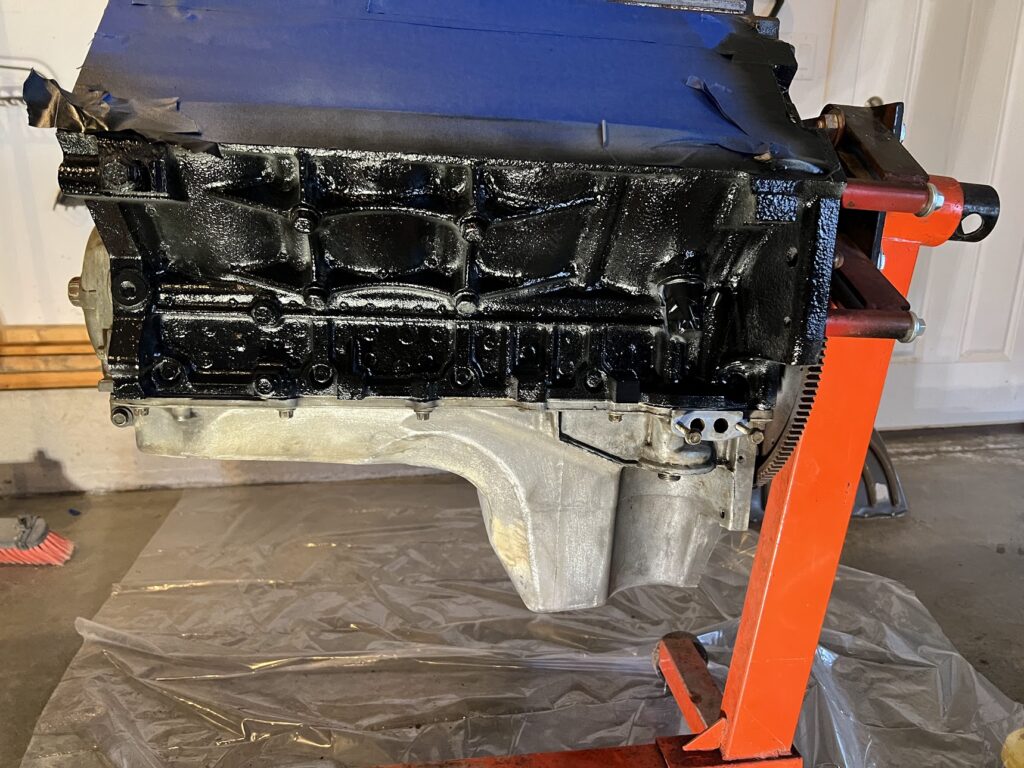
After following the directions for the primer, I applied the paint. I wanted black as my color of the sbc was orange and wasn’t a fan of the orange anymore. This black was a little glossy for me, but to late now!
Camshaft, Oil Pump, and Oil Pan Installation
Now its time to start re-assembly. I installed the cam first and decided to go Brian Tooley Racing (BTR) Truck Norris Cam. This is a great torque cam that still makes a ton of power over stock. I watch hours of videos from Richard Holdener and sure, I could squeak out maybe 25 or 50 more horsepower, but you can only use it at 7k rpms. Torque gets you off the line and moving and I am mostly doing in town driving.
Here is a photo of the cam installed form the back side of the engine.

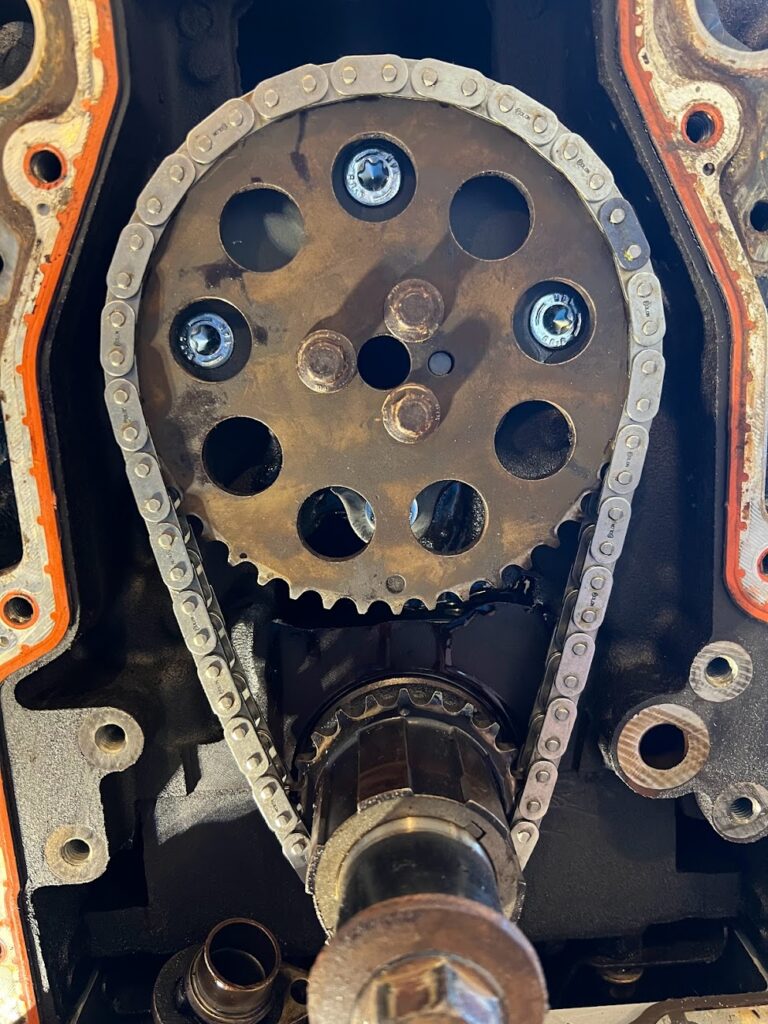
Here is the front of the engine with the camshaft reinstalled and lined up dot to dot when at top dead center (TDC). I went with a new timing chain but didn’t want to change out the gears which you suppose too, but once again many people run these engines for 250k miles with no changes to the timing chains, they are actually pretty durable on these engines.
I don’t have any photos, but installed a new melling oil pump along the way, figured since I had it tore apart it was worth upgrading the oil pump.
After you get the oil pump installed, you can install the oil pan. I went with the stock oil pan as there was no fitment issues.
Lifter Installation
After getting the camshaft installed, I installed the lifters. I went with some Summit Racing Performance LS7 lifters. These are the same as the Morel #7717. Highly recommend these, never have had any lifter noise with them. I did soak the lifters before I installed them for 24 hours.
Head Installation
The LS platform is in many vehicles and had many configurations. I did tons of research before I bought any parts. There are different routes you could go, but since I had an LQ4 base I decided to go for 243/799 heads. They are basically the same heads, but I manged to find a set of 799’s on Facebook marketplace for a decent price. At first glance they looked decent, minus some dog or cat hair, but after doing some better inspection found a gouge the surface.

While it was kind of ugly, I was able to take it to machine shop to get cleaned up. I had them milled .025 which helps increase the compression ratio. Todo do math on how many cc’s etc
Here you can see I got them back, they cleaned and milled them all up. I took out all of the valves myself because I needed to replace springs anyway, so saved a step for the machine shop.

Here I am installing new BTR .560 left LS6 springs. I did lap the valves, once again this is something that you could have a shop to get the best results, but these looked like low mile heads, so was just looking to freshen up the top end.

Push Rods and Measuring
After getting the block surface all cleaned I spent lots and lots of time measuring for the correct push rods length. Not being an engine builder and obviously just doing this in my garage, I wanted to make sure when I started it up, I didn’t have any issues with piston to valve clearance. I am not even going to attempt to explain how to do it as their are great resources out on Youtube.
I do recommend buying an adjustable push rod and making some solid lifters though out of some old lifters. Here is the video I found on how to make a solid lifter that was straight forward:
Torquing the heads
After measuring about 20 times, I was convinced that I wasn’t going to have any issues, so now it was time to torque down the heads. I went with the one time torque to yield bolts vs ARP bolts. If I need to take it apart next time I might buy ARP bolts.
Summit racing has a good guide here on torque specs and pattern: https://help.summitracing.com/knowledgebase/article/SR-05187/en-us
Now its finally starting to look like an engine. I ended up deleting the knock sensors because I went with a Holley Terminator ECU and it doesn’t play well with knock sensors.

While not shown here, I did install the new valley cover before installing the engine
Engine parts
- ICT Billet LS Valley Pan Cover Plate
- LS Head Bolts FEL-PRO 72173
- Brian Tooley Racing (BTR) .560″ Lift LS6 Beehive Valve Springs
- ICT Billet Camshaft Thrust Retainer Plate
- Melling Performance Oil Pump 10295
- Brian Tooley Racing (BTR) Truck Norris
- Summit Racing LS2 Timing Chain
- Summit Racing Performance LS7 Hydraulic Lifters
- Brian Tooley Racing (BTR) Pushrods
Sensors
- Holley EFI 534-20 Air Temp Sensor
- Oil Pressure Sensor 12677836 – Works with Holley Terminator X, stock LQ4 doesn’t
Misc. Parts
Tools List
- Latex Gloves (These are higher quality then harbor freights)
- Valve Sprint Compressor for LS Heads
- Adjustable Pushrod Length Checker
- LS Harmonic Balancer Installation Tool
- Harbor Freight Load Leveler
Note: Many of the links are to Amazon and as an Amazon Associate I earn from qualifying purchases. No additional cost to you.
LS Swap Installation
Now that the short block is prepared check out the installation and first start here.
One thought on “LS Engine Build”