Latest
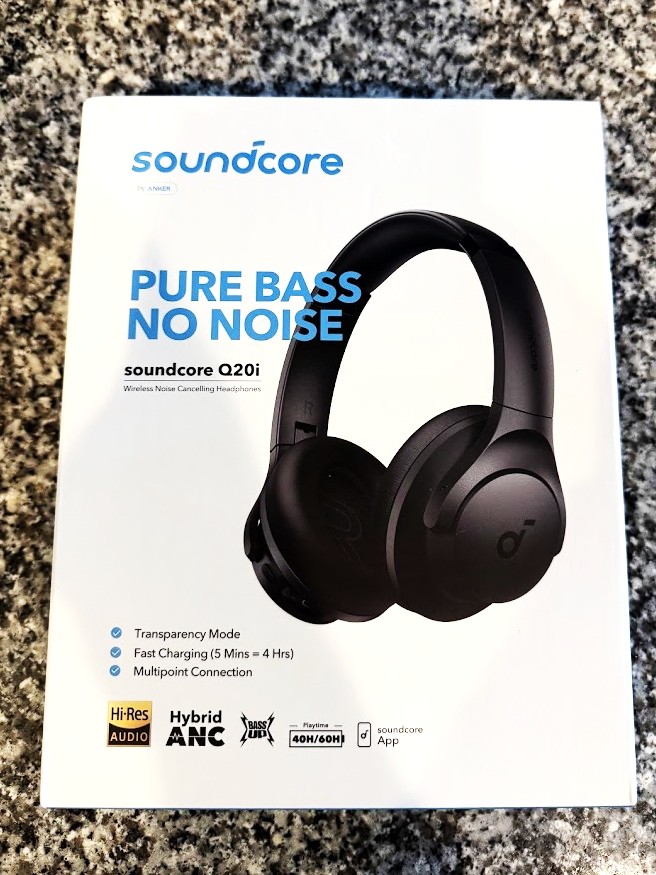
Anker Soundcore Q20i review
I was in the market for a pair of over-ear headphones to mix things up from my usual Apple AirPods …
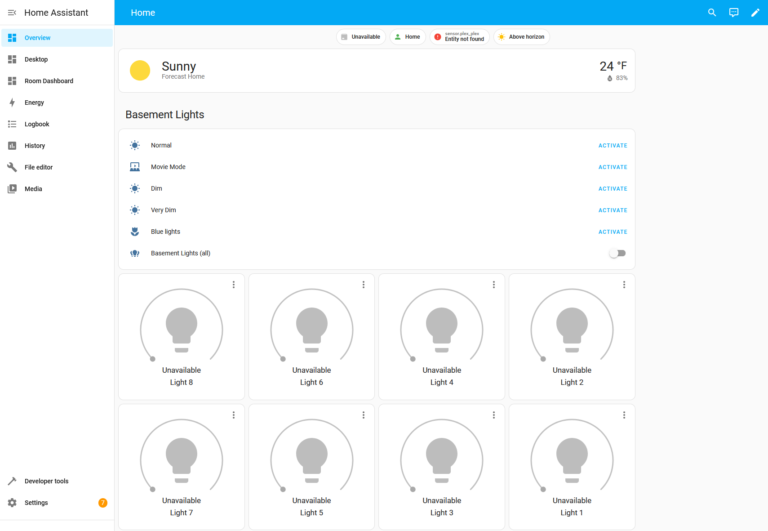
Getting Started with Home Assistant: Smart Home Guide
What is Home Assistant? Home Assistant is a locally run software platform that lets you control and automate smart home …
Hardware

The Best Gaming PC builds of 2026
Introduction Whether you’re looking for a solid mid-range rig or a high-end powerhouse, I’m sharing the best gaming PC builds …
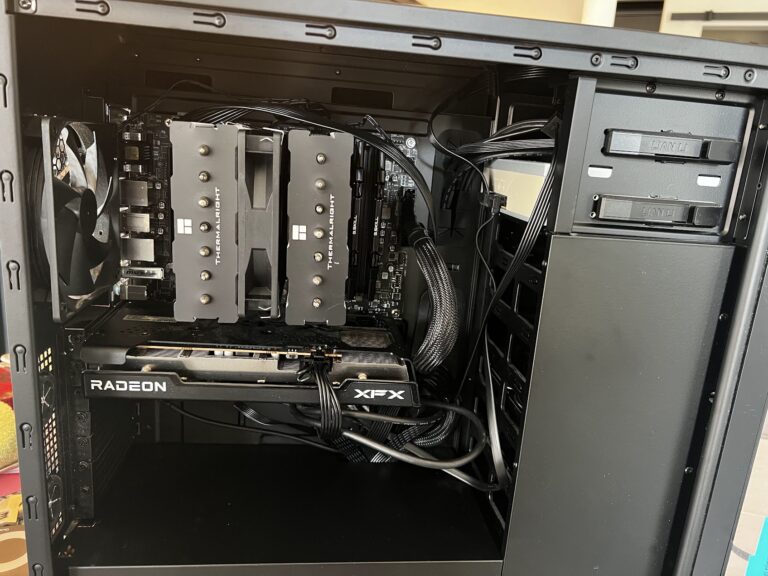
AMD Ryzen 7 5700X Review: Is It Still Worth It in 2025?
Thinking about upgrading or building a new PC without spending a fortune? Here is how I built a Ryzen 7 …
Homelab
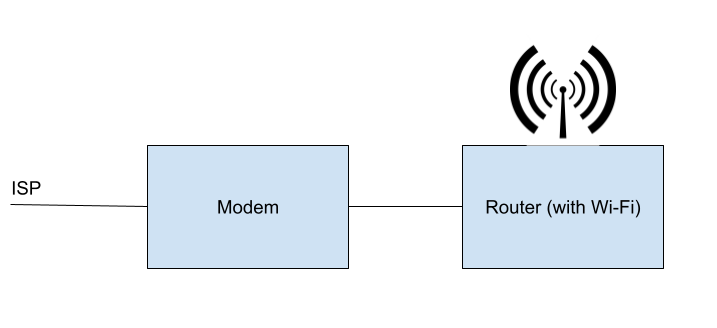
Modem vs Router vs Firewall: Key Differences Explained
Understanding the difference between a modem, router, and firewall can get confusing, especially when some devices are combined or when …
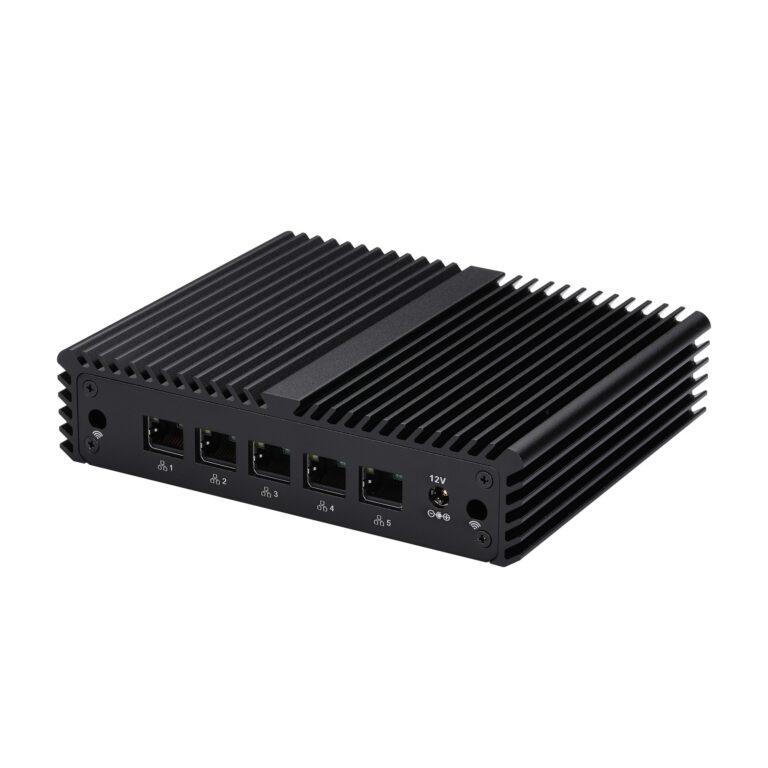
Best Hardware for OPNsense in 2026: Mini PCs, DIY Builds, and Appliances
Choosing the right hardware for OPNsense is one of the most important steps when building a reliable firewall or router …
Media Streaming
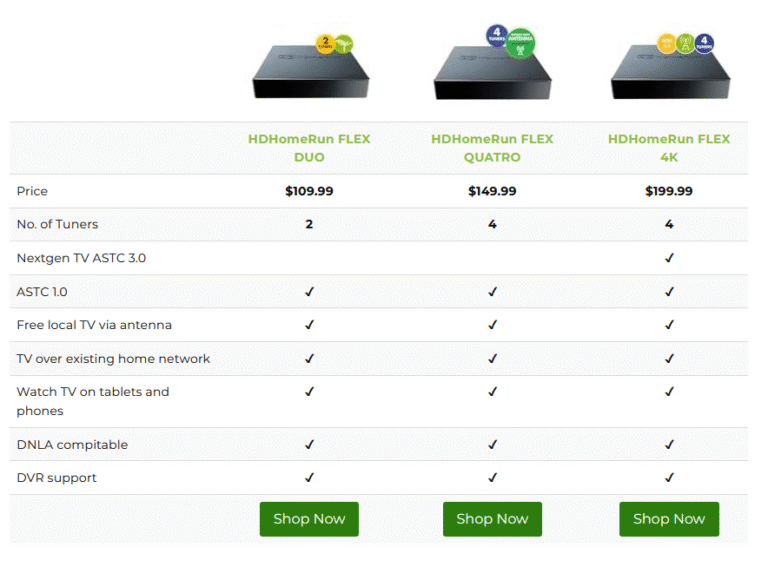
HDHomeRun Review: Cut the Cord with OTA TV
HDHomeRun is one of the easiest and most reliable ways to watch and record over-the-air TV on your home network …
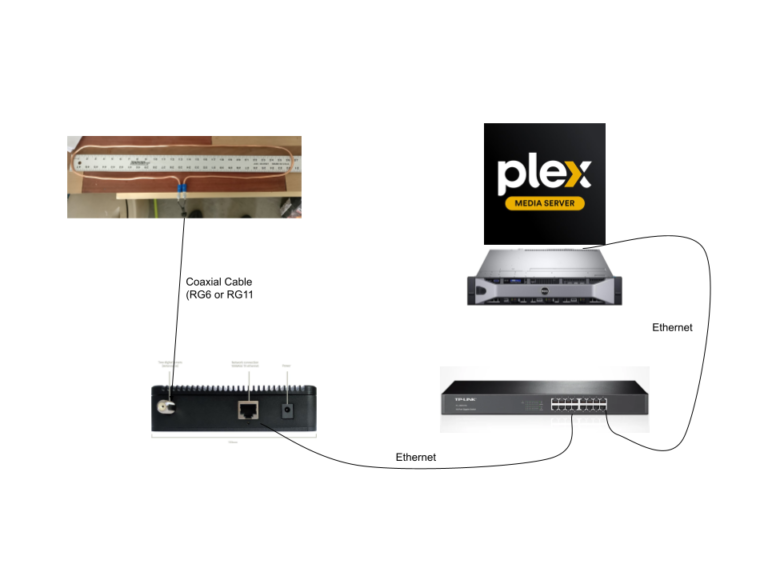
Cutting the Cord: Antenna to HDHomeRun to Plex
In my previous post about the Folded Dipole Antenna I talk about watching over the air (OTA) TV. Cutting the …
Retro Gaming

N64 for Birthday
I recently posted my first retro-gaming article on my top 10 favorite SNES games and excited to dive into more …

Top 10 SNES games
The Super Nintendo Entertainment System (SNES) was Nintendo’s smash hit into the 16 bit console market. I remember saving up …
1979 Chevy C10 Build

1979 Chevy C10 LS Swap Guide
This step-by-step LS swap guide walks through installing an LS engine and 4L80E transmission into a 1973–1987 Chevy C10 squarebody …

2024 Taco’s and Smoke Show
Just completed the truck not to long ago and decided to put it to the test at a local burn …
Projects
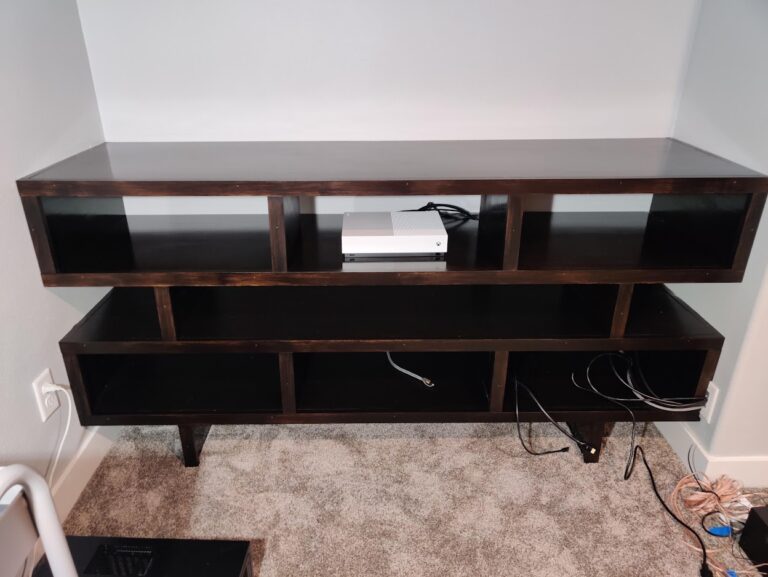
Entertainment Center built for custom space
I wanted to make an entertainment center to hold my receiver, computer/htpc, PS3, Xbox, SNES, and NES to fit a …
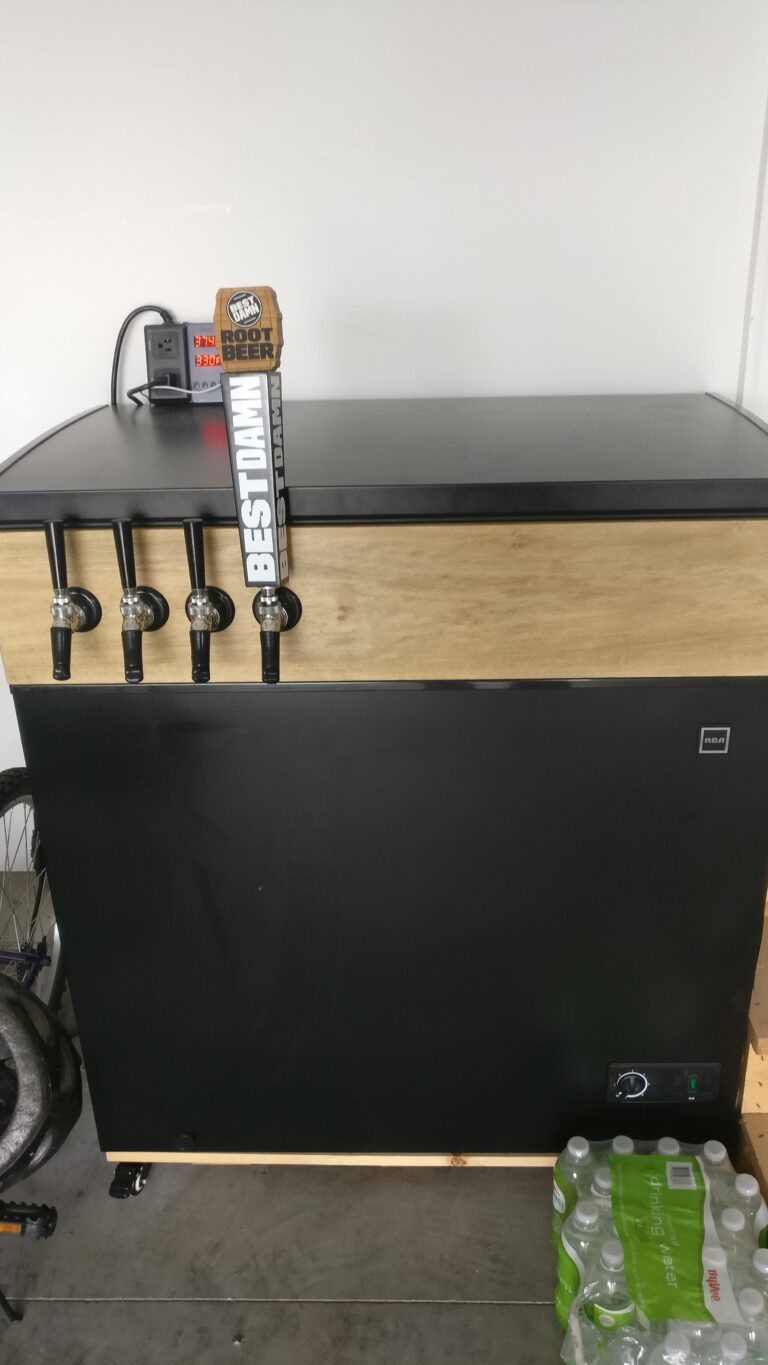
Building a 4 tap kegerator with a chest freezer
Want to enjoy your freshly brewed beer without the hassle of bottling? It’s time to build your own kegerator and …
Solar
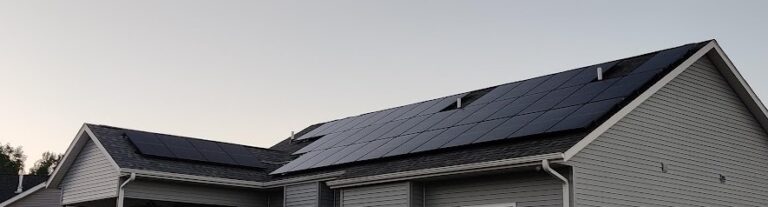
Going Solar: Our Experience for 100% Energy Offset
We were interested in getting solar as we knew the benefits of reducing our carbon footprint and getting free electricity …
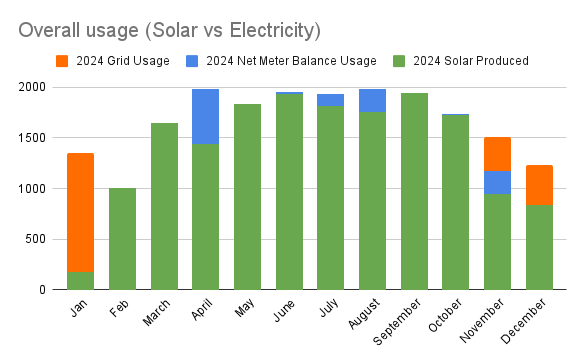
2024 Annual Solar Transparency Report
Every year I like to provide an update on my solar generation, electricity usage, month electricity cost and a few …