Why I Decided to Upgrade My C10 Cooling System
Last summer, while driving my truck to car meets, I noticed it was getting fairly warm when we were moving very slowly. I’ve wanted to upgrade the cooling system since doing my LS swap, but I struggled with the high cost of some of the aftermarket cooling systems available.
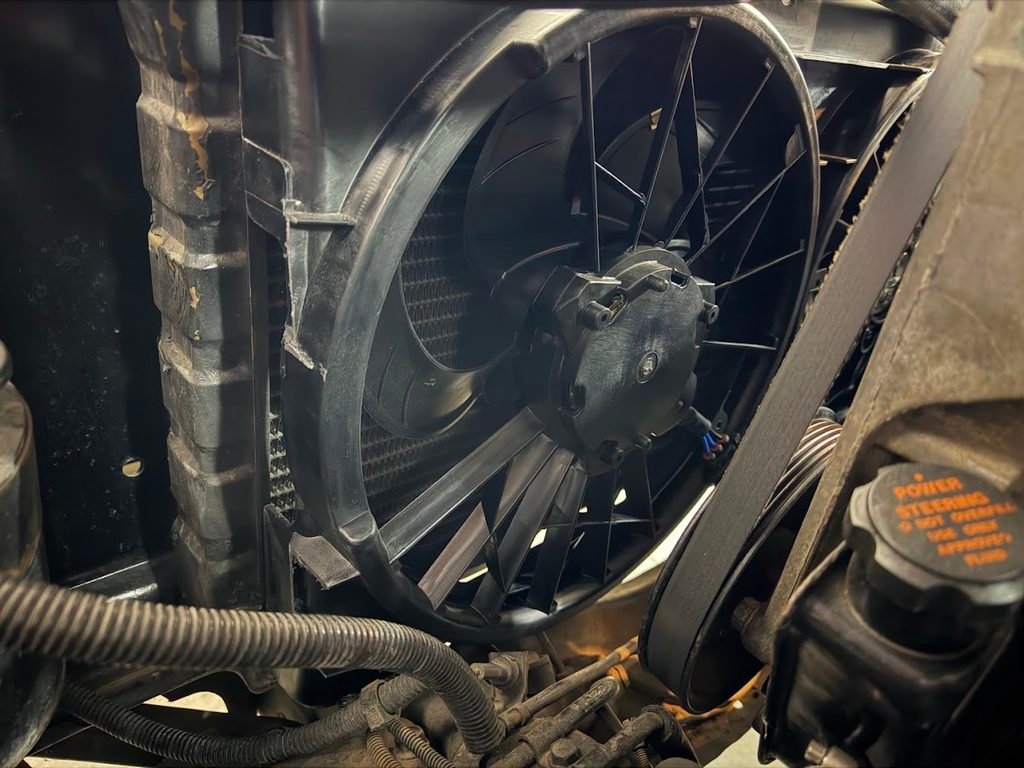
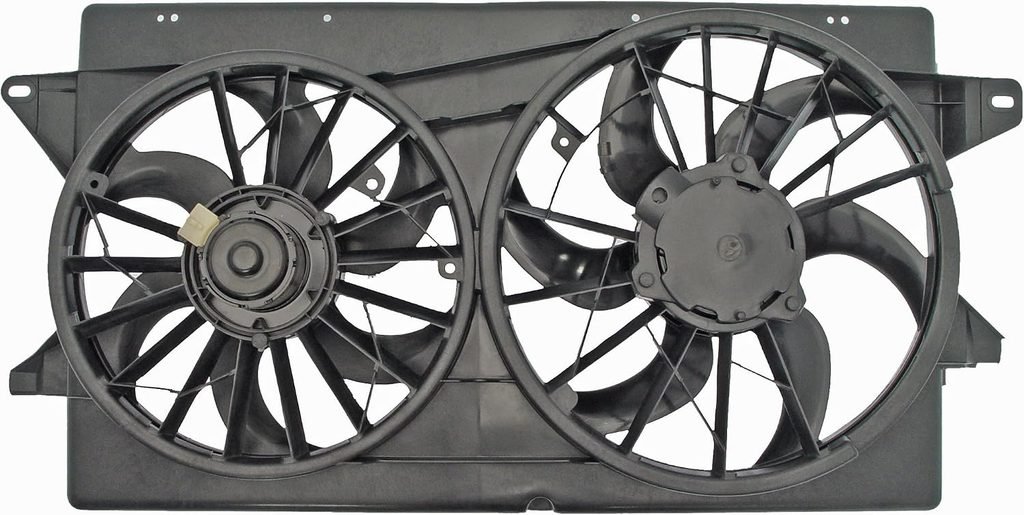
As I started researching what other C10 owners had done, I came across some older posts about using electric fans from 1999-2003 Ford Windstar vans. The dual-fan assembly has a high CFM rating and fits the stock C10 radiator well after cutting off a few small plastic tabs. It looked like a good way to improve cooling without spending a fortune on an aftermarket fan and shroud kit, so I decided to use it as the starting point for my build. An aftermarket Dorman 620-131 is the model for the 1999-2003 Ford Windstar vans.
Note: As an Amazon Associate I earn from qualifying purchases. No additional cost to you.
Mounting the Fan
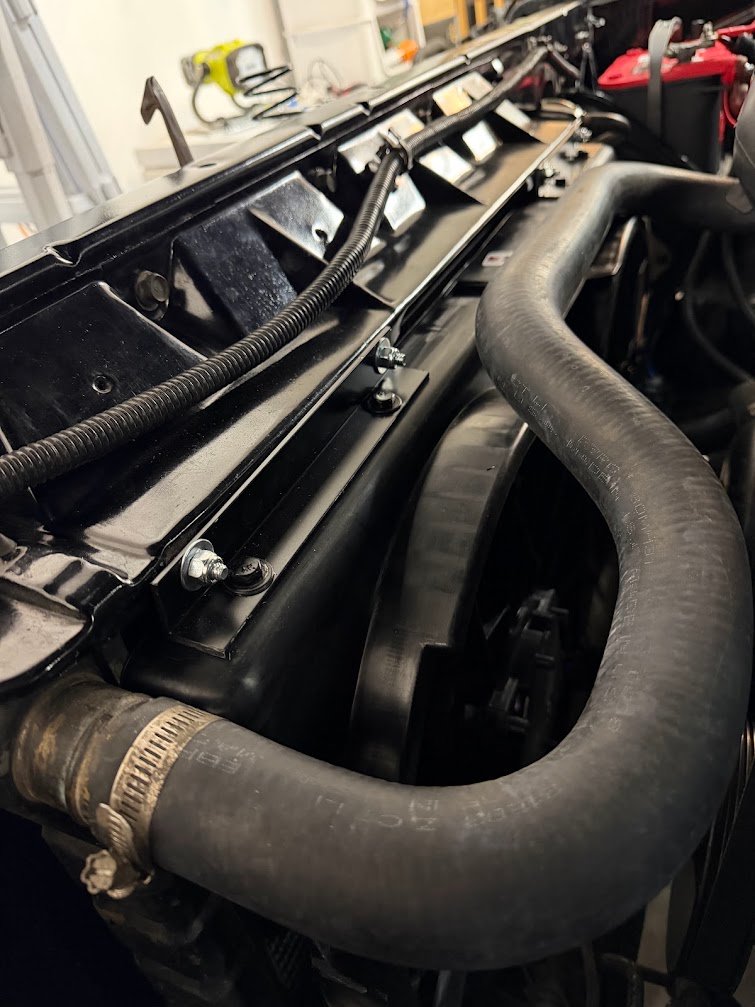
I used a couple of pieces of basic aluminum angle bar, cut to about 8-10 inches long, to mount the fans. Using the original radiator support bracket as part of the mounting setup, I drilled a couple of holes in the angle bar and fan shroud, then bolted everything in place.
Building My Own Electric Fan Wiring
Once I settled on the Windstar fans, I had to figure out how I wanted to handle the electrical side of the installation, including the relays and fuses.
I wasn’t comfortable relying on some of the cheaper relay kits available on Amazon, and the Painless Wiring option was more expensive than I wanted to spend. Instead, I decided to embrace my engineering side and build my own setup.
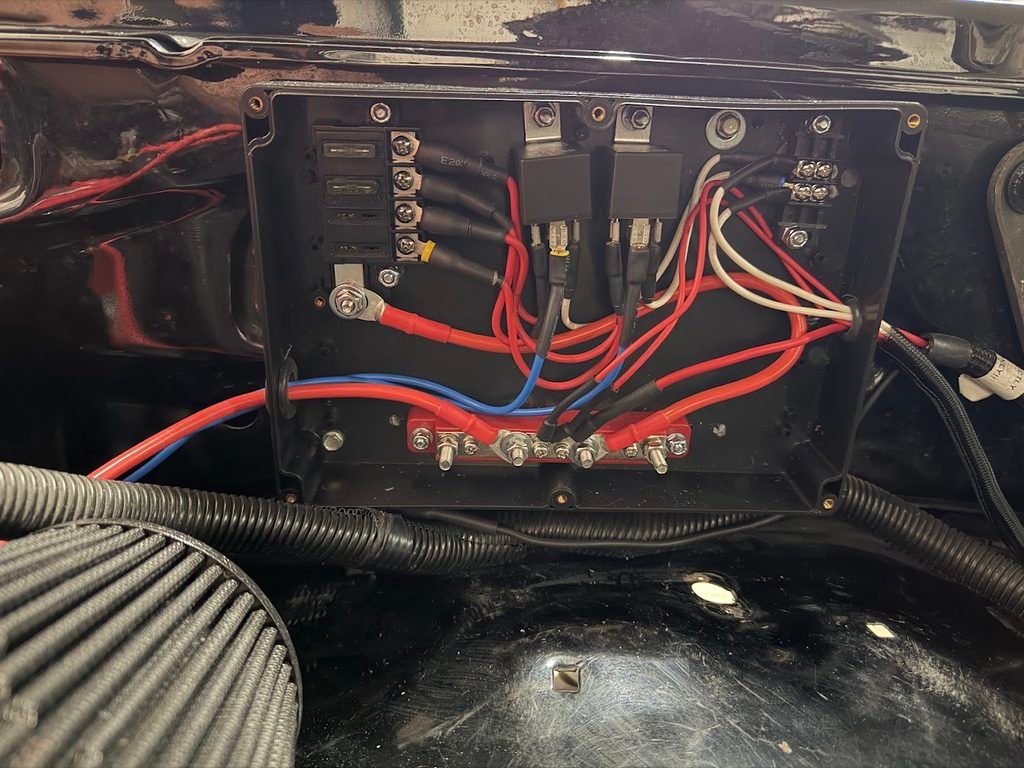
I started by running the 12-volt power supply to a distribution block, which feeds a fuse block rated to handle the load. From there, I wired each fan through its own relay, keeping the two fans electrically independent. I used 10-gauge wire from the relay outputs to the fan power connections.
Since my truck has a Holley Terminator X Max controlling the LS engine, I was also able to use it to control the fans electronically.
Wiring and Current Requirements
One important consideration when building your own setup is making sure all the components can handle the fans’ current draw. From my research, each fan draws approximately 30 amps, so I needed to make sure the relays, fuses, and wiring were appropriately rated. This applies to the entire power path, from the battery to the distribution block, through the fuses and relays, and finally to each fan.
I also found mixed opinions on whether 10- or 12-gauge wire was the right choice. Most recommendations leaned toward 10-gauge, while my research indicated that the factory wiring used 12-gauge. I took that into consideration when choosing the wiring for my setup and went with 12-gauge wiring.
Building the Electric Fan Control Box
I also used this project as an opportunity to clean up some of the wiring in the truck. Rather than leaving the relays and fuses spread throughout the engine bay, I installed the electrical components in a plastic ABS enclosure.
I wanted the finished setup to look as close to a factory installation as possible. It isn’t quite the look I originally had in mind, but the black enclosure blends in reasonably well with the truck and keeps everything organized in one place.
Parts List and Cost Breakdown
| Parts | Cost |
| Dorman 620-131 (used or salvage may be cheaper) | $120 |
| Connectors Fan 1 | $15 |
| Connectors Fan 2 | $15 |
| Fuse Block | $30 |
| Relay Pack | $15 |
| 8 gauge wire (battery to terminal block) | $10 |
| 12 gauge wire | $8 |
| ABS Plastic box | $20 |
| Terminal connector (small wire) | $6 |
| Terminal block (large wire) | $20 |
| Total | $259 |
This is a rough estimate and may not include every small part or supply used during the installation. If you already have some of these items on hand, you may be able to complete the conversion for less.
Final results
So far, the system has worked great and has kept my truck cool, even on warm days. I’m happy with how the conversion turned out, especially since I was able to build the wiring myself and tailor everything to my truck.
There are plenty of great aftermarket cooling systems available, but they can get expensive and may be overkill for some builds. The Ford Windstar fans gave me a budget-friendly way to improve cooling without replacing the stock radiator or spending a fortune on an aftermarket kit.
If you’re looking to upgrade the cooling system on your C10, especially with an LS swap, the Windstar fan conversion is worth considering before spending money on a more expensive setup.