I have been working on my raspberry pi for a little while now, but finally completed the case for the project. I was originally going to use a pico-itx case I acquired, but with the layout of the raspberry pi board, it just didn’t work out. When I was looking online, I noticed some of the DIY plexiglass projects that I really liked. Due to the layout of my entertainment center and that is when I decided I was going to make my “FlatPi” project. One of the other things that bothered me with some of the cases I have seen is you are almost always required to use a USB Hub, so people create beautiful cases for just the pi, but then have a wiring nightmare when they add their hub. My goal was to make it all in one.
Required Parts
- Raspberry Pi
- Pluggable Technologies USB Hub
- 8×10 Plexiglass / Lexan .093 (2 pieces)
- USB Cables (Monoprice is your friend)
- Screws ( I used 1 1/4″ screws)
- Spaces between boards ( I found some at the local hardware store)
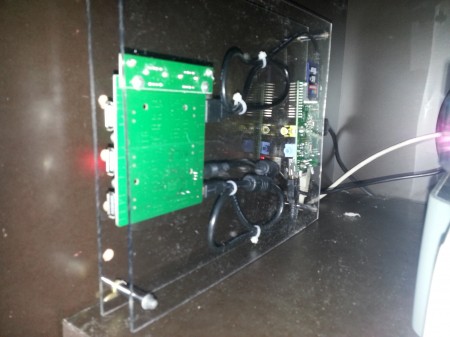
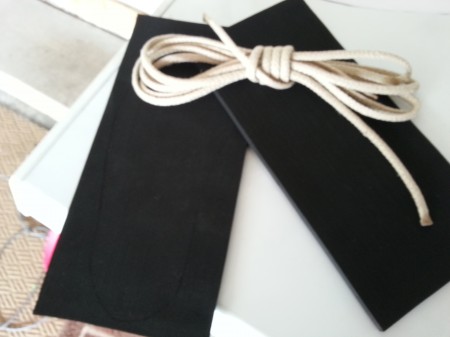
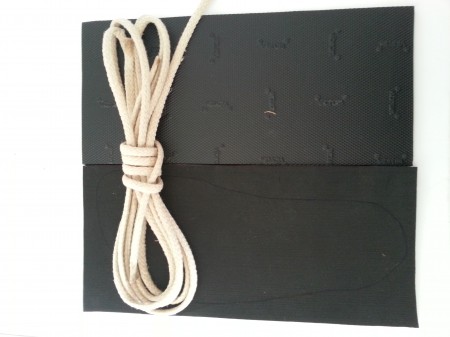
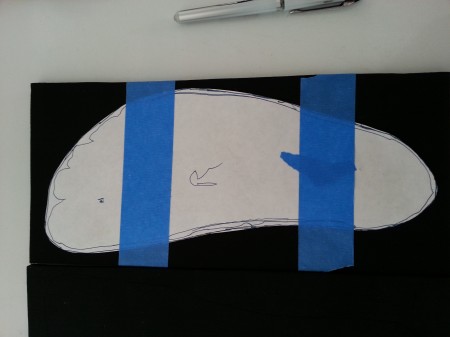
First time mounting the boards to the lexan.
Working on the case
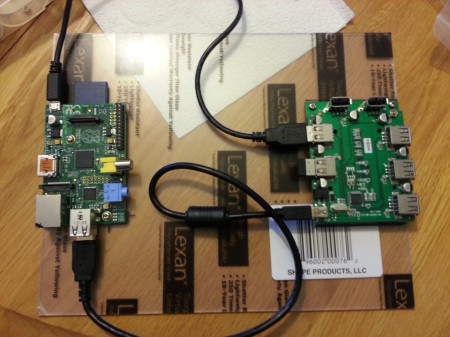
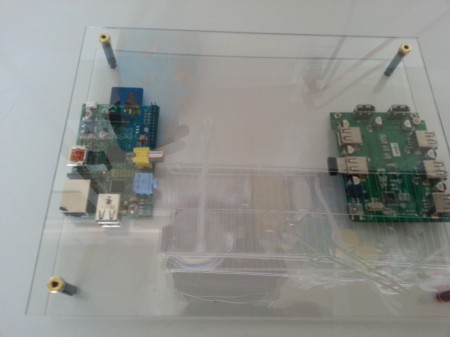
Got the Pi and USB Hub mounted.
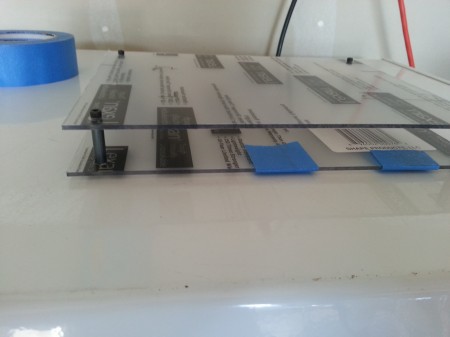
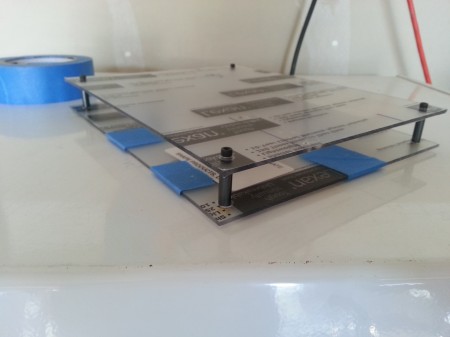
The screws I used were from PC builds. I drilled small holes that would allow me to use the screws and make new thread in the plexi glass. Its not shock proof, but it holds the Pi and Hub in place.
I had to make some countersunk holes where I mounted the hub due to the solder leads. I was having problems getting the hub to sit parallel with the plexi glass, once I drilled those holes I was able to get it to sit parallel.
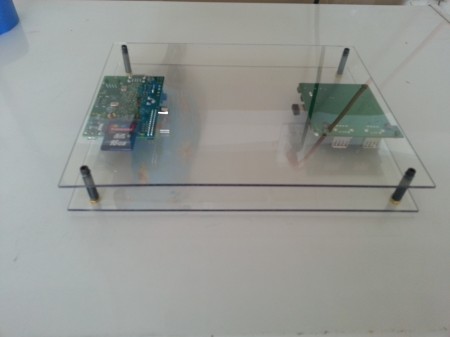
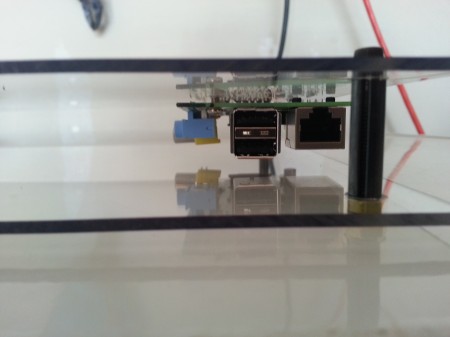
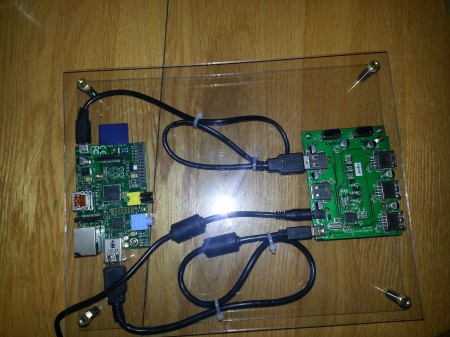
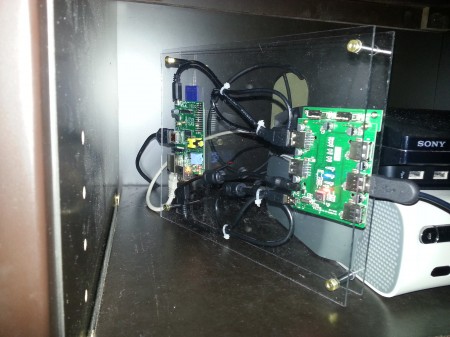
Took a few pictures to show the layout I chose for the boards. Back side the FlatPi.
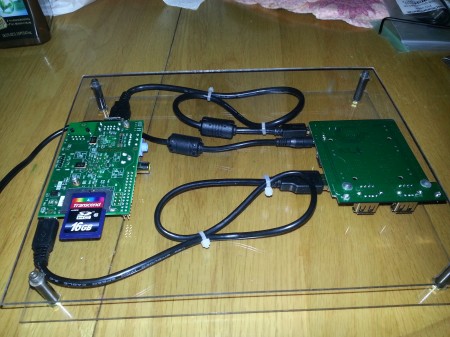
Bottom side of the FlatPi.
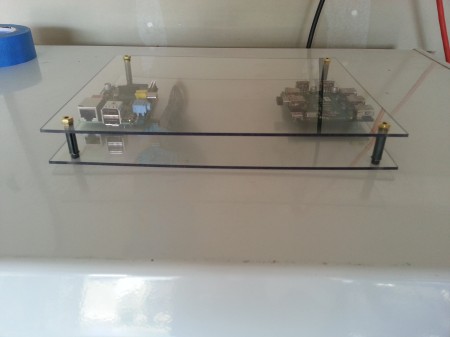
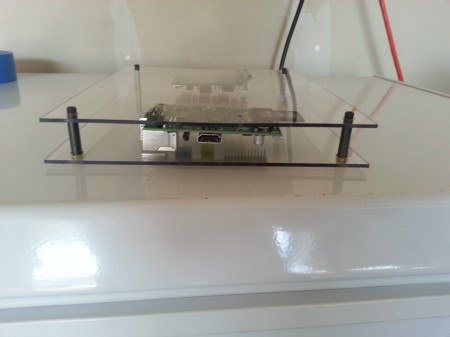
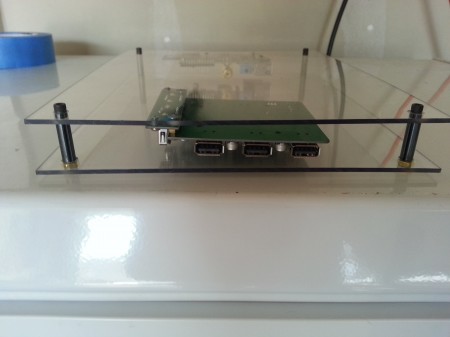
Front side of the FlatPi.
I listed USB cables above, I did buy 1.5ft cables to reduce the cable management. Plus you can’t go wrong with monoprice when cables are less then a dollar.
The top cable is the power core (USB to USB Micro)
The bottom cable is the hub connector, the hub did come with a cable, but it was 6ft long, so the 1.5ft cable worked out well.
The middle cable is the USB Hub power connector
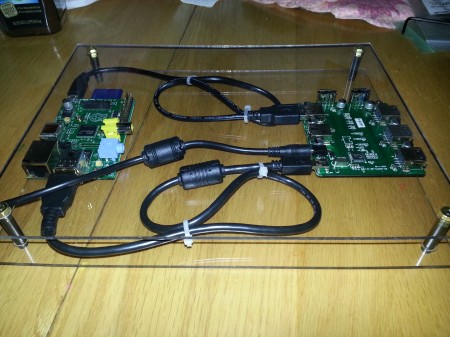
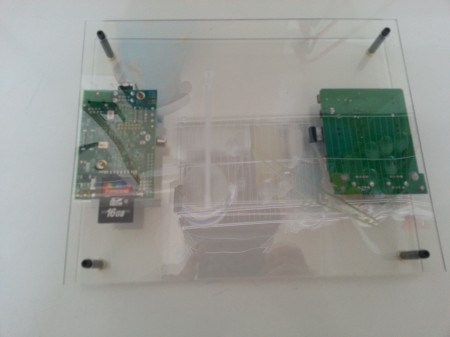
Backside of the Flatpi.
Wanted to show how much light the Pi/Hub produced.

This is the side that sit against the wall, but here is the lights.
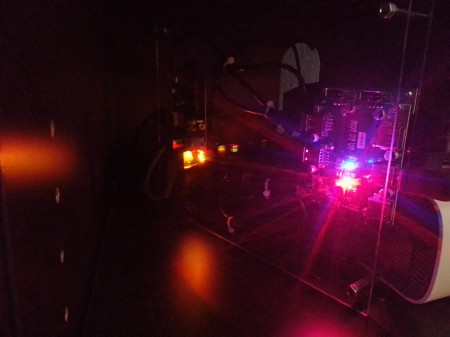
Same picture just with the flash on.
Due to limited space, I wanted this to mount vertically, here is where I am going to install it in my entertainment center.