Here was my other case mod I did back in the day. This was from 2005 I believe. I will add my comments I originally had 😛
The place i bought the case from
http://dealsonic.com/skmssialatxm.html <—- Dead Link
The manufacture website http://www.skyhawkusa.com <—– Dead Link
This is the case after i took it apart, and kind of put it back together so i
could get a picture


This is the only plastic pieces on this case are the two on the left, and they are covered up.


I wanted to mount an 120 mm fan like I ordered, this will have to change, maybe a 92mm fan because 120mm will not fit.

I am going to mount a 120 mm fan on the front though. This will require a lot of cutting and gluing of some sort, more to come on this when i get around to it.


The front piece are even aluminum

And at last, the slide out motherboard tray.

I am going to put a blow hole on the top.

This is a picture of the back were i am going to make the fan part of the case.
Going to cut the inside part, and leave the outside lip.

This is how the fan will sit in the back

Drawing is fun… The front of the case needs some cutting to make a 120 mm fan fit. I dont have to cut the front plastic piece because the fan will be on the back side, but to get maximum air flow i will cut it.

Just showing how the front fan will be, but it will be on the back side.

BLURRRRRRRRY opps, well i see pets in pictures so I took a picture of my fish, and my new XP-90 that has an Panasonic Pofolio fan.

and at last the cheap filter and grill guard for the top blowhole.

ANOTHER UPDATE Dremel time !! Here is my front mounted fan after i cut the front

The fan on the back was tough to fit, i need to cut the frame as i said before. Here you can see it sitting in the frame on the left side.

I cut the 3.5inch frame that holds the Hard Drives and the Floppy. I needed the room so the fan could blow some air. I was going to some how remount it but I decided that it doesn’t need it.

Here i jimmy rigged a power supply and hooked up the fans to kind of see what it will look like after it all set to go


This left to do
1) Cut blow hole on top of case, i was practicing with Dremel on the insides first.
2) Get some money and order the rest of the computer components HEHE 😀
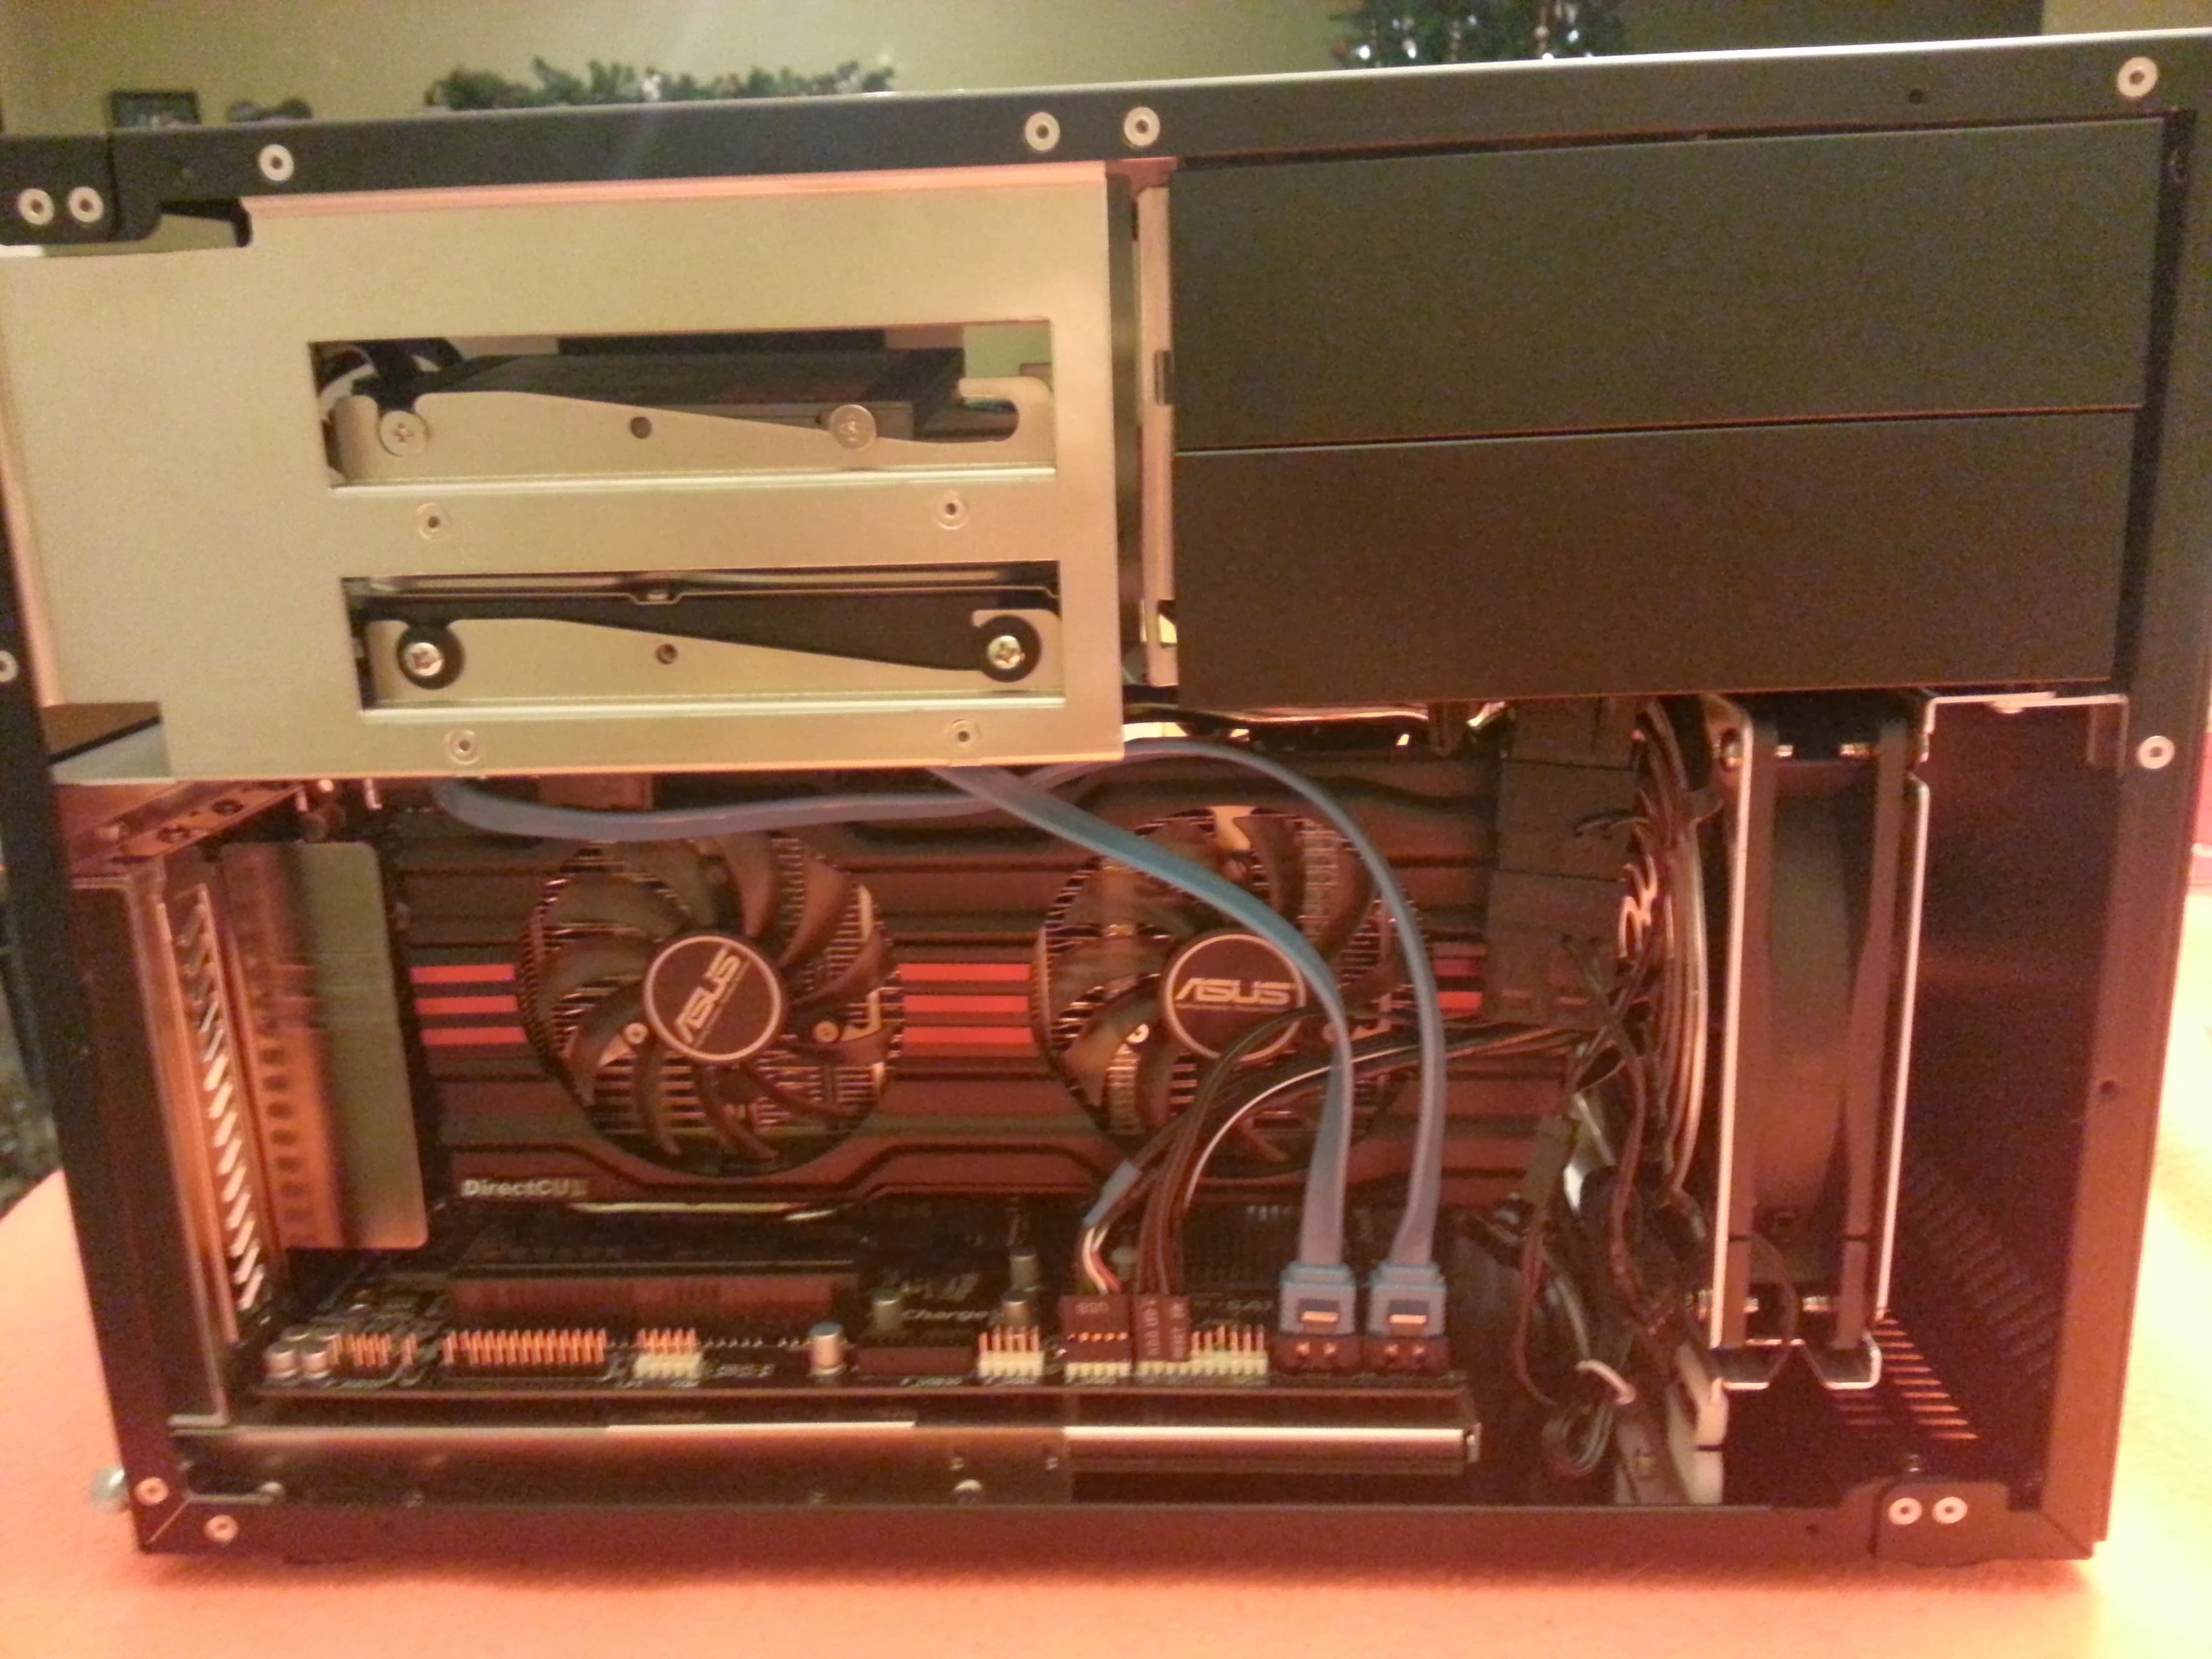
Here is a picture of all three of the fans mounted

The top one with its grill guard, i wasnt sure how it would look, but doesn’t look to bad.

Here is how i marked it off on the inside of the top of the case…. if that make any sense. Pretty much looked at different sizes of power supplies and looked at the depths on them, i didnt look to hard, but the biggest i seen was 180mm. So i made the fan 180mm from the back of the case, then just centered it from side to side. I checked with an extra cd-rom and i wont be able to put it on the top bay but thats ok, i was thinking about putting a fan controller there.

This picture you can see i mounted a fan on the bottom of the case to blow air up.