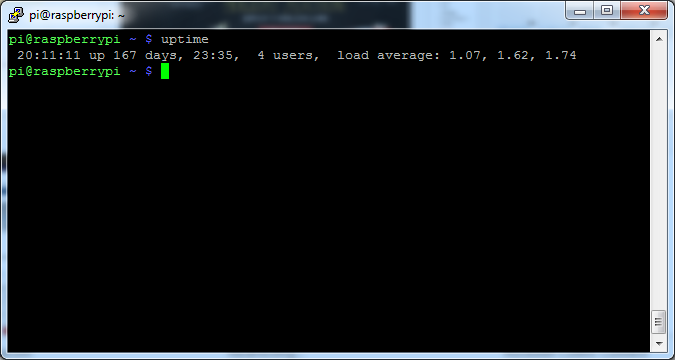
Took a screenshot before I had to reboot.
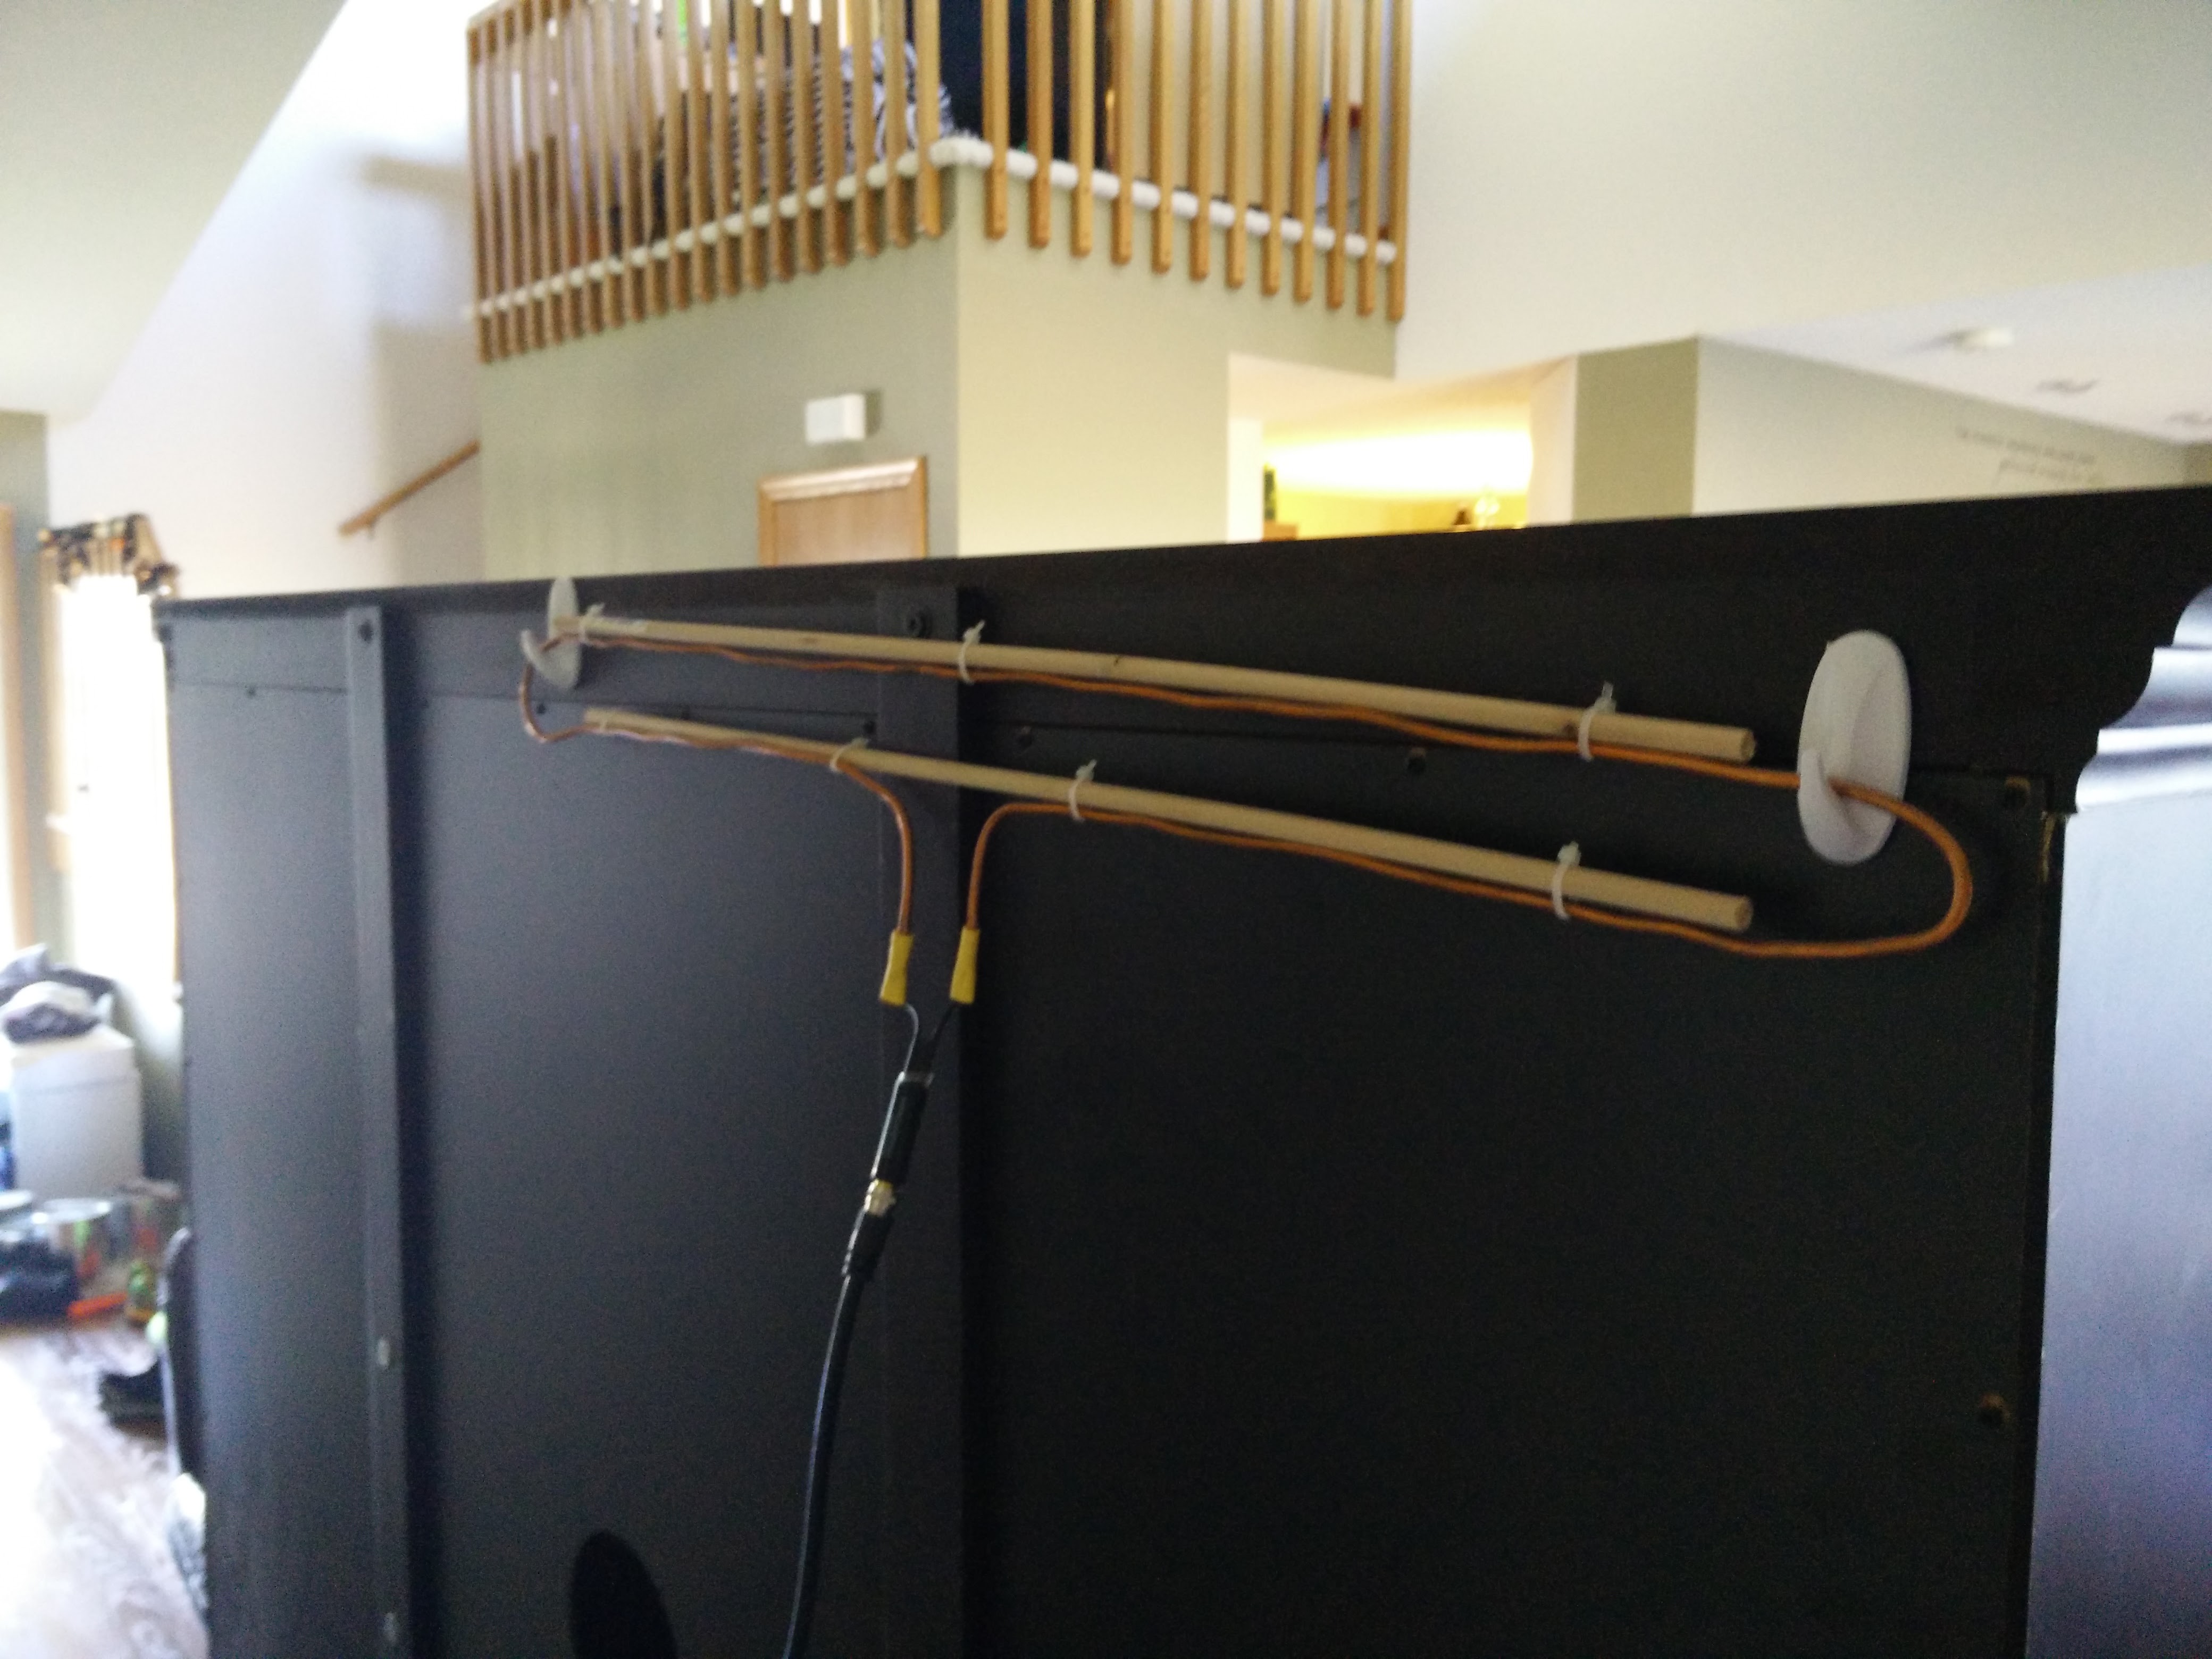
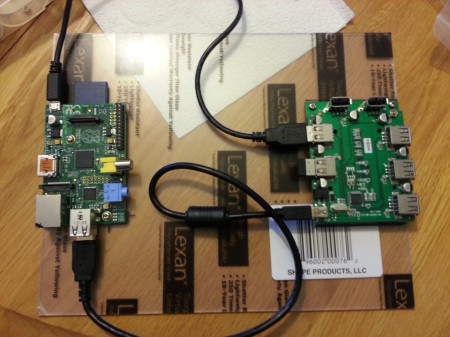
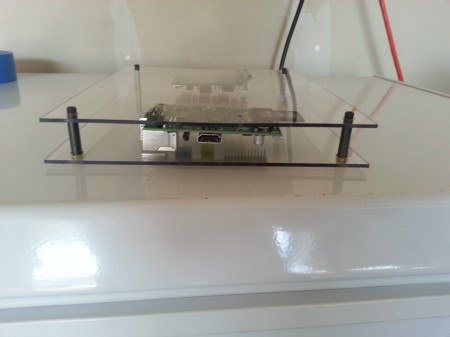
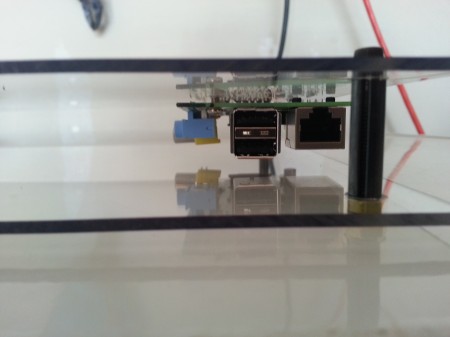
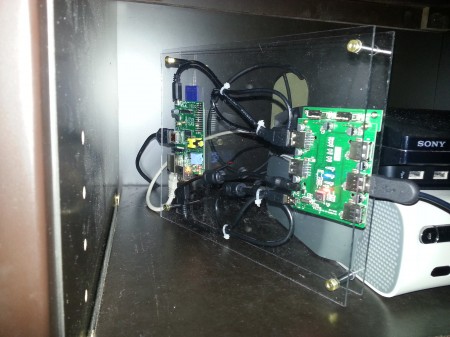
Just wanted to provide an update from my previous post (http://akschaefer.com/2013/08/11/flatpi/ ). I did a new layout which allows me to easily access the Power, Ethernet, and HDMI without any issues. The previous layout I had to get my hand in the middle to unplug the device. I also added a USB hard drive, the connector I used is from an xbox 360 transfer kit, I just removed the plastic cover.

Alright, so while I love the title steam machine, its not a steam machine from valve, its more like a Windows machine that runs Steam Big Picture.
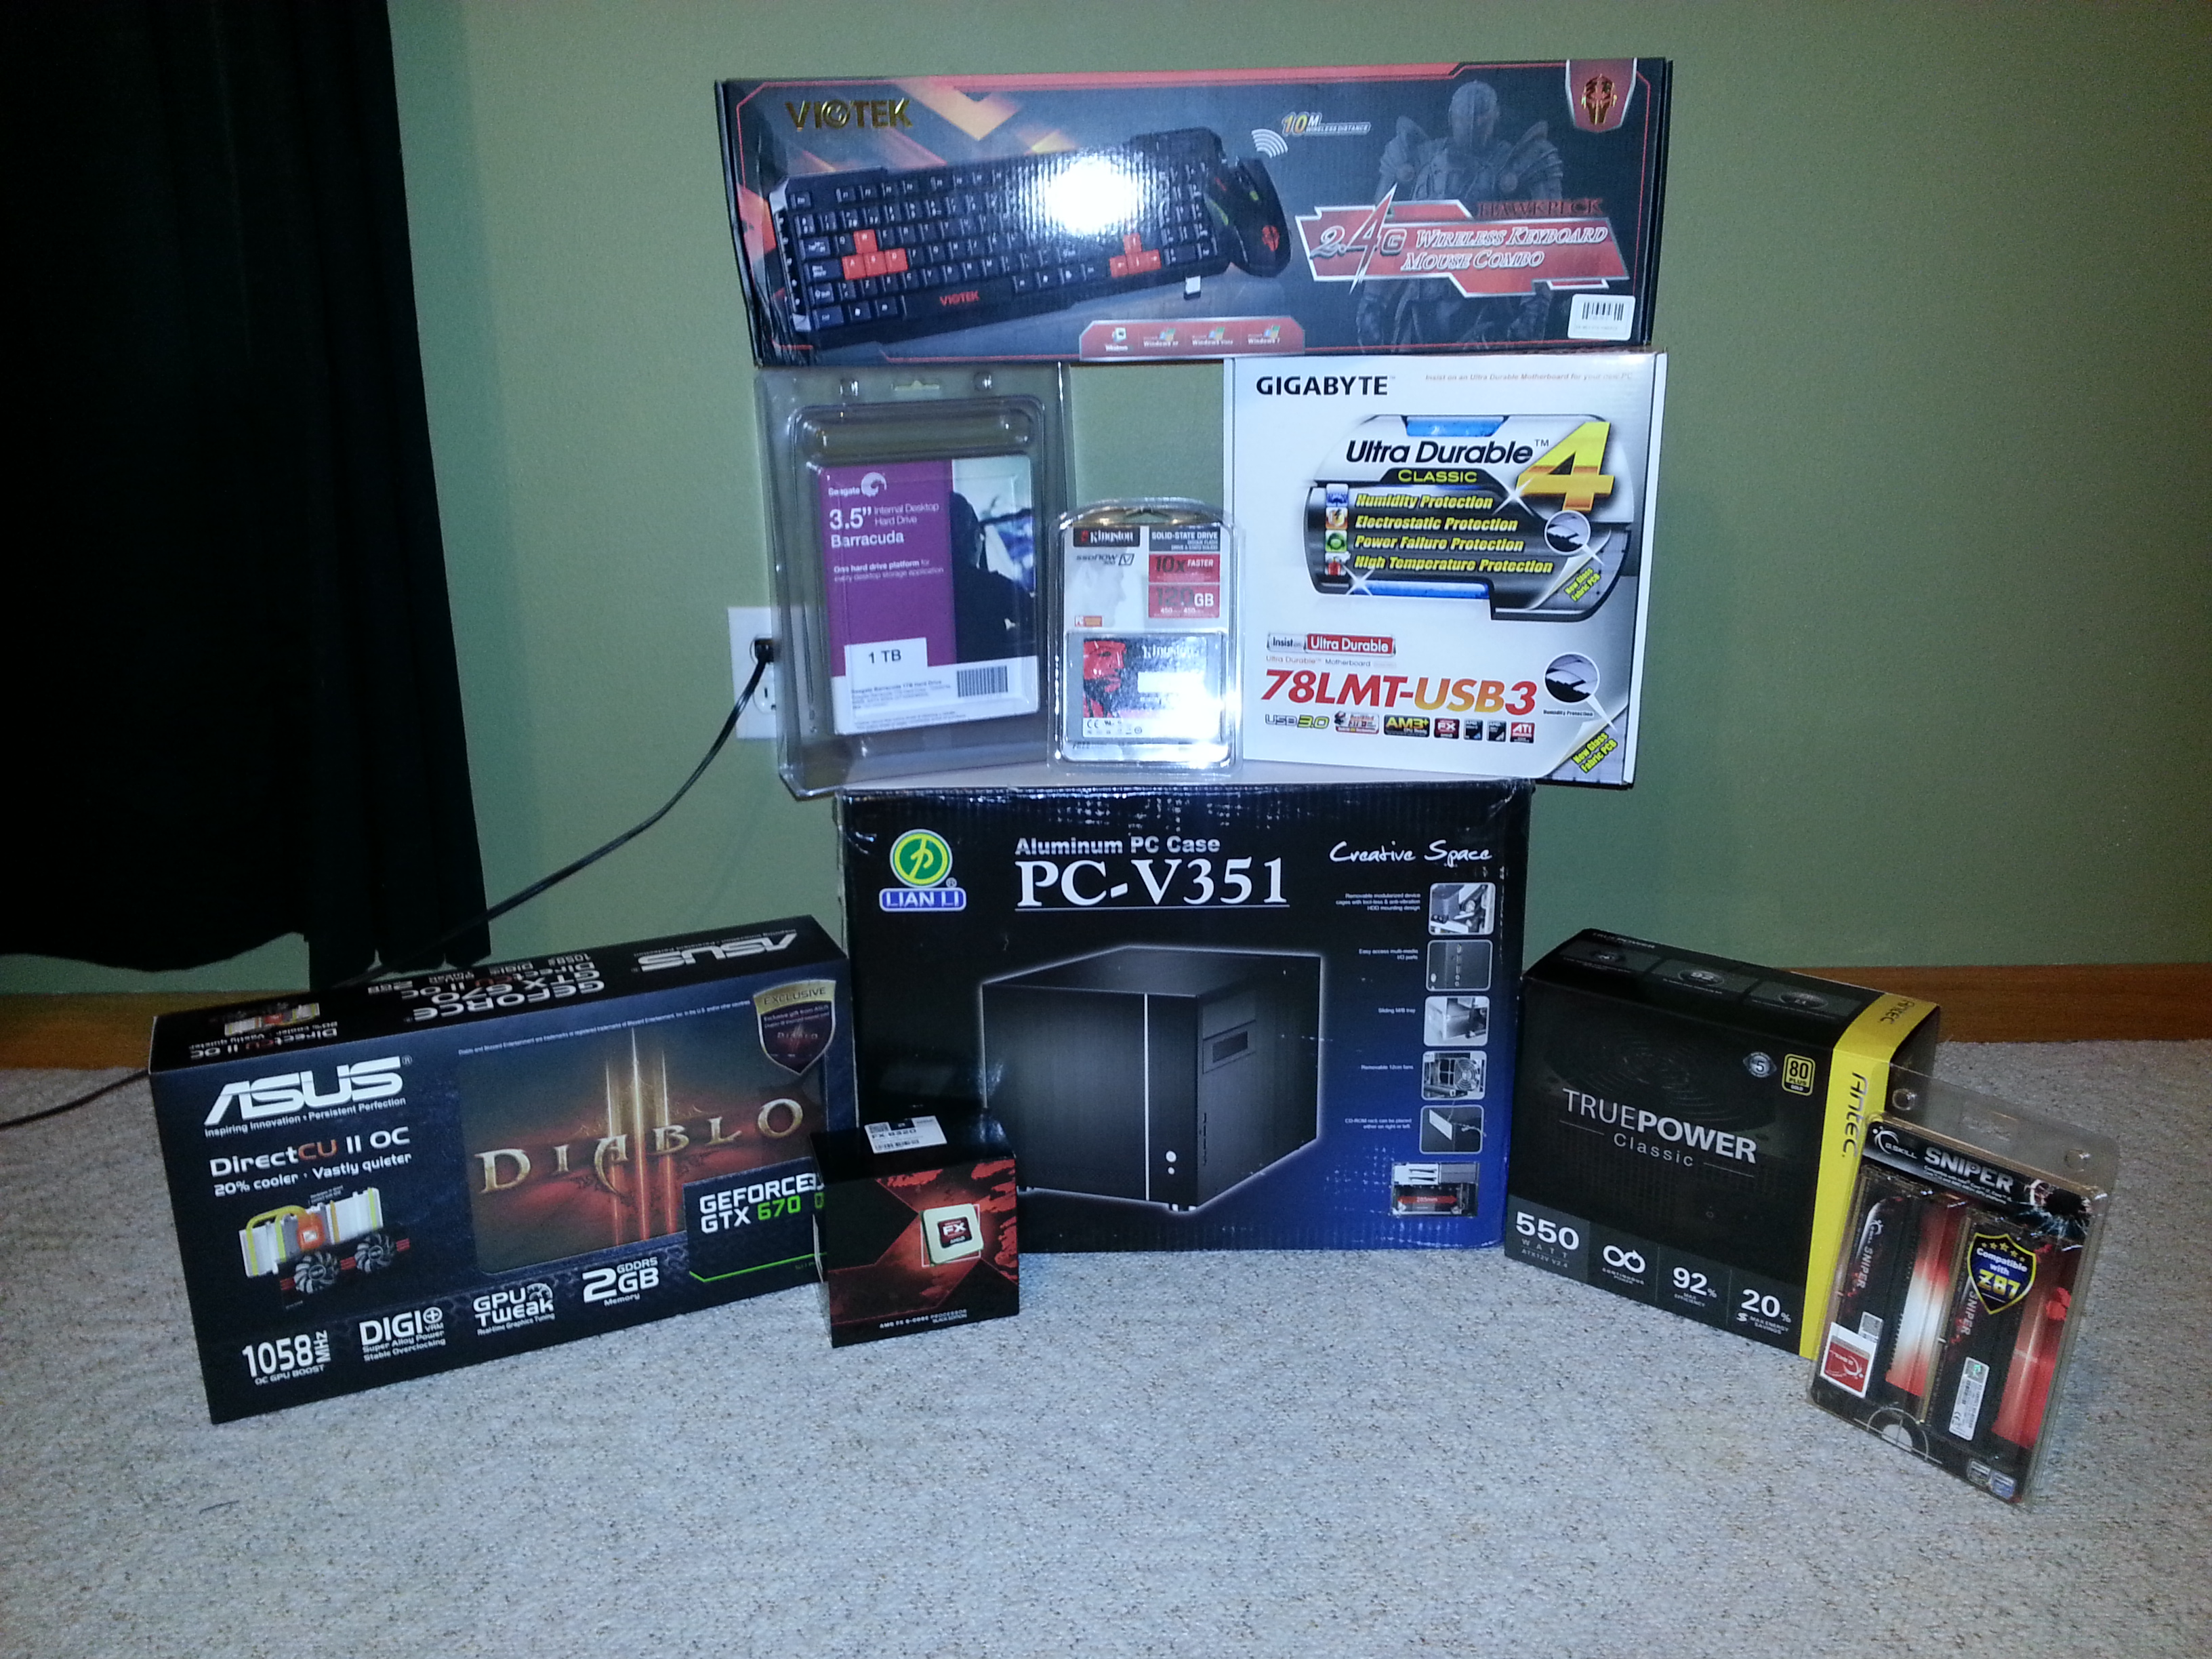
Lets start off with the parts list
PCPartPicker part list: http://pcpartpicker.com/p/2lc0n
CPU: AMD FX-8320 3.5GHz 8-Core Processor $129.99
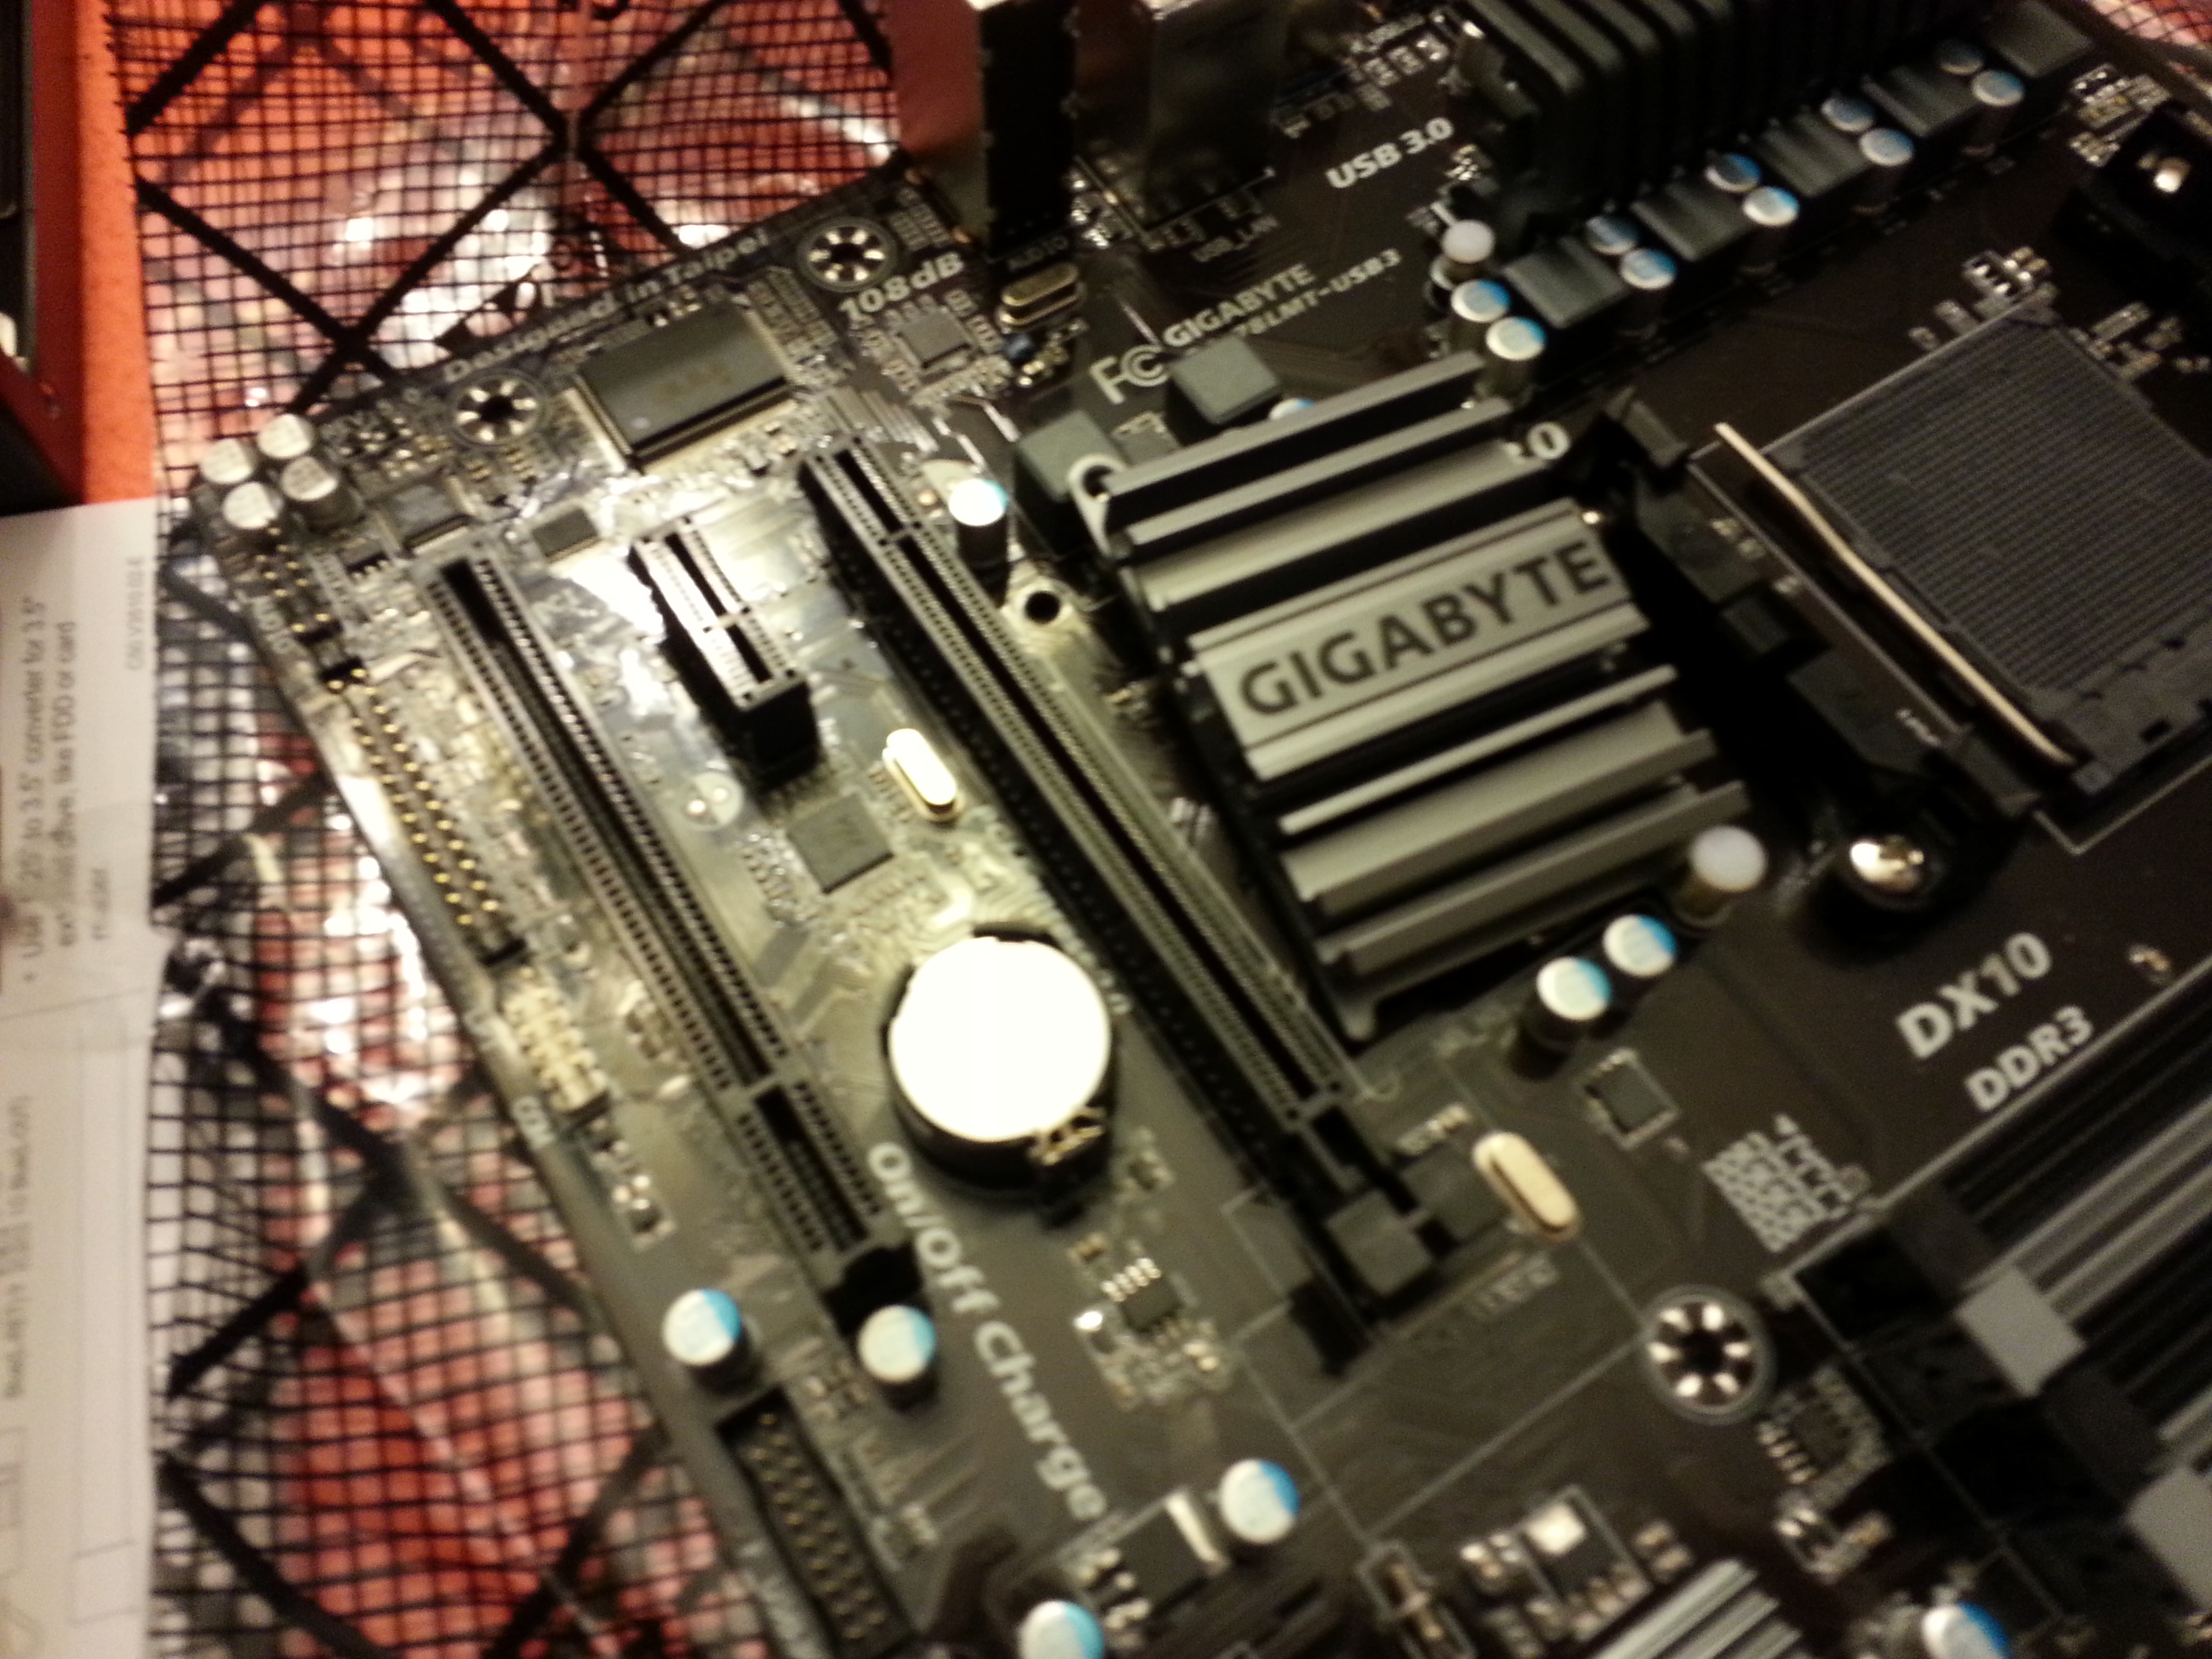
Motherboard: Gigabyte GA-78LMT-USB3 Micro ATX AM3+ Motherboard $49.99
Memory: G.Skill Sniper Series 8GB (2 x 4GB) DDR3-1866 Memory $52.99
Storage: Kingston SSDNow V300 Series 120GB 2.5″ Solid State Disk $79.99
Storage: Seagate Barracuda 1TB 3.5″ 7200RPM Internal Hard Drive $39.99
Video Card: Asus GeForce GTX 670 2GB Video Card $199.99
Case: Lian-Li PC-V351B MicroATX Desktop Case $89.99
Power Supply: Antec TruePower Classic 550W 80+ Gold Certified ATX Power Supply $49.99
Total: $692.92 (post rebate prices)
All the parts
Side view did my best to organize the cables

Ah video card!
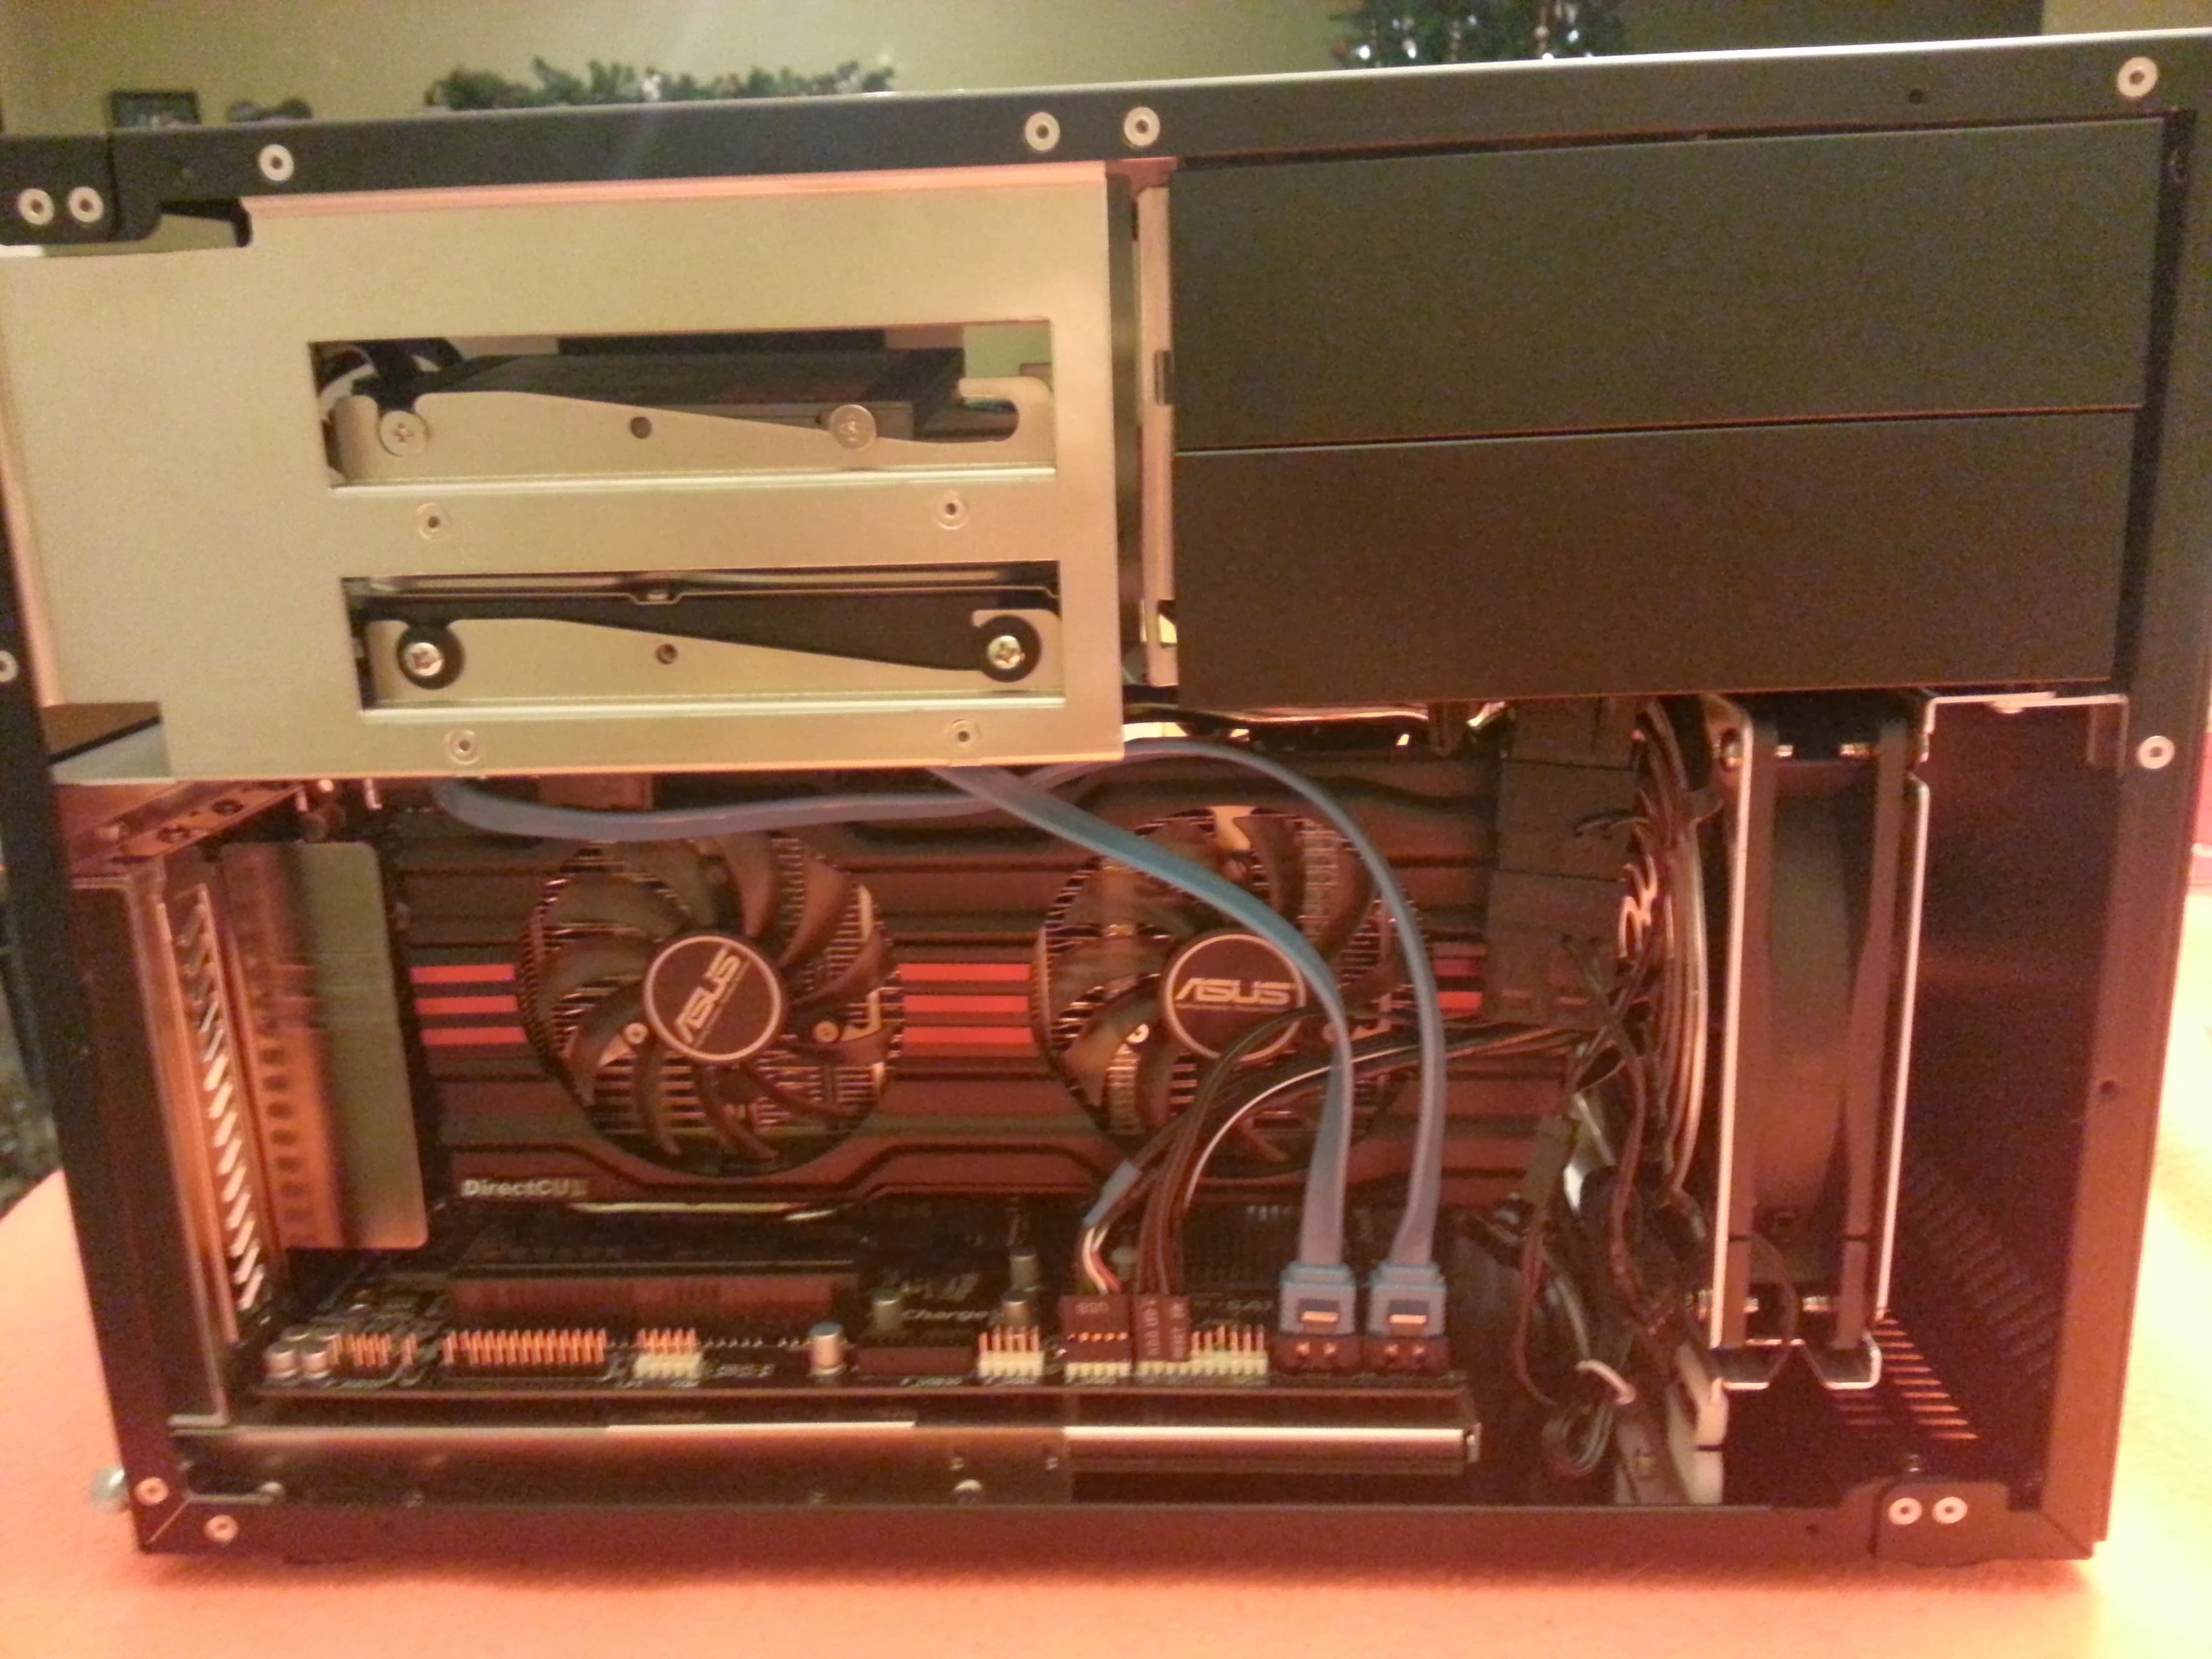
Hard to see, but I had to cut part of the case so the video card heat pipes could fit.

Motherboard came this way, the northbridge heatsink was not latched down, I found the clip and spring, and attached it. No problems so far.
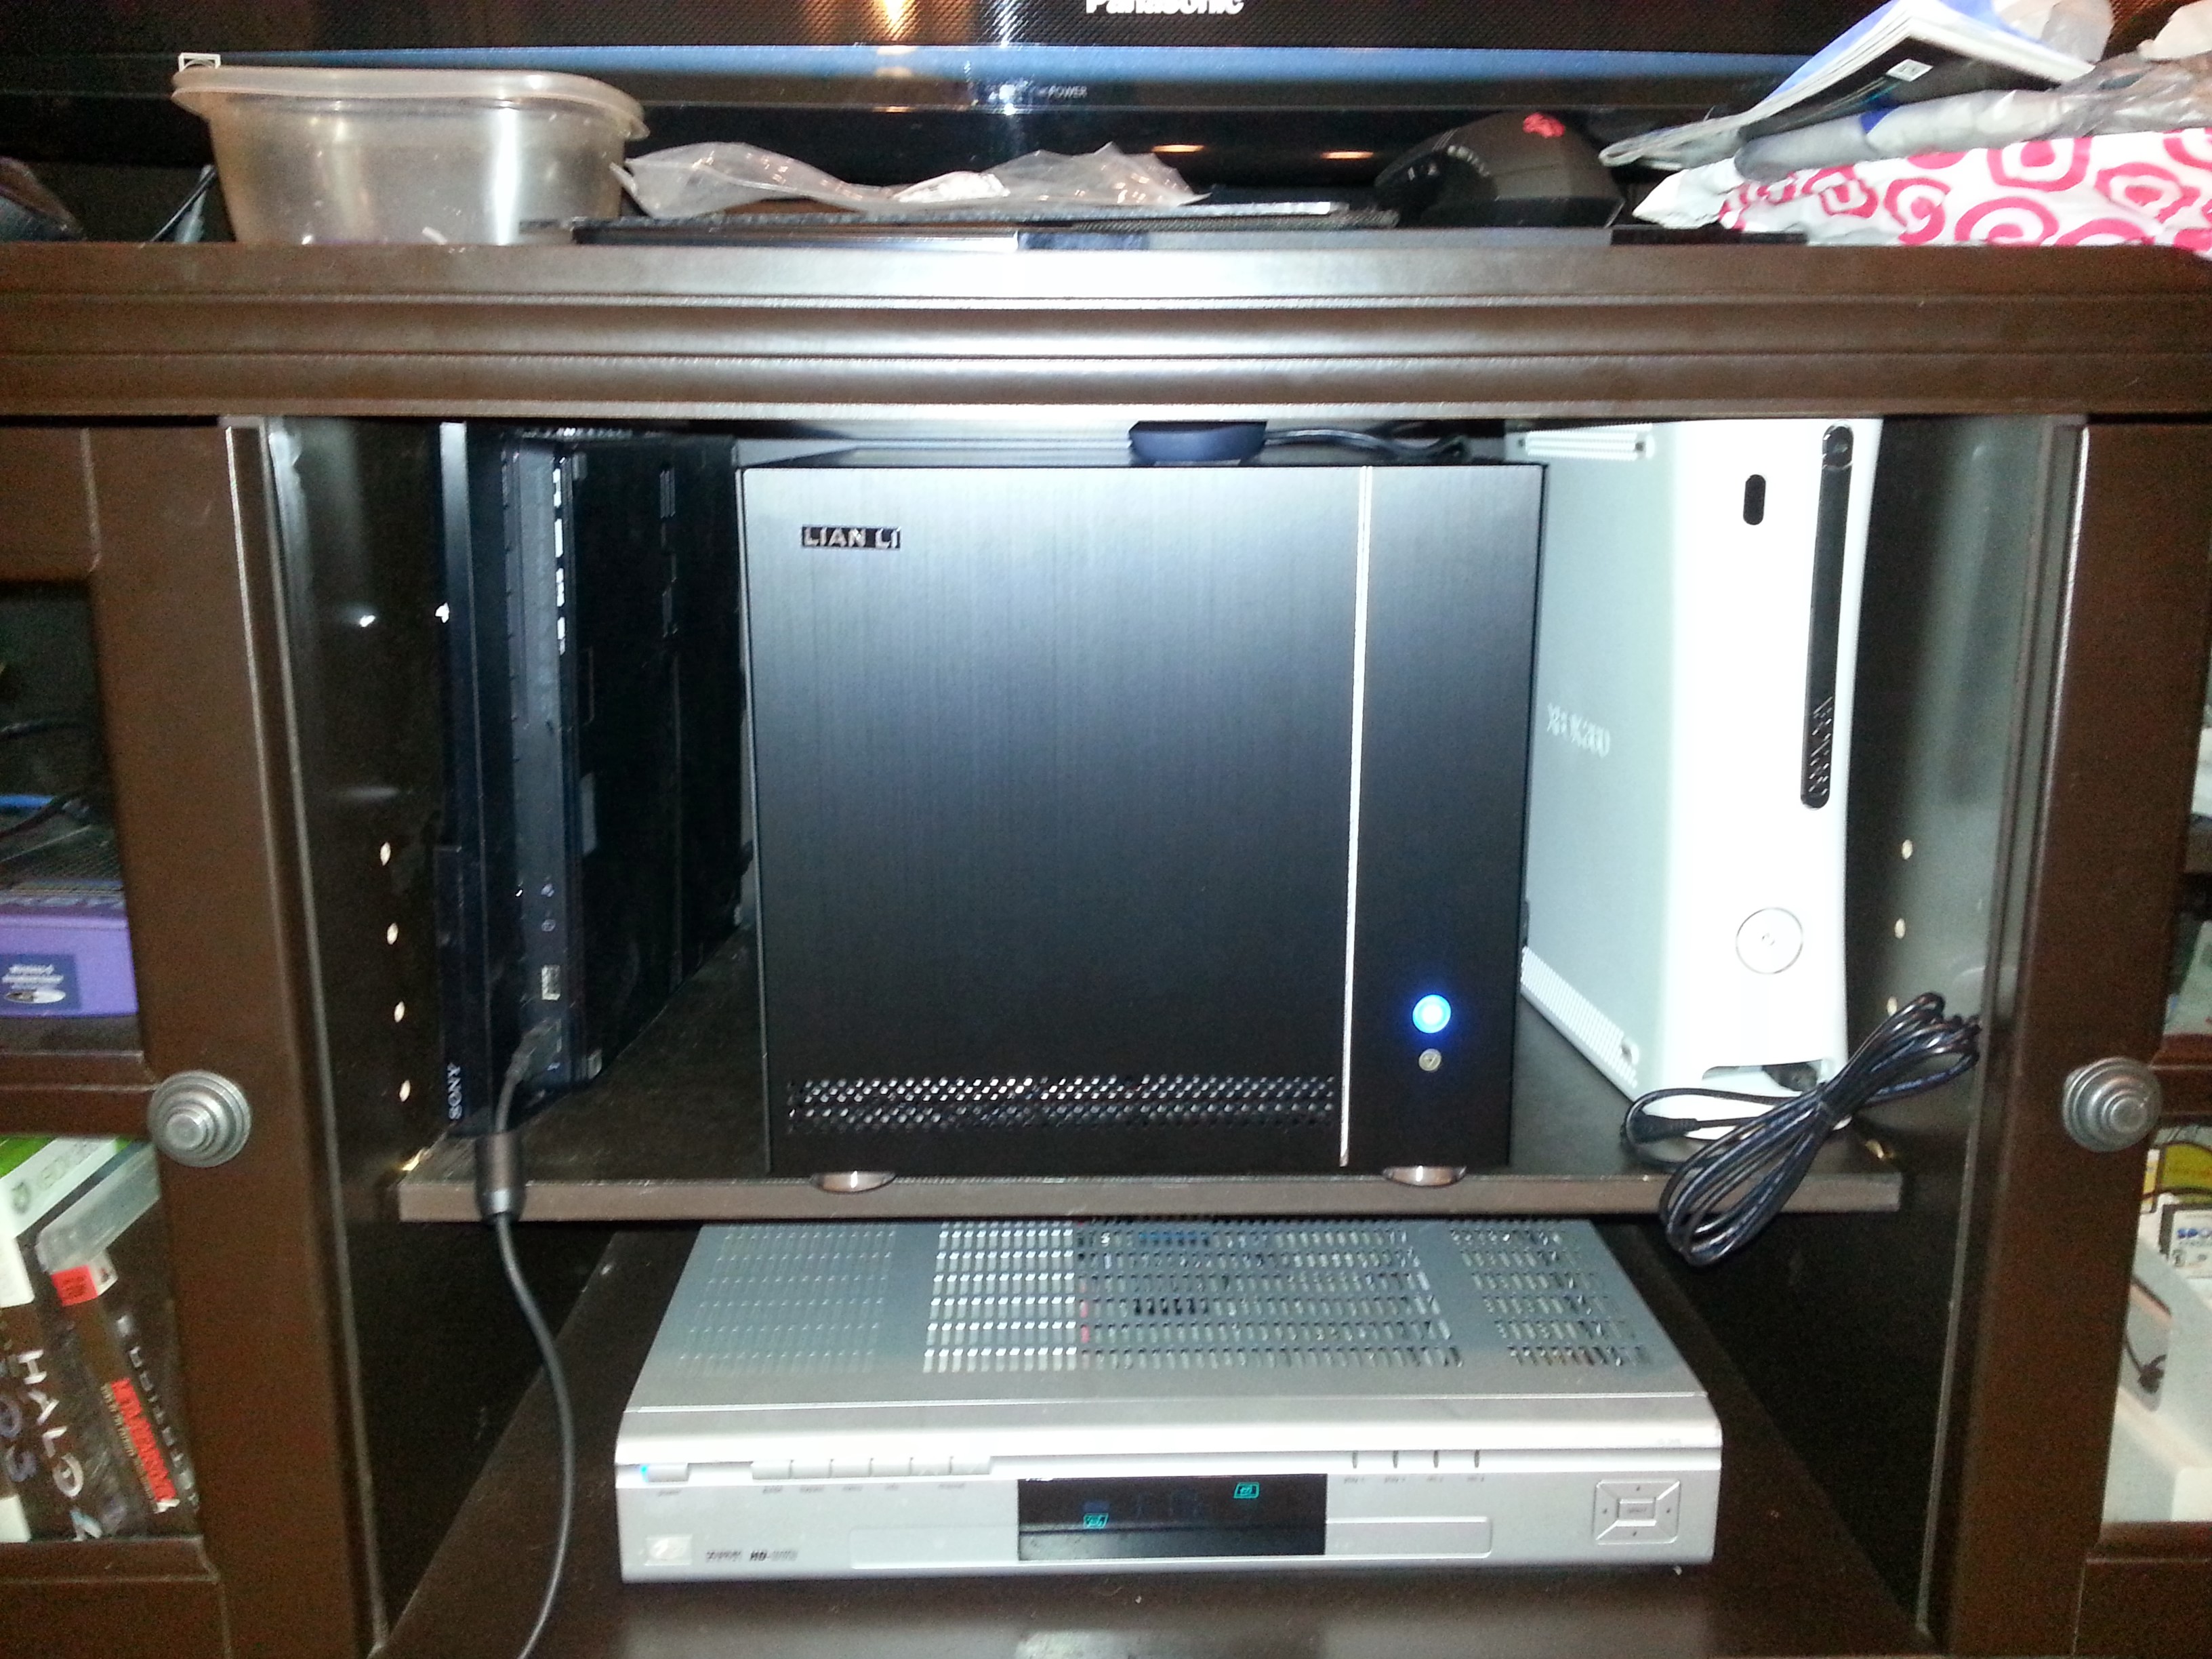
Final product
3d Mark Benchmark
http://www.3dmark.com/3dm/1893385
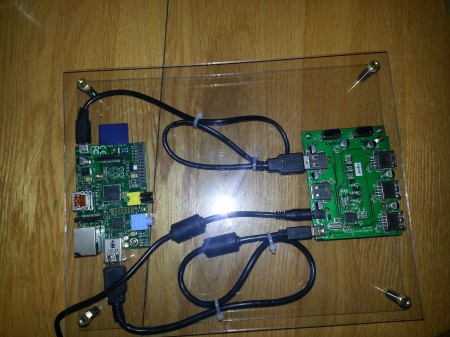
I have been working on my raspberry pi for a little while now, but finally completed the case for the project. I was originally going to use a pico-itx case I acquired, but with the layout of the raspberry pi board, it just didn’t work out. When I was looking online, I noticed some of the DIY plexiglass projects that I really liked. Due to the layout of my entertainment center and that is when I decided I was going to make my “FlatPi” project. One of the other things that bothered me with some of the cases I have seen is you are almost always required to use a USB Hub, so people create beautiful cases for just the pi, but then have a wiring nightmare when they add their hub. My goal was to make it all in one.
Required Parts
- Raspberry Pi
- Pluggable Technologies USB Hub
- 8×10 Plexiglass / Lexan .093 (2 pieces)
- USB Cables (Monoprice is your friend)
- Screws ( I used 1 1/4″ screws)
- Spaces between boards ( I found some at the local hardware store)
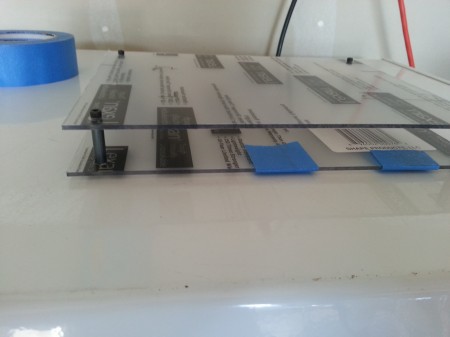
First time mounting the boards to the lexan.
Working on the case
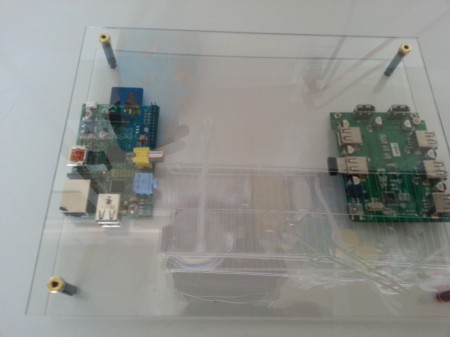
Got the Pi and USB Hub mounted.
The screws I used were from PC builds. I drilled small holes that would allow me to use the screws and make new thread in the plexi glass. Its not shock proof, but it holds the Pi and Hub in place.
I had to make some countersunk holes where I mounted the hub due to the solder leads. I was having problems getting the hub to sit parallel with the plexi glass, once I drilled those holes I was able to get it to sit parallel.
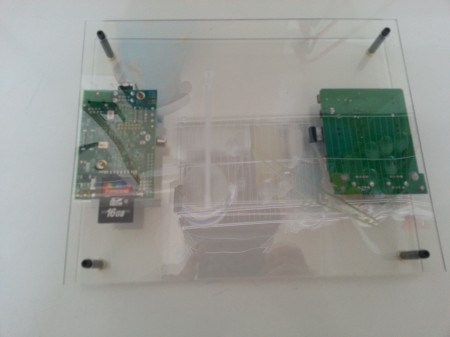
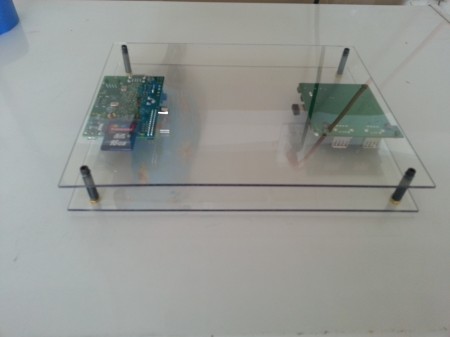
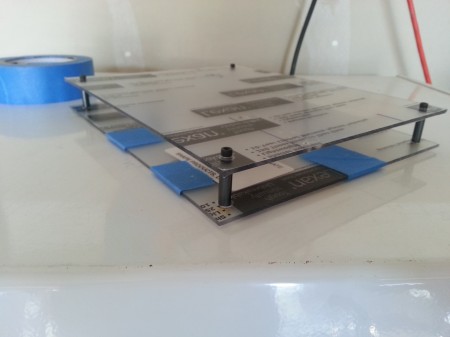
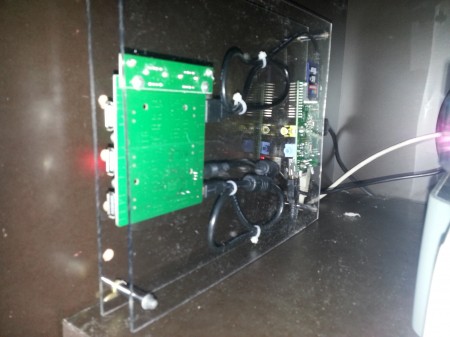
Took a few pictures to show the layout I chose for the boards. Back side the FlatPi.
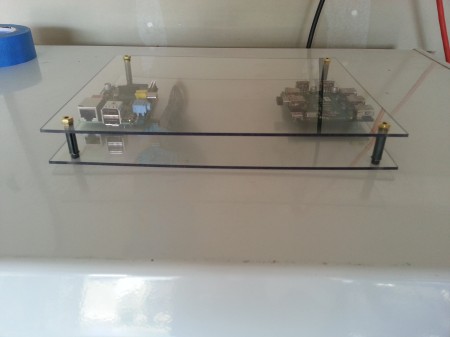
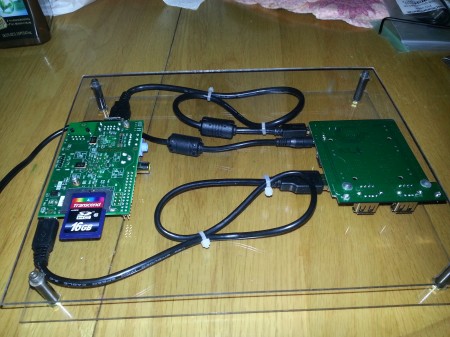
Bottom side of the FlatPi.
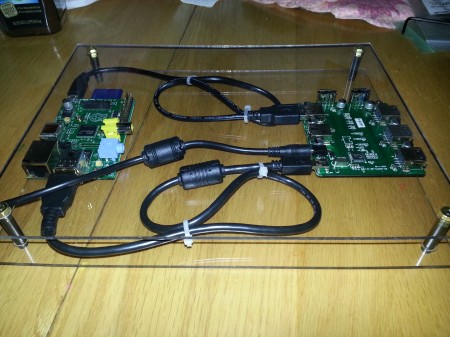
Front side of the FlatPi.
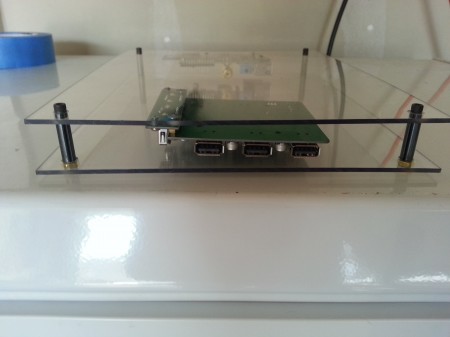
I listed USB cables above, I did buy 1.5ft cables to reduce the cable management. Plus you can’t go wrong with monoprice when cables are less then a dollar.
The top cable is the power core (USB to USB Micro)
The bottom cable is the hub connector, the hub did come with a cable, but it was 6ft long, so the 1.5ft cable worked out well.
The middle cable is the USB Hub power connector
Backside of the Flatpi.
Wanted to show how much light the Pi/Hub produced.

This is the side that sit against the wall, but here is the lights.
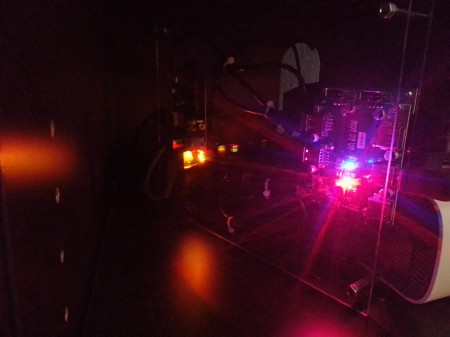
Same picture just with the flash on.
Due to limited space, I wanted this to mount vertically, here is where I am going to install it in my entertainment center.
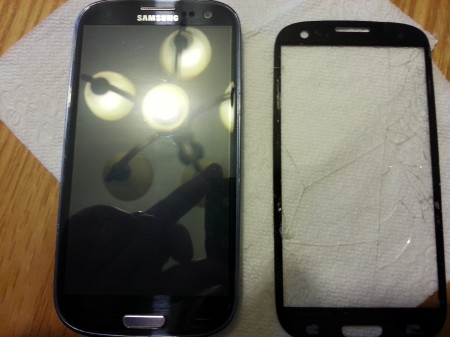
Kayla dropped her phone a few weeks back, and decided to take the leap on replacing the glass.

On the left, tools to remove the old glass, in the middle is the patient, and on the right is the glass transplant.

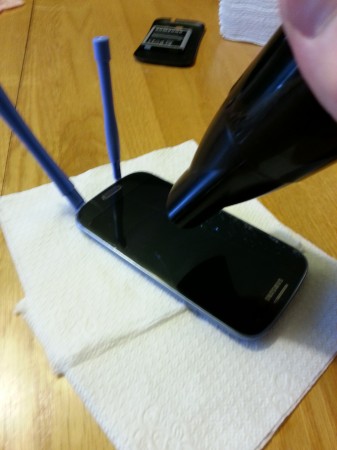
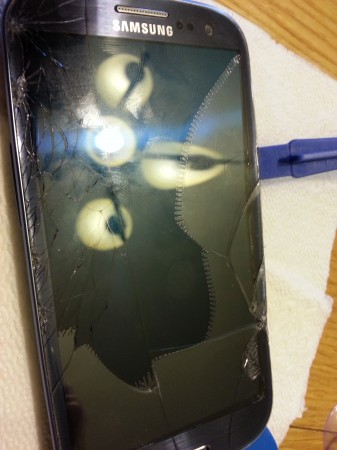
Taking the hair dryer, heated up the glue which allowed you to pry up the glass.
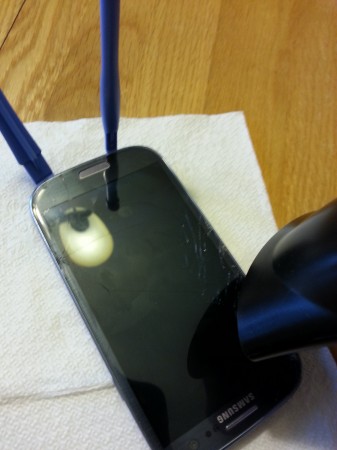
Here I got a really good photo of when the glue is separating between the glass and the digitizer.
I should have taken a picture of the phone naked, I mean without the glass, however I forgot. Anyway, I just slapped the new glass on there with no glue, the previous glue is suppose to be enough to hold on the new glass.
Proof it works, in the middle of a transition.

So recently google announced it was going to shutdown Google Reader. I am sad to see this go as its in the top 5 Google services I use. After much frustration with corporate America (Google in this case), and not have any power as a consumer over this, I decided to skip using the other commercial RSS replacements, and I turned to the open source community. After reading all the tech websites with suggested RSS reader replacements, I found out about tiny tiny RSS. I installed the web application on my linux webhost and used my domain, and imported my google reader subscription.xml file that contained all my feeds. It was fairly easy to setup (about the same work as setting up a wordpress blog from scratch), will work as long as I provide the hosting, and has a large community. One item I did have to do was find a couple of plugins to enhance the user experience. The two plugins I installed were Next-Prev toolbar and videoframes, which allows embedded videos (such as youtube) to be displayed. There is some configruation options that allow you to configure when it should update the RSS feed, the only complaint I had was you need the ability to run server side commands to make it automatic, however if you leave the webpage open in a browser, it will update when open. I might create a script to run from my home computer to open the website every 10 minutes so when I browse from my mobile device, it contains the latest data. One last thing I needed was a mobile app which is available on the google play store for $1.99. The mobile app is worth the price.
If you are looking for a Google Reader replacement, I highly recommend checking out the tiny tiny RSS website and setting up the service for yourself.
First Android Post – Cyanogenmod 7, Ice Cream Sandwich themes
January 1st, 2012 | Posted by in Android | Technology - (0 Comments)I use to blog about my blackberry when I got it and would post reviews of different apps. I have since then migrated to Android, but I haven’t posted anything android related yet, so I thought I would start.
To start off, I have an HTC Evo, rooted with CyanogenMod 7 on it. If you do not know anything about Cyanogenmod, I would recommend checking out their website.
The biggest advantage to using cyanogenmod is the customization you can do with it. With Android 4.0 source being released, I like the new design, which has insipred me to try out some of the ice cream sandwich themes for CM7 which is based on the AOSP Gingerbread 2.3.x.
To start off I have this theme for Cyanogenmod installed.
I recently switched from adw launcher to go launcher, but this launcher theme is for all the major third party launchers.
Then I use the ring locks on cyanogenmod, with this modification to the unlocker.
Here is the final results.


Here is the wallpaper I am using. Link

I did this modification a few months ago, but thought I would write a post about it. My xbox laser stopped working, and you have a few options when this happens
A) Buy a new xbox
B) Return the unit to get fixed by Microsoft
C) Fix it!
I choose option C.
I looked online and found lots of help, found out there is several different models of cd-roms in xboxs. The cd-rom I ordered off amazon was actually the wrong cd-rom, but had the same laser. So I had to remove just the physical laser assembly and replace it. I wont actually provide any instruction on how to replace the lasers, there are many websites out on the web that explain that better then I can, I just wanted to share a picture of the drive assembly and my experience.

Check out my website I made for a last graduate class. Its a fully functionally recipe website. You can login through facebook, and add recipes, view facebook friends recipes, and view others recipes. The link is http://recipetome.akschaefer.com/
Copyright © 2024 All rights reserved.
Designed by 